2-2
SECTION 2
MECHANICAL ADJUSTMENTS
2.1 BERORE ADJUSTMENTS
2.1.1 Precautions
1) Be sure to apply a screw securing torque when attaching a
part.
The securing torque should be 0.04 N-m (0.4 kgf-cm) unless
otherwise specified.
2) Always unplug the power cord of the set before attaching,
removing or soldering a part.
3) When unplugging a connector, do not pull the wire but grasp
the connector body.
4) Do not make an adjustment or rotate a potentiometer blindly
while the source of trouble is not identified.
5) Before adjusting electrical circuitry, be sure to wait for more
than 10 minutes after turning the power on.
2.1.2 Measuring instruments required for adjustments
Condition
Calibrated instrument with measuring
bandwidth of 100 MHz or more.
Microsoft Windows 95 environment,
Pentium 133 MHz or better,
Memory 16 MB or more.
Instrument
Oscilloscope
Personal computer
2.1.3 Equioment required for adjustments
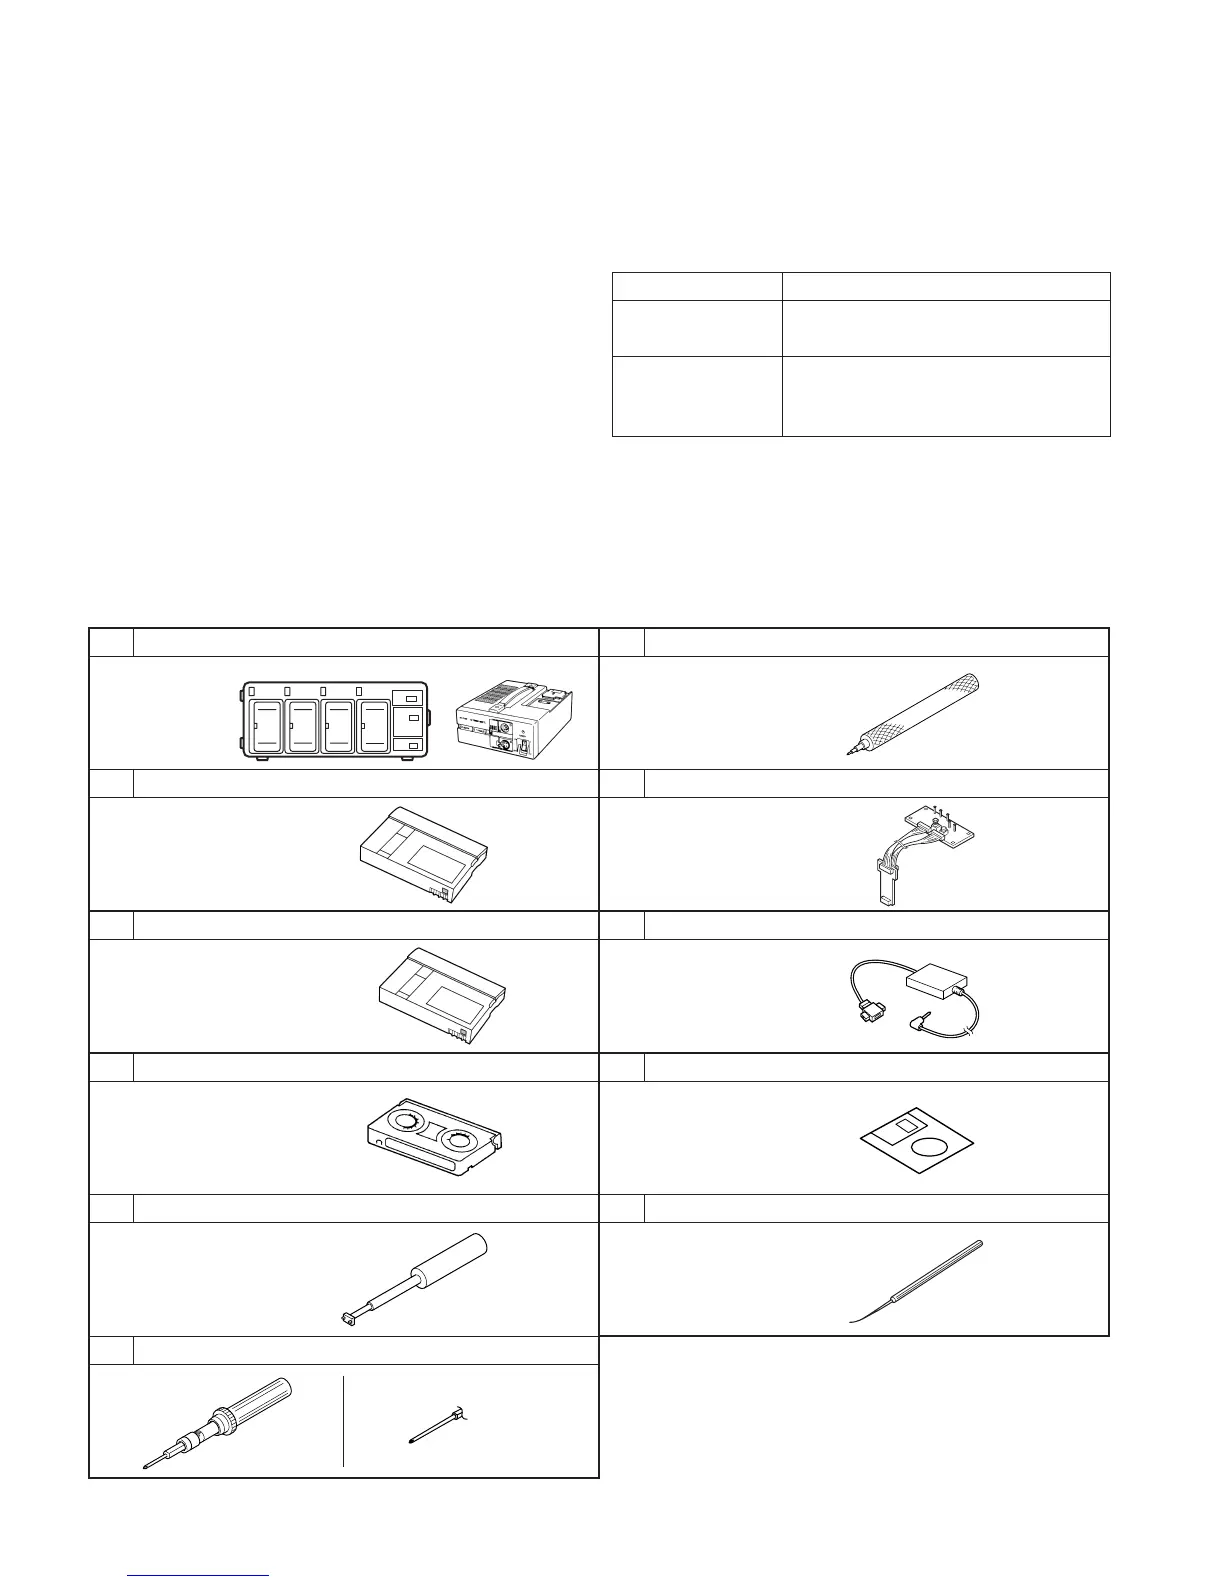
Table 2-1-1
Table 2-1-2
1
2
3
6
5
7
8
9
11
4 10
MC-1 (NTSC)
MC-2 (PAL)
YTU94088 YTU94088-003
YTU94085
YTU94121A
PTU94018A
PLSC1304
QAM0099-001
PTS40844-2
YTU94150A
DV 12 V power supply(AA-G10/AA-P250)
Alignment tape
DV tape
Cassette torque meter
Guide screwdriver
Torque screwdriver
Slit washer attaching tool
Connector cable
PC cable
Adjustment software
Chip IC replacement tool
Output capability
of 3 A or more.
Replaceable bit
(long type)
For use
in self-recording/playback. (60 ME)
2-1

 Loading...


