Installation Installation Manual
28 k2evo702 - 201610 Kaba c-lever and variants
4.4 Installing the outside shield
NOTICE
Danger of damage to electronic components from electrostatic discharge.
If electronic printed circuit boards and components are handled incorrectly, damage
may occur which leads to their complete breakdown or sporadic faults.
• When installing and repairing the product, the general ESD protective measures
are to be observed.
4.4.1 c-lever standard and c-lever ES1 variant
Once the outside shield is installed, the pressure on the coupling of the coupling unit
must be relieved. To do this, pull the spindle inwards.
An additional drill hole is required in the door for the c-lever ES1 variant.
Requirement:
• Existing fitting removed
• Mortise lock installed
Procedure:
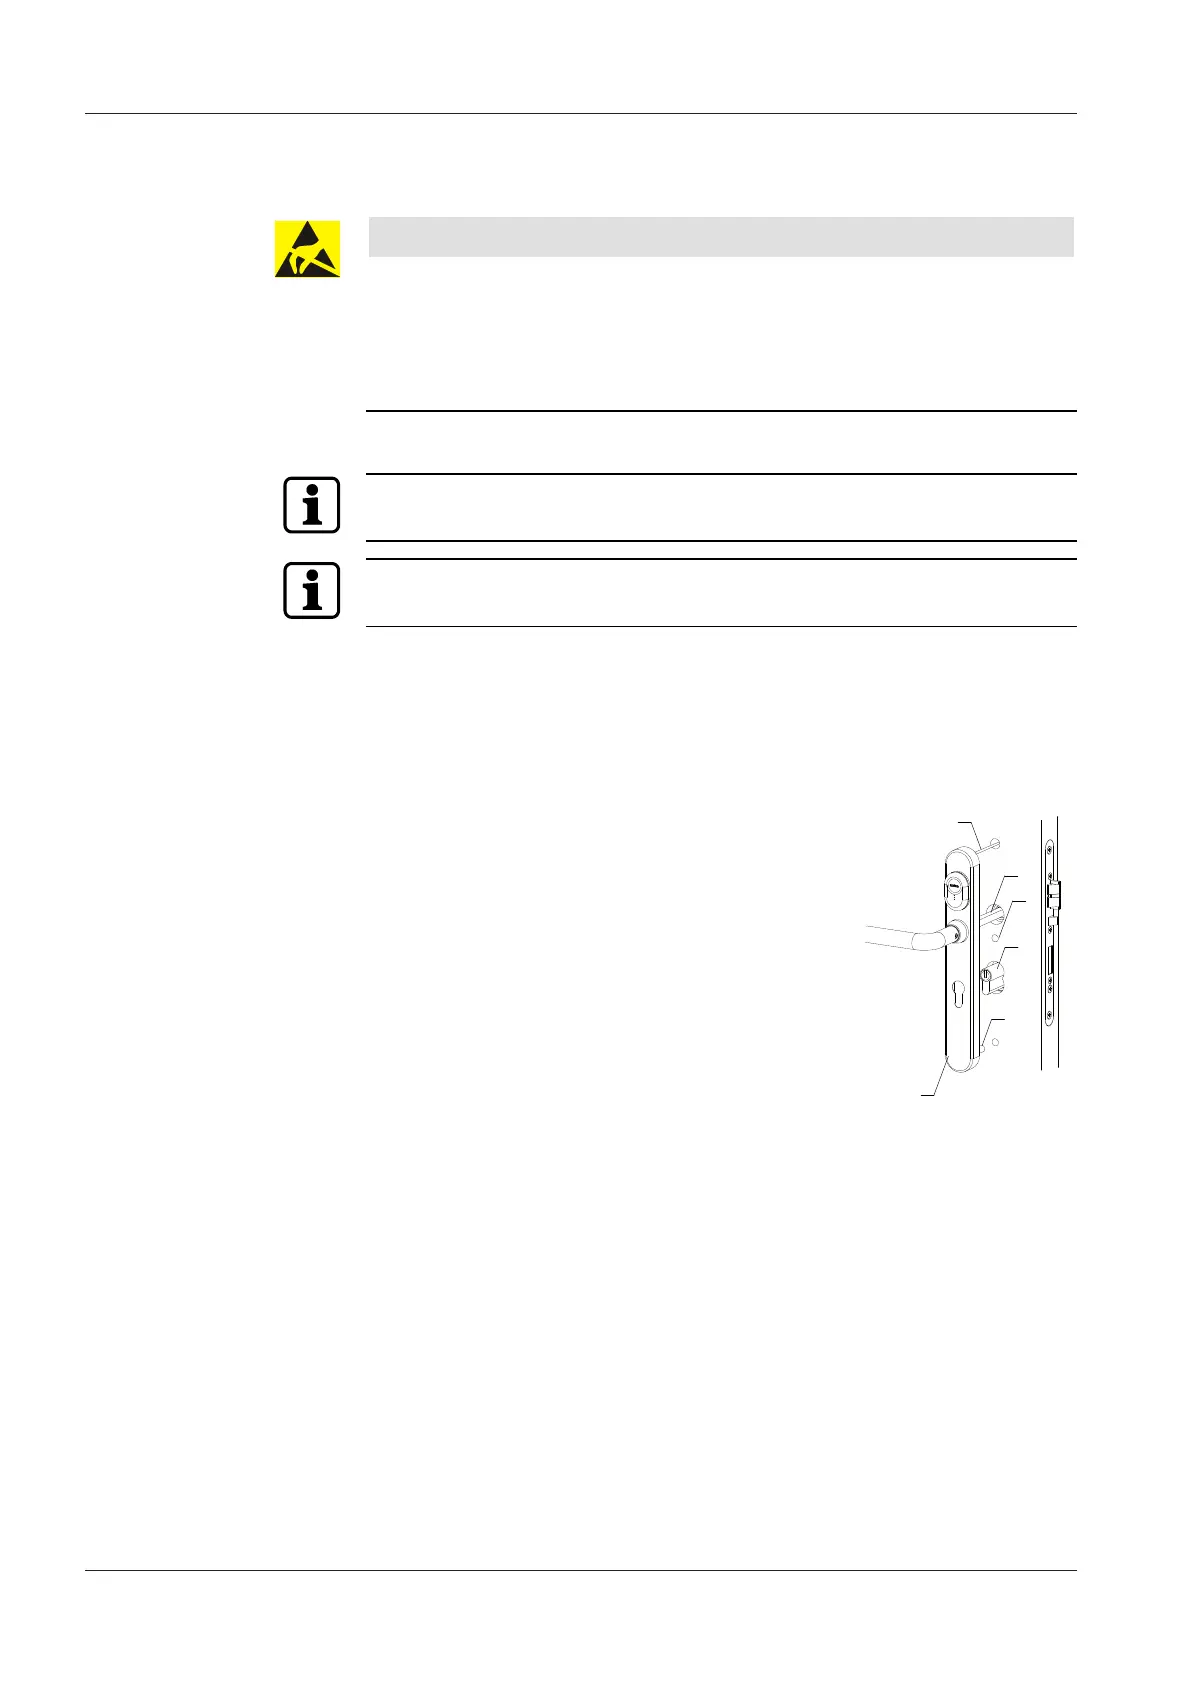
1. Push the lock cylinder (50) into the mortise lock.
2. Secure the lock cylinder with the cylinder fixing screw
(but do not tighten yet).
3. Guide the antenna cable (13) through the top fasten-
ing hole of the door.
4. Position the centring sleeve (28), if there is one, on the
bottom threaded sleeve.
5. Note: the spindle with the threaded pin is facing
up.
See chapter Installing the coupling unit in a fitting
[}4.3.2], point4.
Place the outside shield (8) on the outside of the door.
6. Pull the spindle (27) inwards.
Result:
The outside shield is installed.
 Loading...