Installation Manual Installation
39k2evo702 - 201610Kaba c-lever and variants
4.6 Installing the inside shield
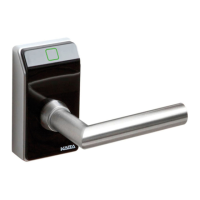
4.6.1 For all c-lever variants
Requirement:
• Internal fitting with outside shield or support plates
installed
• All connection cables on e-modules and battery cir-
cuit board connected
• Outside shield, mortise lock, lock cylinder, lever
handle and internal fitting installed
Procedure:
1. Note: do not damage the wireless module of the c-
lever wireless.
Place the inside shield (19) parallel on the internal fit-
ting.
-> Audibly clicks into place.
2. Secure the inside shield with a fixing screw M3 (25).
3. Tighten the lever handle fixing screw (18).
4. Align the lock cylinder and secure using the cylinder
fixing screw.
5. Carry out a function check.
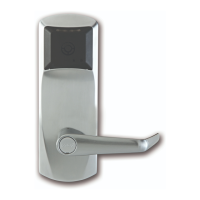
4.7 Other variants
4.7.1 Installing variant with wide plate
In order to ensure improved plate support for the inside shield of variants with a
wide shield (53mm), proceed as follows.
Procedure:
1. Place the inside shield parallel on the internal fitting.
-> Audibly clicks into place.
2. Secure the inside shield with a fixing screw M3 (25).
3. Tighten the lever handle fixing screw (18).
4. Align the lock cylinder and secure using the cylinder
fixing screw.
 Loading...