102
Using the PLAY Menu (Cont’d)
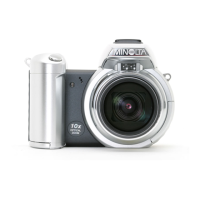
4. When you have completed all your
selections, use the button to select
“OK” and then press the SET/DISP.
button.
• Pressing the MENU button or pressing the
SET/DISP. button on the icon position just
above “OK” discards the settings and
returns to the screen in step 1.
• If you selected “SELECT” as the unit mode,
proceed to step 5. If you selected “ALL ON”
or “ALL OFF”, proceed to p.103-7.
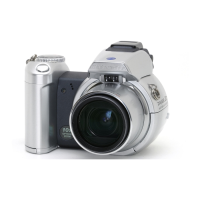
5. The 8-frame index appears. Using ,
, , or , move the red frame to an
image you wish to protect (or cancel
protect) and press the SET/DISP.
button.
• Pressing when the first frame is selected
or pressing on the last frame will switch
the display to the next eight images.
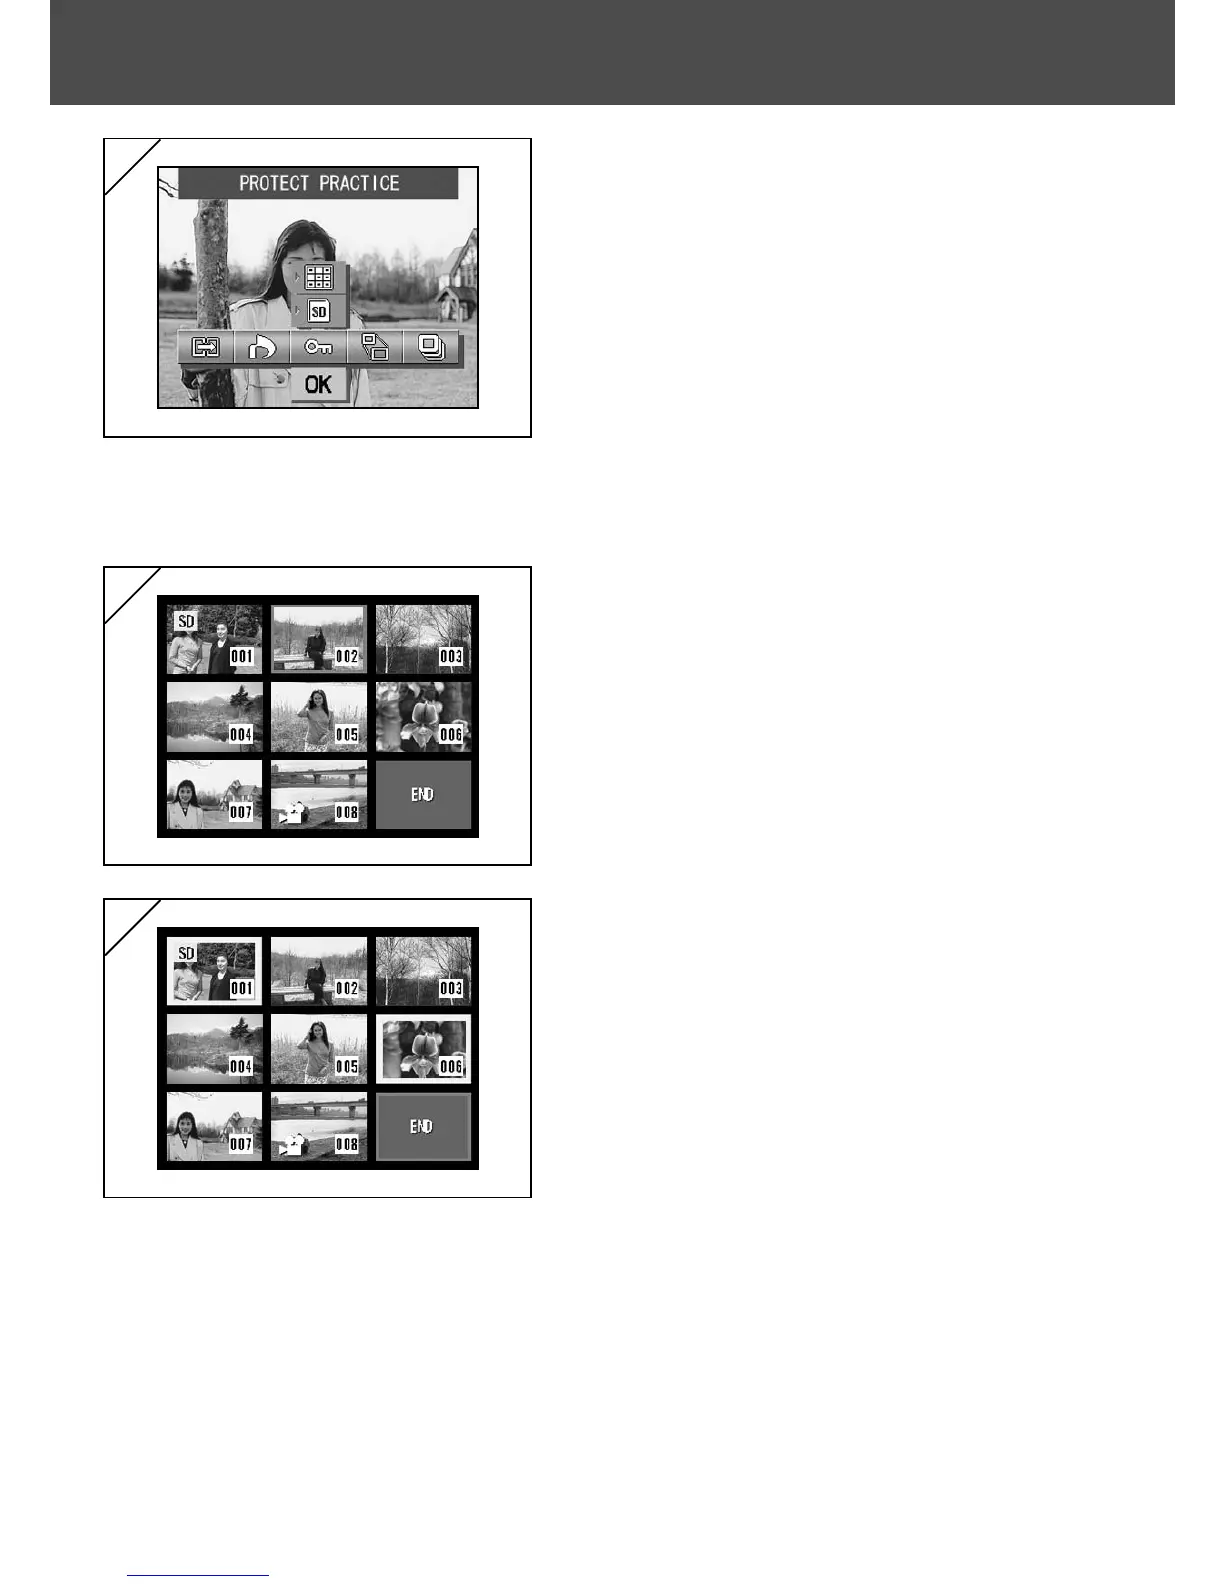
6. Images selected at Step 5 are
surrounded by a yellow frame.
To select other images, repeat the
selection procedure. (Return to Step 5)
When you have finished selecting
images, use , , , or to select
“END”, and then press the SET/DISP.
button.
5
4
6

 Loading...