110
Using the Set-up Menu (Cont’d)
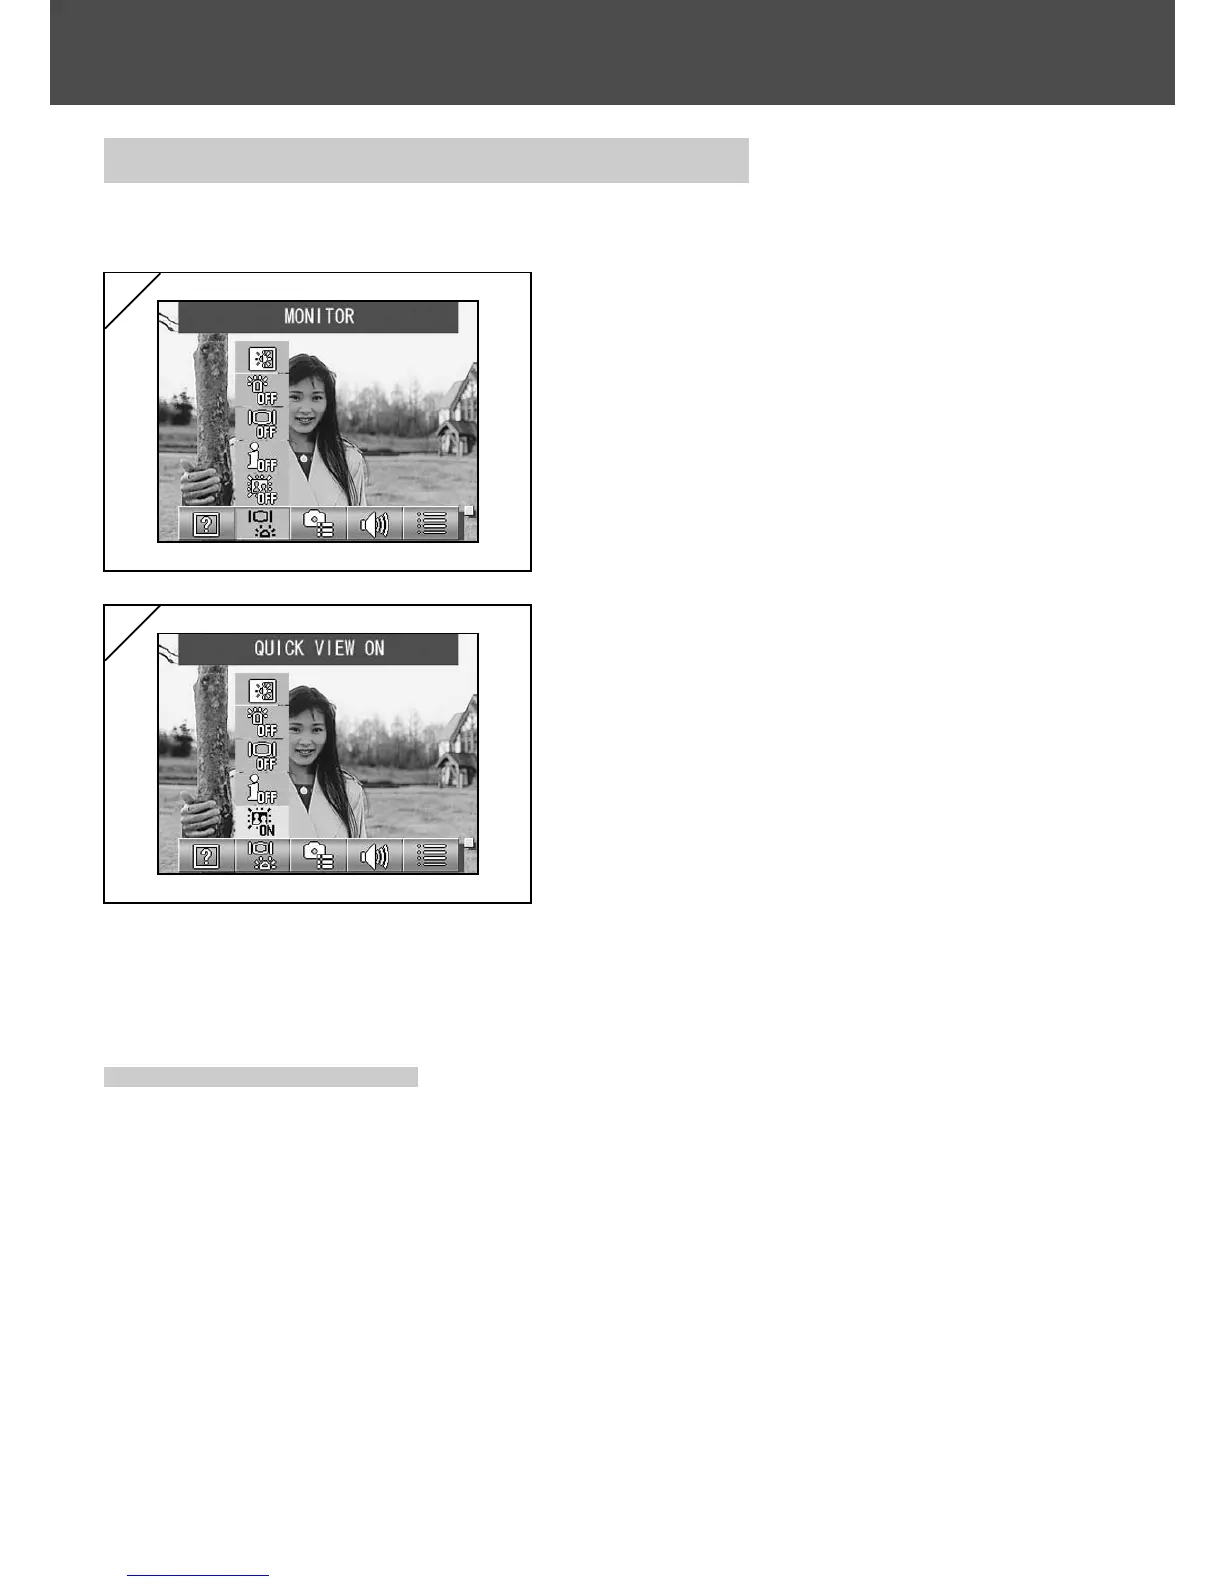
Specifying the LCD Monitor Settings
- Use the procedure below to specify the settings for the LCD monitor.
1. Select “MONITOR”.
2. Use the or button to select the
mode.
Then use the SET/DISP. button to turn
each mode ON or OFF.
3. When you have completed the settings,
press the MENU button.
When the settings are completed, the
SET UP menu screen reappears.
2
1
● Available modes
-QUICK VIEW :Allows you to set up the camera so that you can check your
images right after you shoot them.
- INFORMATION :Allows you to switch between showing and hiding the image
information.
- MONITOR :Allows you to change the LCD monitor operation mode.
- BLUE LED :You can turn the LED that lights when the camera is started up
on and off.
- MONITOR COLOR :Allows you to adjust the LCD monitor brightness and color tones.
(p.112)

 Loading...