98
Using the PLAY Menu (Cont’d)
4
3
5
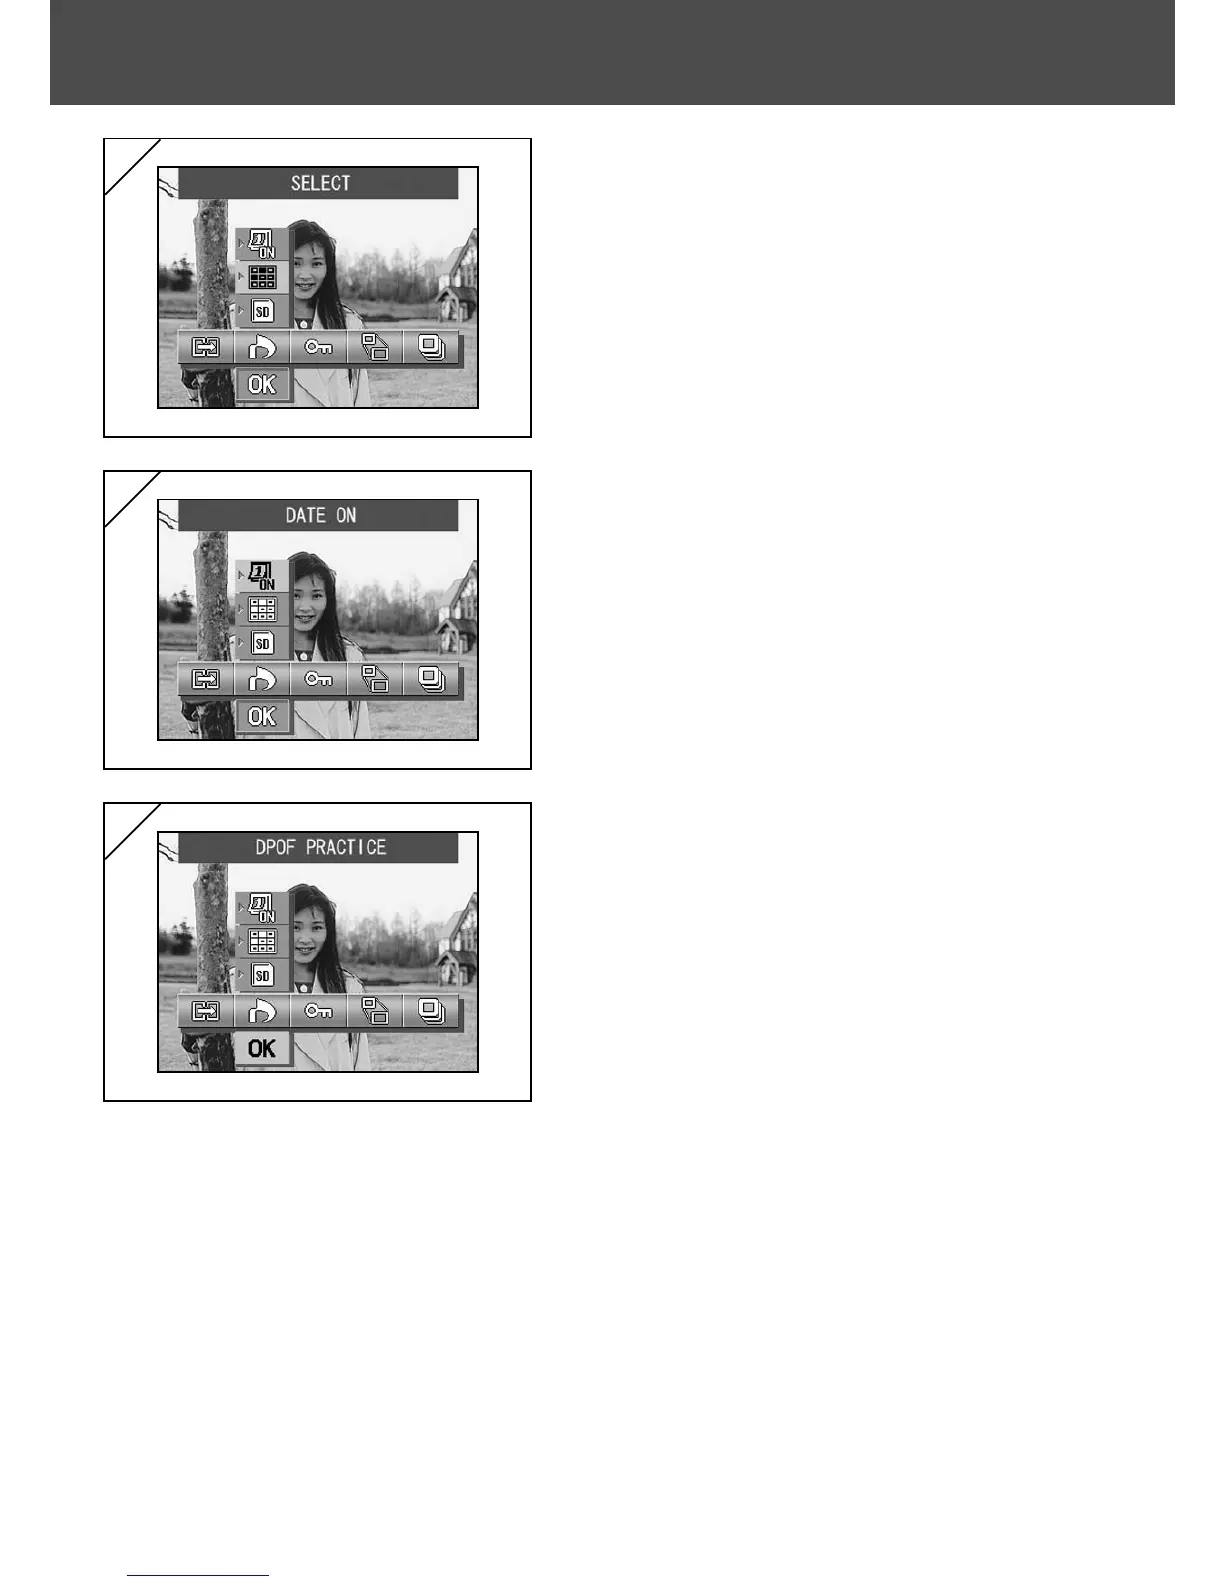
3. After selecting the unit mode, use the
SET/DISP. button to select “SELECT”
if you want to print (or deselect) one
frame or multiple frames. To print all the
frames, select “ALL ON”. To cancel all
the print settings, select “ALL OFF”.
4. After selecting the date mode, use the
SET/DISP. button to select “DATE ON”
or “DATE OFF”.
• If you select “DATE ON”, the date and time
of shooting are also printed.
5. When you have completed all your
selections, use the button to select
“OK” and then press the SET/DISP.
button.
• Pressing the MENU button or pressing the
SET/DISP. button on the icon position just
above “OK” discards the settings and
returns to the screen in step 1.
• If you selected SELECT as the unit mode,
proceed to step 6 on p.99. If you selected
ALL ON, proceed to step 9 on p.100. If you
selected ALL OFF, proceed to step 10 on
p.100.

 Loading...