Preparations
9
4. Adjust the volume of the connected audio device
until the SHIFT button is not lit up in red.
Connecting a MIDI device or a computer
to the MIDI OUT connector or USB
connector
If the MIDI OUT connector of the RK-100S 2 is connected
to the MIDI IN connector of an external MIDI device,
the external MIDI device can be controlled with the
RK-100S 2’s keyboard or controllers.
If the USB connector of the RK-100S 2 is connected to
a computer, sound editor software can be used to edit
parameters,suchassoundsandarpeggiopaernsofthe
RK-100S 2, or sequencer software, for example, can be
used to play the RK-100S 2’s sound generator.
Turning the power on
The RK-100S 2 can be powered by an AC adapter or
baeries.
Due to cable routing considerations during live
performances,
werecommendusingbaeries.
Before you turn on the power
Makesurethatthepowerswitchisobeforeyou
connect the power supply.
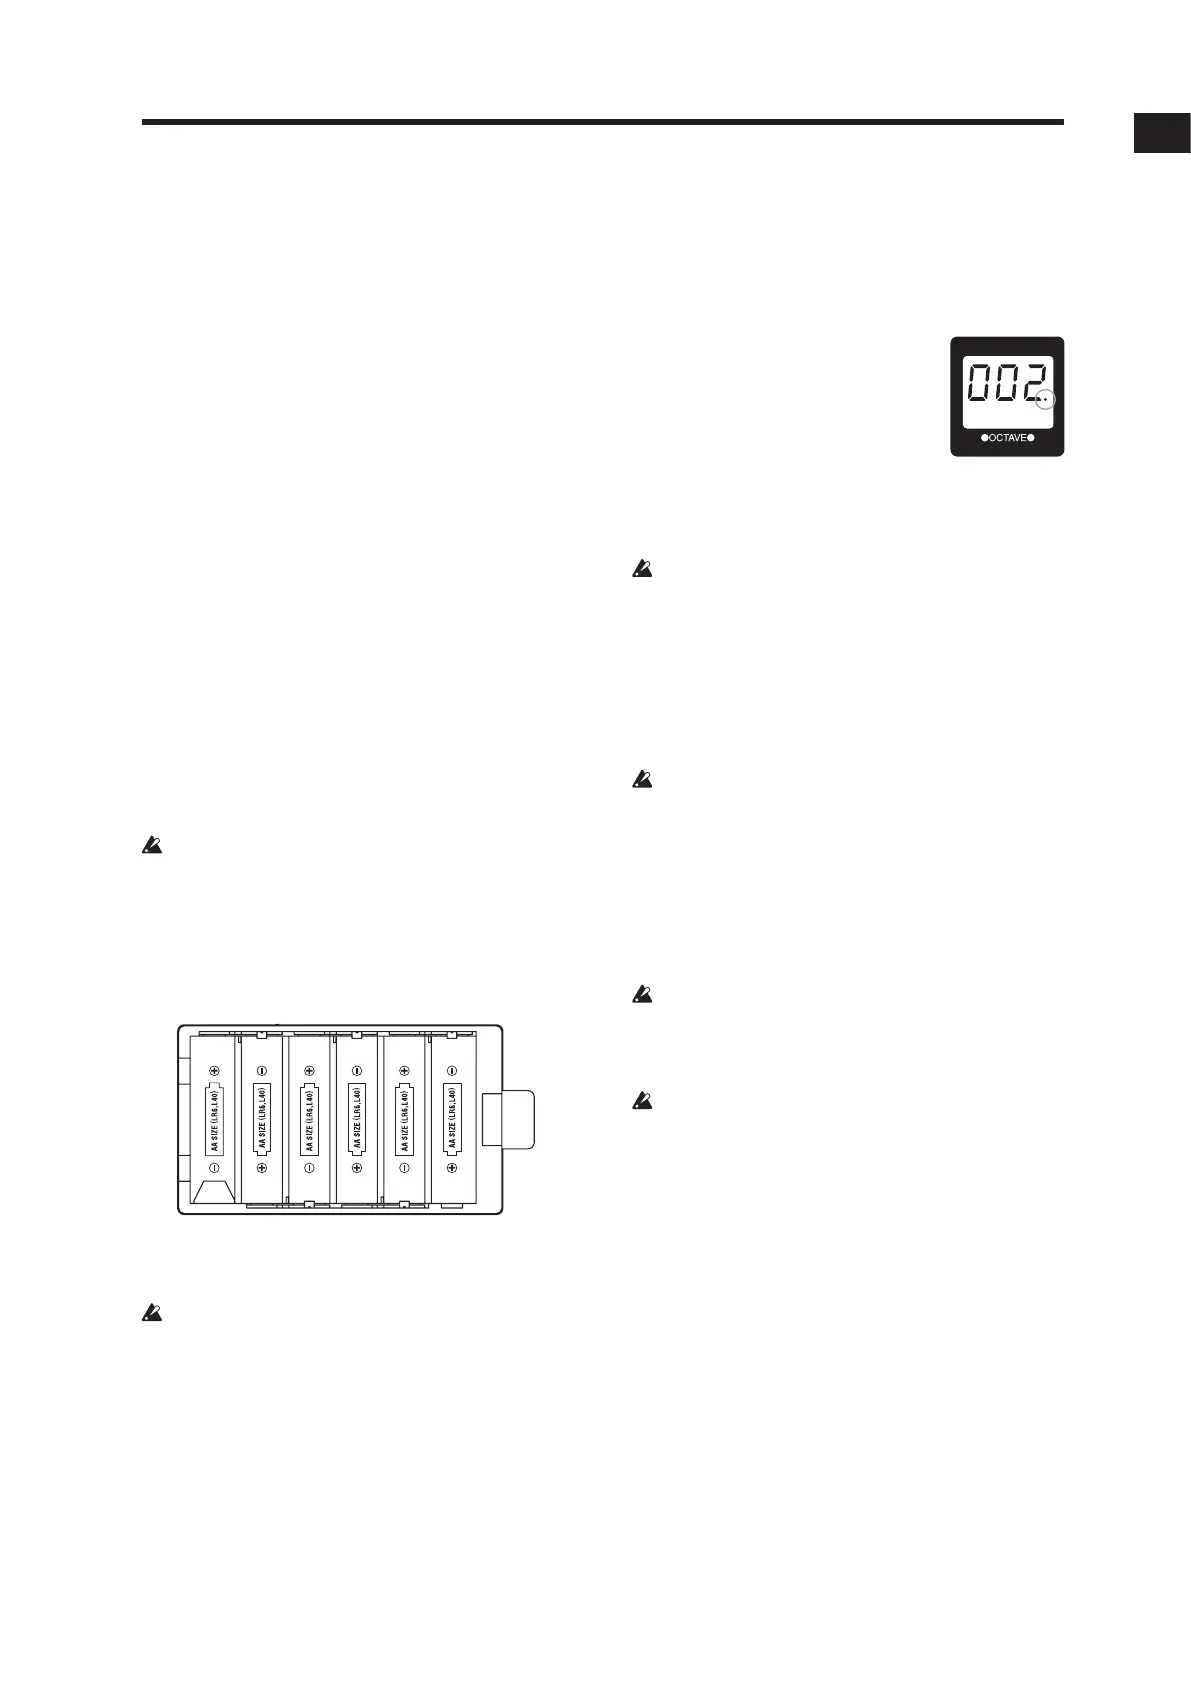
Using batteries
1. Open the battery cover that’s located on the
bottom of the RK-100S 2
.
2. Insert six AA alkaline or nickel-metal hydride
batteries (separately sold).
Makesurethatthebaeriesareorientedcorrectly.
3. Close the battery cover.
4. In order to get the most accurate readings of the
remaining battery power, please refer to the
“Battery type and remaining power” section on
page 17 and select the type of battery that’s
being used.
About the empty battery indicator
HolddowntheSHIFTbuonandpressthefavoritesG
buontoshowtheremainingbaerypowerusingthe
eightfavoritesbuons(A–H)aslevelindicators.The
numberoflitbuonsmaybelowerdependingonthe
baerycapacity.
Inaddition,whenthebaerycapacity
runs down, the dot at the right side of
the display will blink. If you continue
to use the unit, the blinking will
become faster.
If you continue to use the unit in this
state, the indicator will begin blinking. We recommend
thatyoureplacethebaeriesassoonaspossible,or
connect the AC adapter.
Depletedbaeriesshouldbeimmediatelyremoved
fromtheRK-100S2.Leavingdepletedbaeries
installed may cause malfunctions (such as leakage of
thebaeryelectrolyte).Youshouldalsoremovethe
baeriesifyouwon’tbeusingtheRK-100S2foran
extended period of time.
Connecting the AC adapter
OnlyusethespeciedACadapter.Usinganyother
AC adapter may cause malfunctions.
1. Make sure that the RK-100S 2 is powered-o.
2. Connect the optional AC adapter to the DC9V
connector, located on the side panel.
See page 8 “Connections”
3. Plug the AC adapter into an AC outlet.
Use an AC outlet of the correct voltage.
Turning the power on
Before you power-on the RK-100S 2, you must
power-oanyexternaloutputdevicesuchasyour
powered monitor speakers.
1. Turn the RK-100S 2’s VOLUME knob all the way to
the left.
2. Hold down the power switch until the indicators
appear in the display.
When the indicators appear in the display, release
the switch.
After a while, the program number will appear in
the display.
3. Lower the volume of your powered monitors or
other external output equipment.
4. Turn the RK-100S 2’s VOLUME knob to an
appropriate position.
5. Adjust the volume of your external output
equipment.

 Loading...