90
A note on saving samples
In the dialog boxes of some Utility menu, there is a
“Save to No.” setting that lets you specify the sample
number to which the edited sample will be saved. At
this time, a vacant sample number will be selected
automatically, so you will change the setting only if
you want to specify the save destination number.
If you check “Overwrite” in the dialog box of the com-
mand, the data prior to editing will be deleted, and
will be overwritten by the edited data. Normally, you
will execute the Write operation without checking this,
so that the unedited data is preserved. When you are
completely finished with your editing, you can use the
Utility menu command “Delete SMPL” to delete
unneeded samples.
In Sampling mode, there is no Compare function
that lets you compare the data before and after
editing.
If you wish to preserve the unedited state of the
multisample or sample, use “Copy SMPL” or
“Copy MS” (
☞PG p.94, 95) to copy the multisam-
ple or sample before you begin editing it.
For some Utility menu commands in 2.1: Sample
Edit or 3.1: Loop Edit, you can execute without
checking the “Overwrite” setting in the dialog
box, so that the sample data previous to editing
will be preserved.
Multisample editing
Editing a multisample is accomplished with a number
of operations i.e. creating indexes for the multisample
and assigning a sample to each index, editing opera-
tions such as deleting, copying, and inserting indexes,
and detailed settings such as sample level and pitch for
each index.
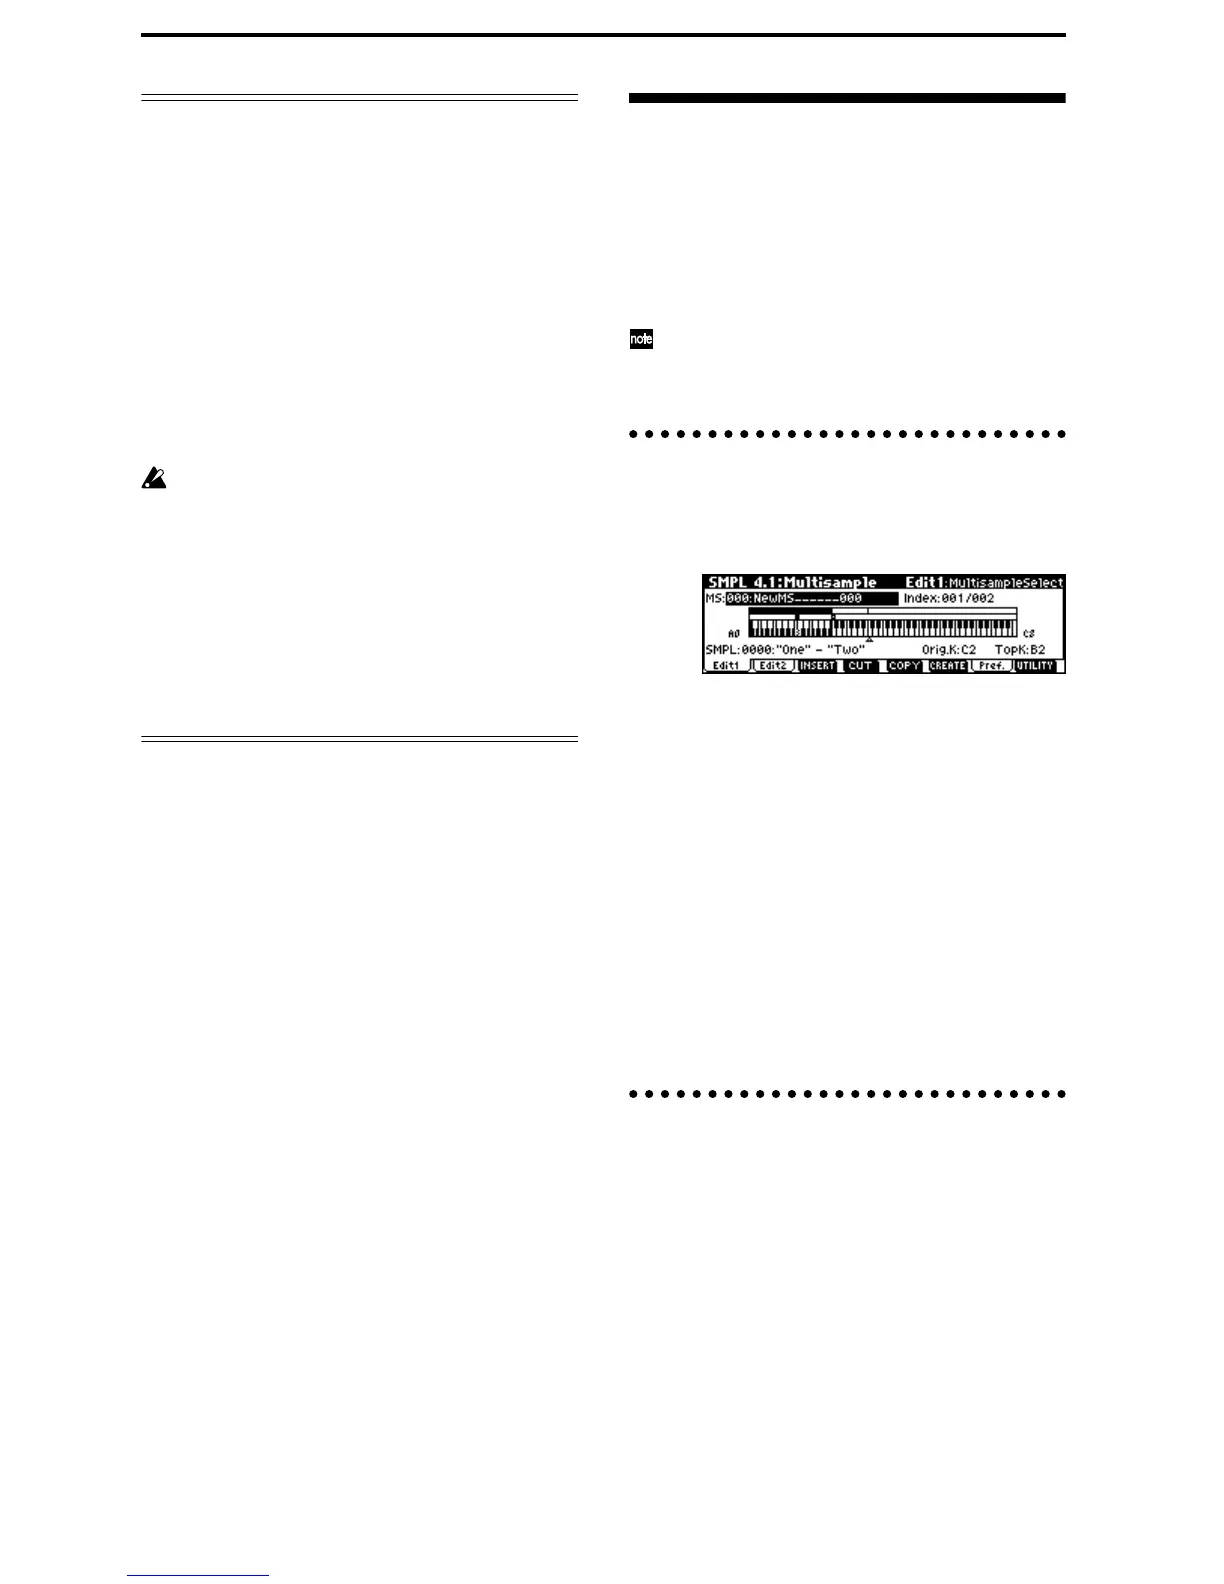
Multisample editing is performed in 4.1: Multisample.
Basic settings such as creating indexes and assign-
ing samples can also be made in the 1.1: Record-
ing, Sample page.
Editing the indices
To change the number or order of the indexes, use the
INSERT, CUT, COPY, and CREATE.
1 Select 4.1: Multisample.
2 Use “MS (Multisample Select)” to select the multi-
sample that you wish to edit.
3 Select the “Index.”
You can also select this by holding down the
[ENTER] key and playing a note.
4 Press the keys corresponding to the following
function buttons to edit the multisample by
changing the number or order of the indexes.
To delete the selected index, press the “CUT.”
The “INSERT” is used in conjunction with the Cut
and “Copy.” The contents of the index that was Cut
or Copied will be inserted.
The “CREATE” has the same function as the “CRE-
ATE” in 1.1 Recording, Sample (
☞p.87 “Creating
multisample indexes and sampling”).
Modifying the settings of an index
1 Make the settings described in steps 1–3 of
“Editing the indices.”
2 Set parameters for the selected index.
(
☞PG p.116)
• Changing the Edit1 page “Top K (Top Key)” will
change the upper limit of the zone. Simultaneously,
the lower limit of the next-numbered index will
also change.

 Loading...