VP-440X – Operating and Controlling VP-440X
Setting Output Parameters
VP-440X enables setting output parameters such as the size of the image and output
resolution via the OSD MENU buttons.
To set the output parameters:
1. On the front panel press MENU. The menu appears.
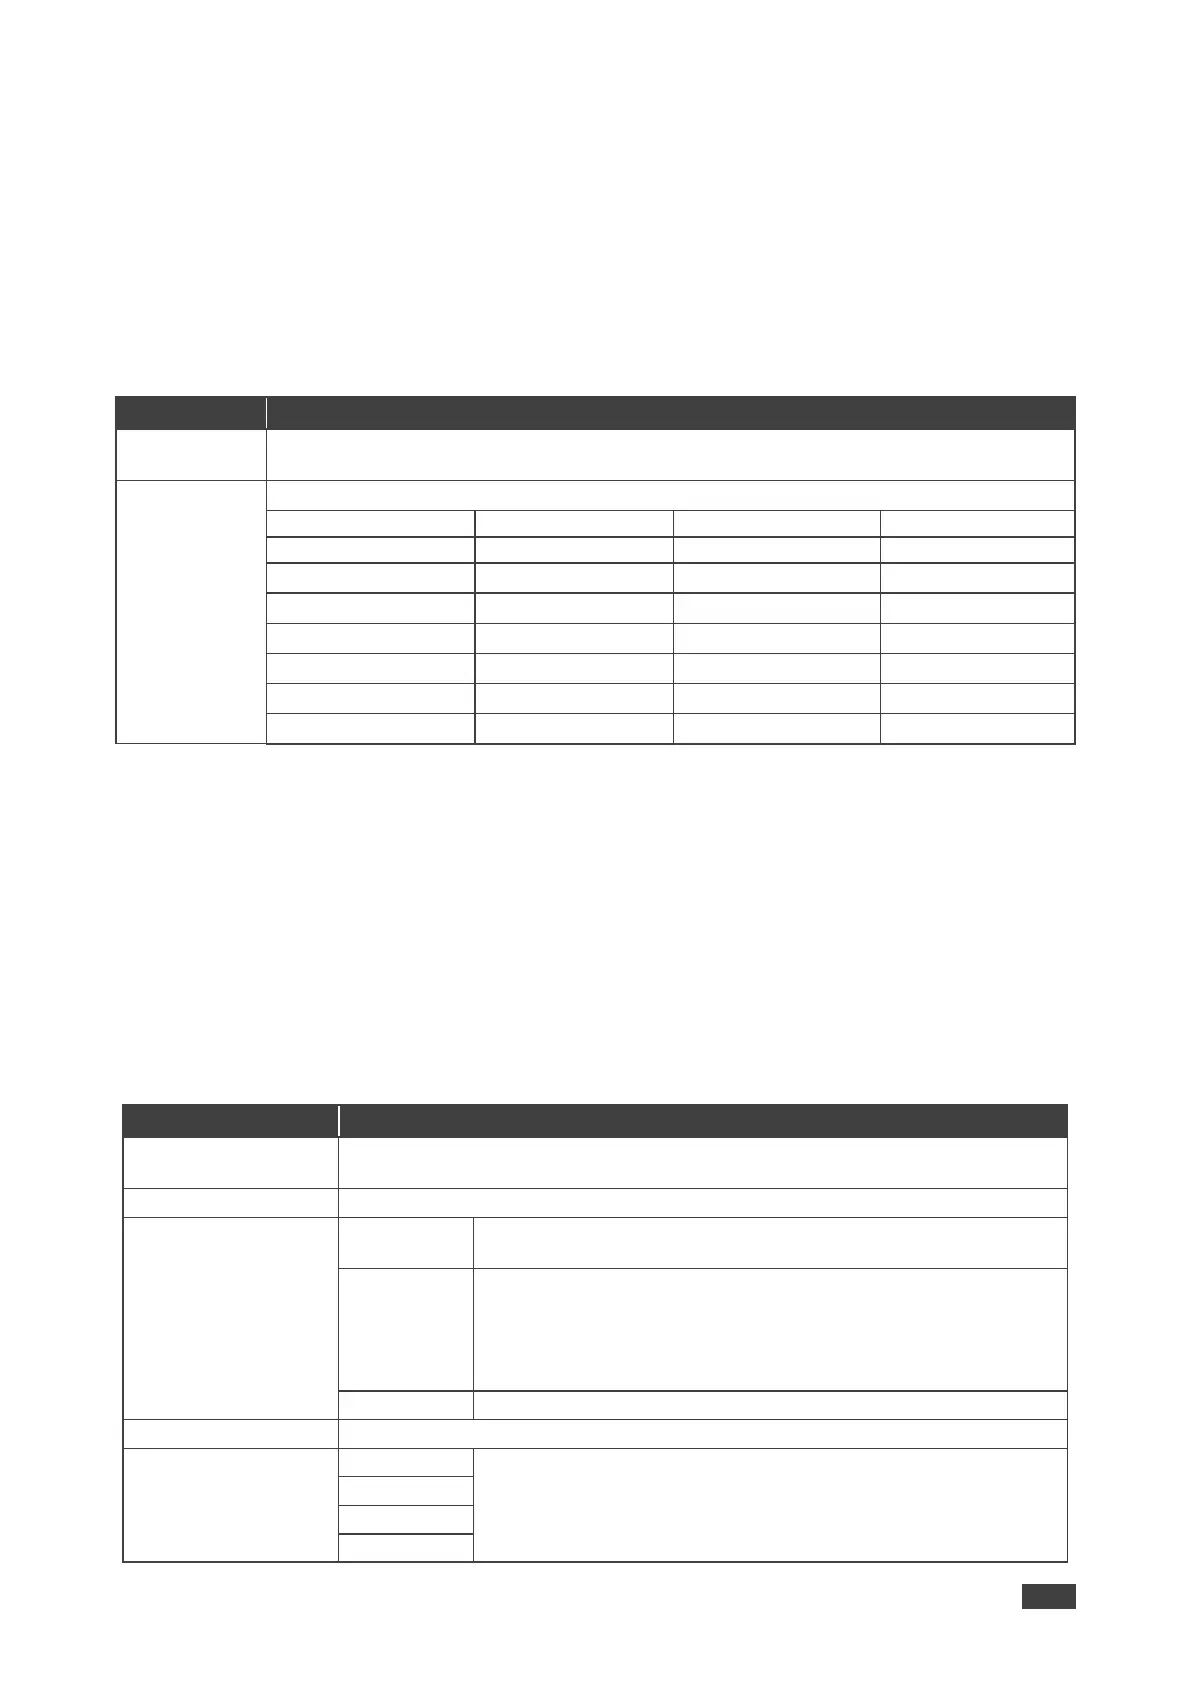
2. Click Output and define the output parameters according to the information in the
following table:
Set the size of the image: Over Scan, Full, Best Fit (default), Pan Scan, Letter Box,
Under 2, Under 1, Follow In.
Select the output resolution (default, Native HDMI):
Image size and output resolution are defined.
Setting Audio Parameters
VP-440X enables defining the audio source per input, the audio delay time, the input and
output volume, as well as microphone settings.
To set the audio:
1. On the front panel press MENU. The menu appears.
2. Click Audio and define the audio parameters according to the information in the
following table:
Set the input volume for each of the inputs: HDMI 1, HDMI 2, HDMI 3, HDMI 4
or PC.
Set the AUDIO OUT output volume (default is 80 = 0dB).
Set the audio delay time (lip sync) to off, 40ms (default),110ms
or 150ms.
Set dynamic range compression OFF (default) or ON.
Set to ON to dynamically create a sound range according to the
volume level. For example, in a movie, if the volume is high
enough to hear dialogue and at the same time loud, sudden
noises are toned down.
Set the loudness on or off (default).
Mute or unmute the audio output.
Select Embedded, Analog, or Automatic (default).
Embedded selects the embedded HDMI audio source; Analog
selects the analog audio corresponding to the input; and
Automatic (default) selects the embedded audio when an HDMI