16 TUNING THE ENGINE 90
16.1 Checking the play in the throttle cable
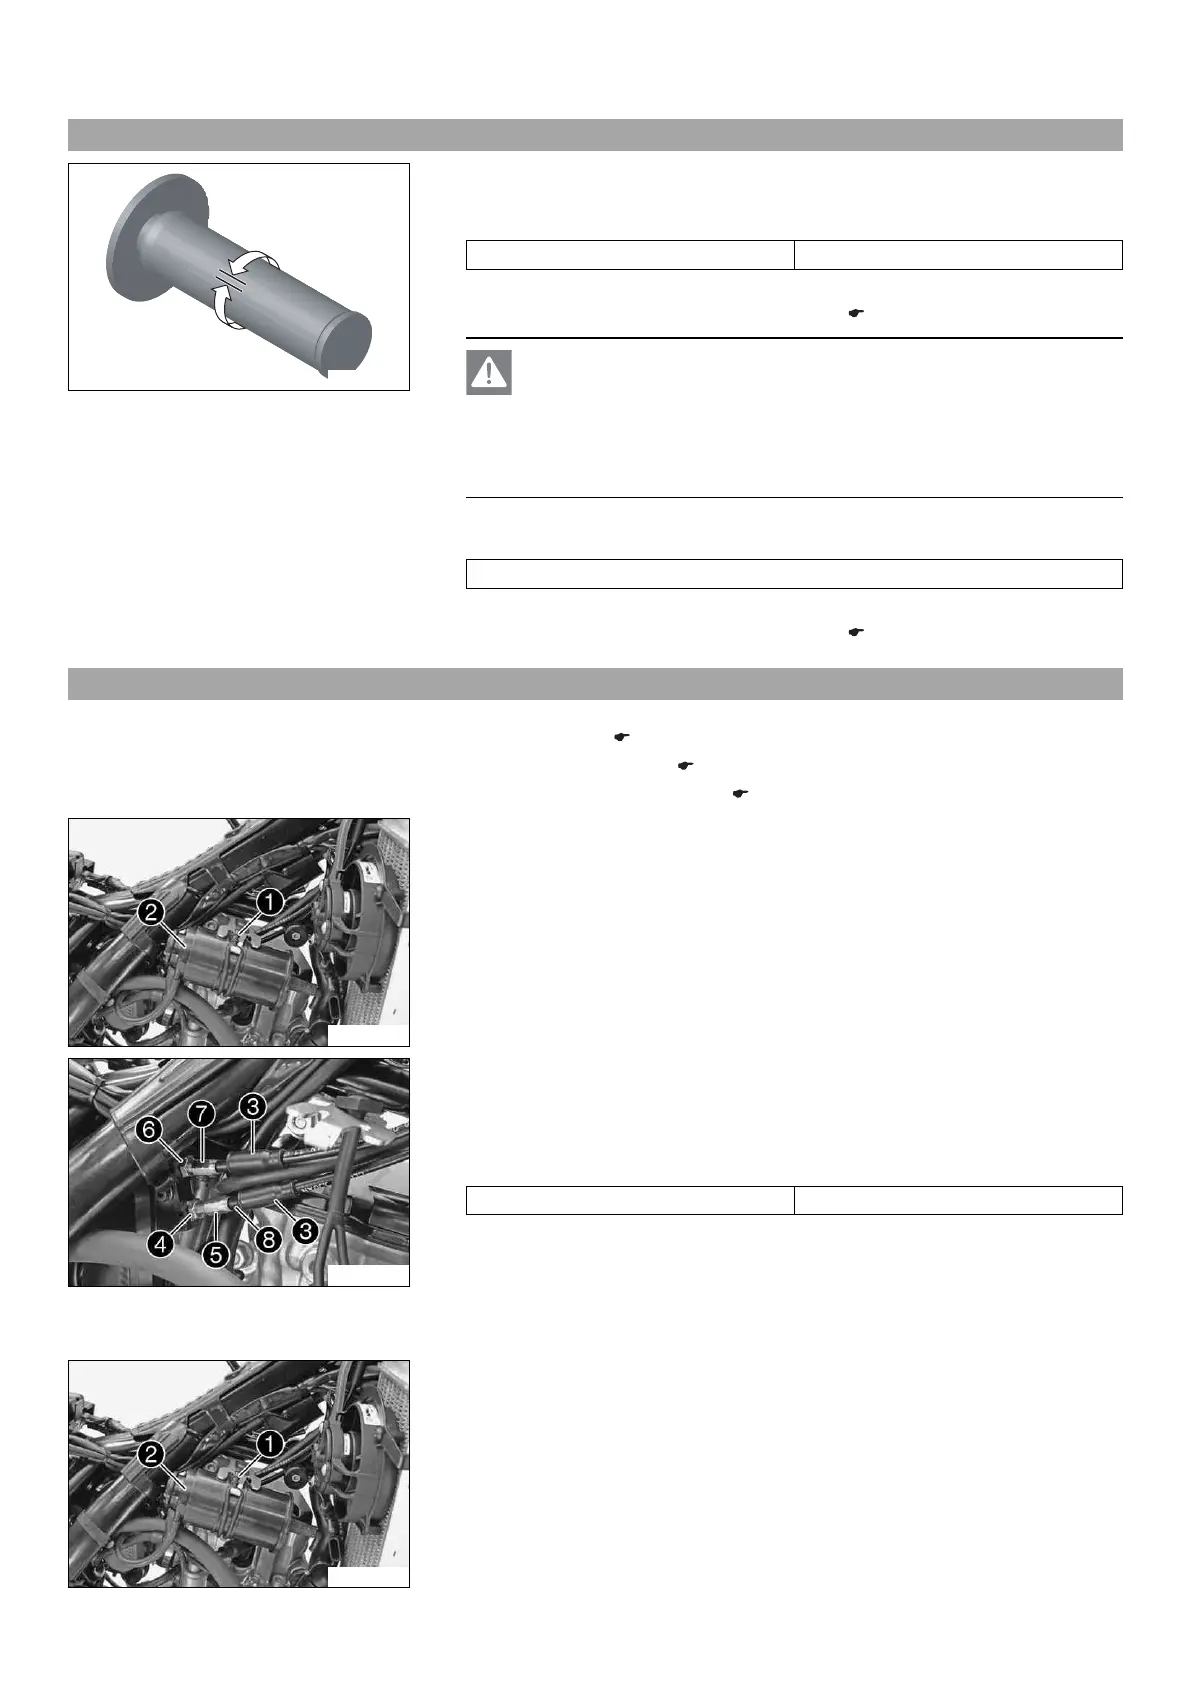
400192-10
– Check the throttle grip for smooth operation.
– Move the handlebar to the straight-ahead position. Move the throttle grip back-
wards and forwards to ascertain the play in the throttle cable.
Play in throttle cable 3… 5 mm (0.12… 0.2 in)
» If the throttle cable play does not meet specifications:
–
Adjust the play in the throttle cable. x ( p. 90)
Danger
Danger of poisoning Exhaust gases are toxic and inhaling them may result
in unconsciousness and/or death.
– When running the engine, always make sure there is sufficient ventila-
tion, and do not start or run the engine in an enclosed space without an
effective exhaust extraction system.
– Start the engine and let it run idle. Move the handlebar to and fro over the entire
steering range.
The idle speed must not change.
» If the idle speed changes:
–
Adjust the play in the throttle cable. x ( p. 90)
16.2 Adjusting the play in the throttle cable x
Preparatory work
– Remove the seat. ( p. 53)
–
Remove the fuel tank. x ( p. 56)
– Check the throttle cable routing. ( p. 63)
101500-10
Main work
– Move the handlebar to the straight-ahead position.
– Detach rubber band 1 at the top.
– Remove fuel vapor container 2.
101501-10
– Push back sleeves 3.
– Loosen nut 4. Fully screw in adjusting screw 5.
– Loosen nut 6. Turn adjusting screw 7 to create play in the throttle cable at the
throttle grip.
Guideline
Play in throttle cable 3… 5 mm (0.12… 0.2 in)
– Tighten nut 6.
– Press the throttle grip into the fully closed position and hold it there. Unscrew
adjusting screw 5 until there is no more play in cable 8.
– Tighten nut 4.
– Slide on sleeves 3. Check the throttle grip for smooth operation.
101500-10
– Position fuel vapor container 2.
– Mount rubber band 1.