SERVICE WORK ON THE CHASSIS 57
10.43Correcting the fluid level of the hydraulic clutch
Info
The fluid level rises with increasing wear of the clutch facing discs.
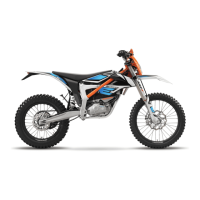
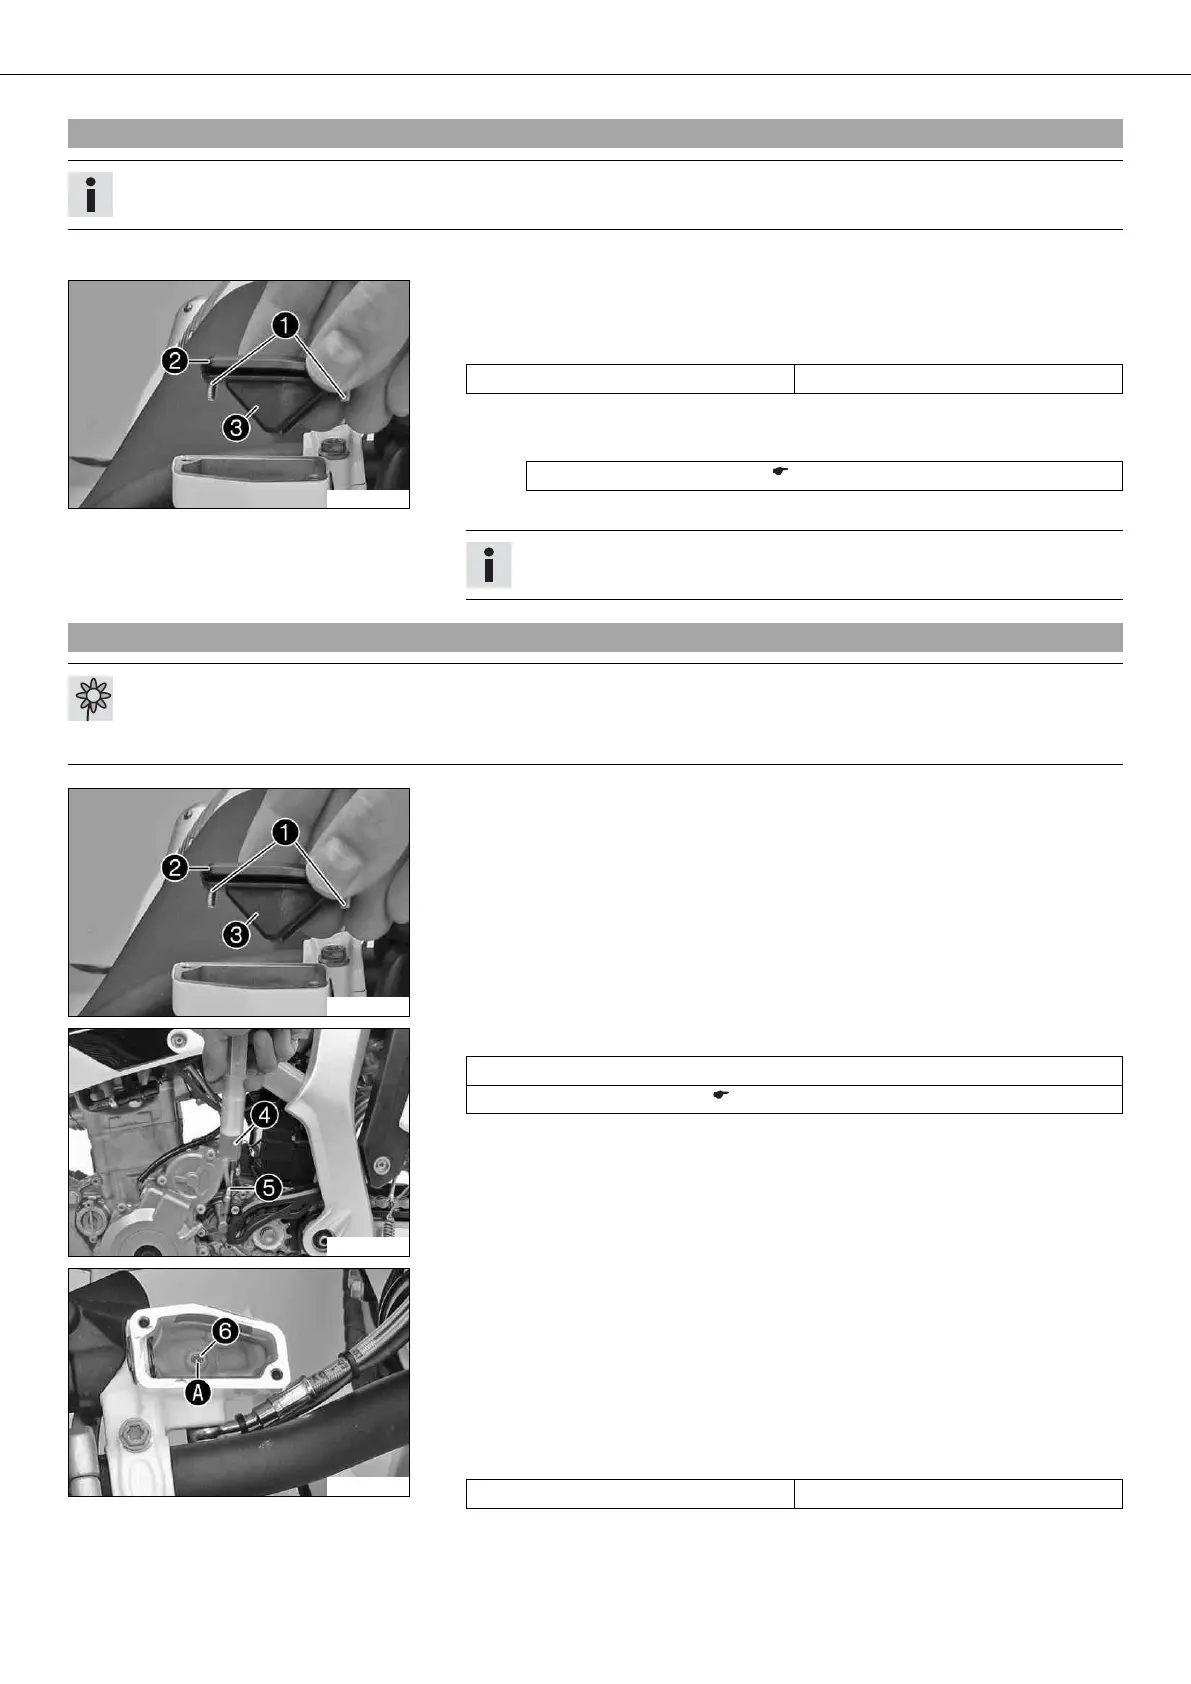
– Move the clutch fluid reservoir mounted on the handlebar to a horizontal position.
B01082-11
– Remove screws 1.
– Remove cover 2 with membrane 3.
– Check the fluid level.
Fluid level below container rim 4 mm (0.16 in)
» If the fluid level does not meet specifications:
– Correct the fluid level of the hydraulic clutch.
Brake fluid DOT 4 / DOT 5.1 ( p. 103)
– Position the cover with the membrane. Mount and tighten the screws.
Info
Clean up overflowed or spilt brake fluid immediately with water.
10.44Changing the hydraulic clutch fluid x
Warning
Environmental hazard Hazardous substances cause environmental damage.
– Oil, grease, filters, fuel, cleaners, brake fluid, etc., should be disposed of as stipulated in applicable regulations.
B01082-11
– Move the clutch fluid reservoir mounted on the handlebar to a horizontal position.
– Remove screws 1.
– Remove cover 2 with membrane 3.
B01083-10
– Fill bleeding syringe 4 with the appropriate hydraulic fluid.
Bleed syringe (50329050000)
Brake fluid DOT 4 / DOT 5.1 ( p. 103)
– On the clutch slave cylinder, remove bleeder screw 5 and mount bleeding
syringe 4.
B01084-10
– Remove screw 6 with the O-ring.
– Inject the liquid into the system until it escapes from opening A of the master
cylinder without bubbles.
– To prevent overflow, drain fluid occasionally from the master cylinder reservoir.
– Mount and tighten screw 6 with the O-ring.
– Remove the bleeding syringe. Mount and tighten screws bleeder screw.
– Correct the fluid level of the hydraulic clutch.
Guideline
Fluid level below container rim 4 mm (0.16 in)
– Position the cover with the membrane. Mount and tighten the screws.