Product Service 1-800-522-7658
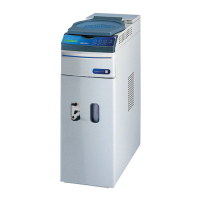
7. Using a 1/2-inch wrench, remove the two upper and one lower blower mounting
bolts, as shown in Figure 6-29.
Figure 6-29
Blower Mounting Bolts
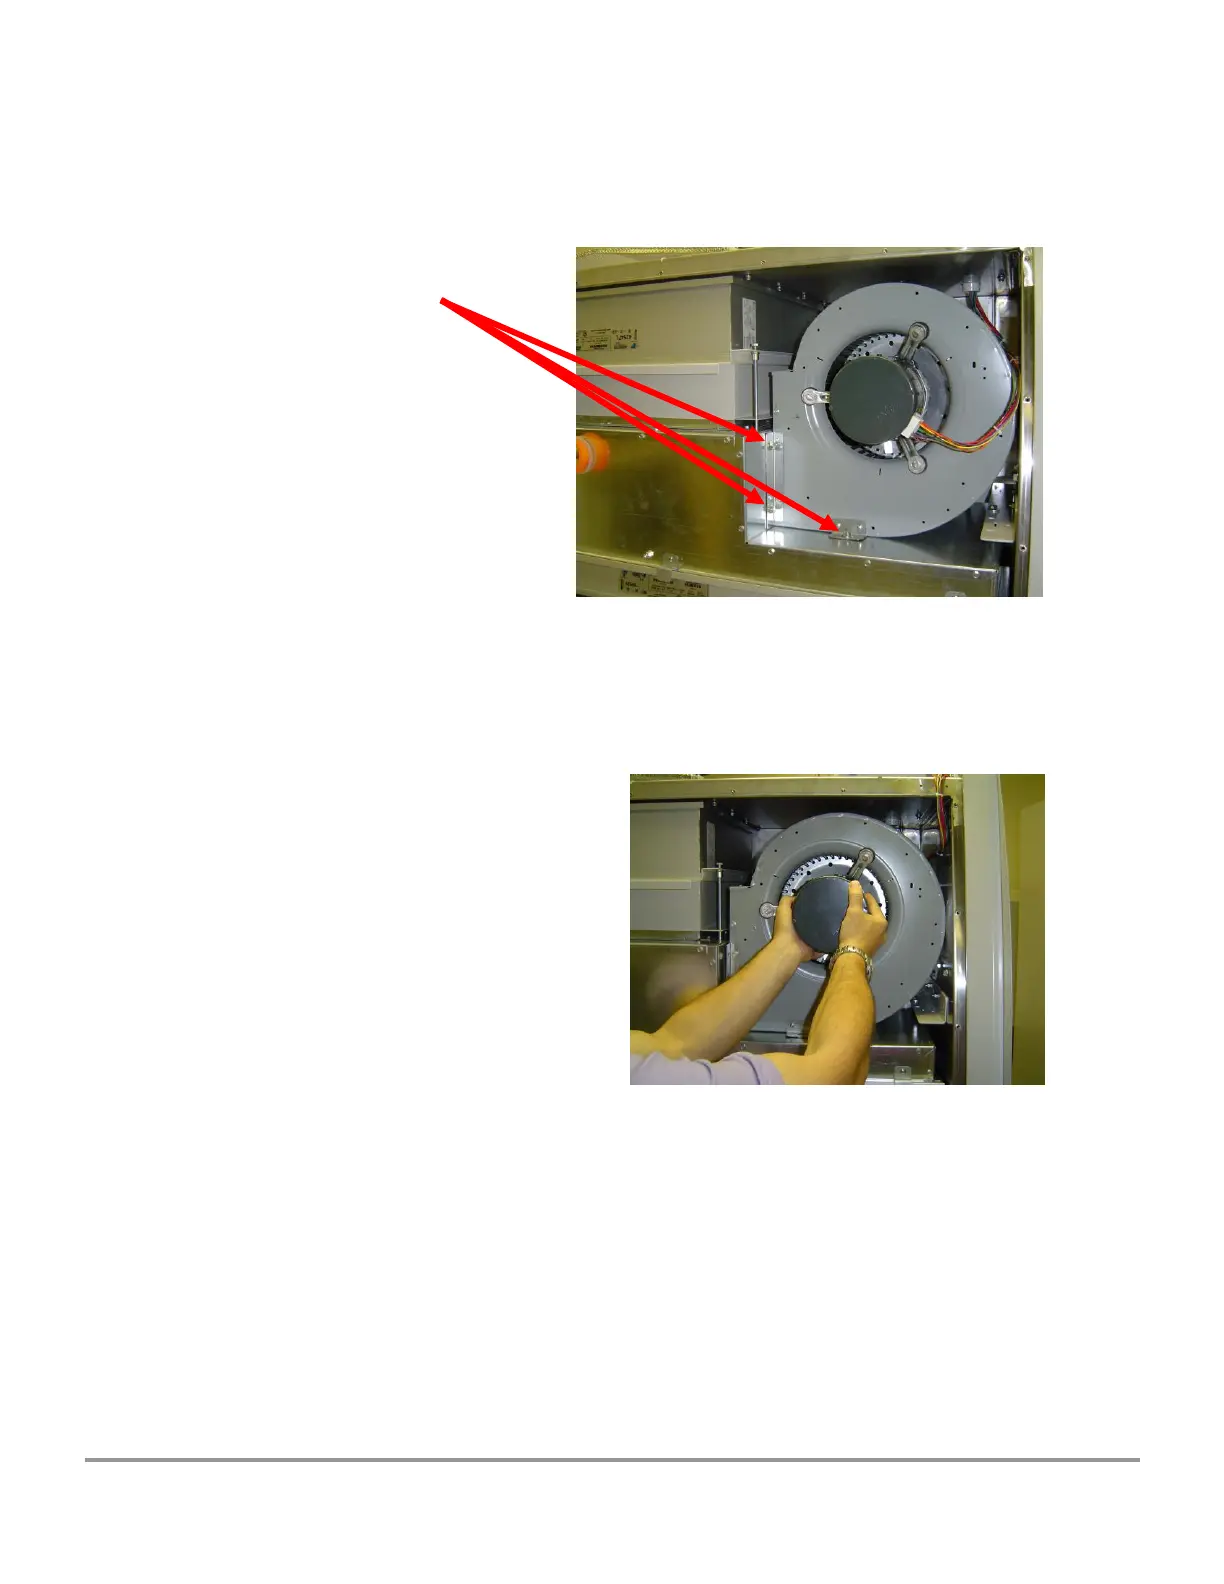
The motor/blower assembly is heavy. Handle with care.
8. While supporting the blower assembly, pull the assembly straight out the
plenum, as shown in Figure 6-30.
Figure 6-30
9. To replace the motor/blower assembly, reverse the above procedure.
Note: During reinstallation of the blower assembly, angle the rear blower
bracket into the plenum blower opening. Make sure to engage the rear
blower bracket inside the plenum blower hole. After reinstalling and
tightening the three blower bolts, ensure that the rear blower bracket is
correctly engaged by trying to move the blower assembly. If it is rigidly
captured on the plenum, then the rear bracket is properly engaged. If the
rear of the blower assembly moves freely, then the blower must be
reinstalled.
10. Continue the reassembly. Plug in the cabinet and recertify it before use.