FLIP
®
01.01.2019
English / Englisch
MAINTENANCE WORK AND REPLACEMENT OF WEARING PARTS
3 Rotate the vertical guide roller axis completely out of the fan
housing.
NOTE:
A light film of oil on the thread of the new guide roller makes
the adjustment work easier.
4 Rotate the vertical axis of the new guide roller into the fan
housing.
5 Set the position of the guide roller using the universal spanner
( Section 7.8, Adjusting the guide rollers). Mount the
locknut and tighten it.
6 Check the setting of the guide rollers ( Section 7.8.
Adjusting the guide rollers).
7.10 ADJUSTING THE WALL-PROTECTING ROLLER
Adjusting the wall-protecting roller can avoid damaging or sanding
various wall shapes or skirting boards.
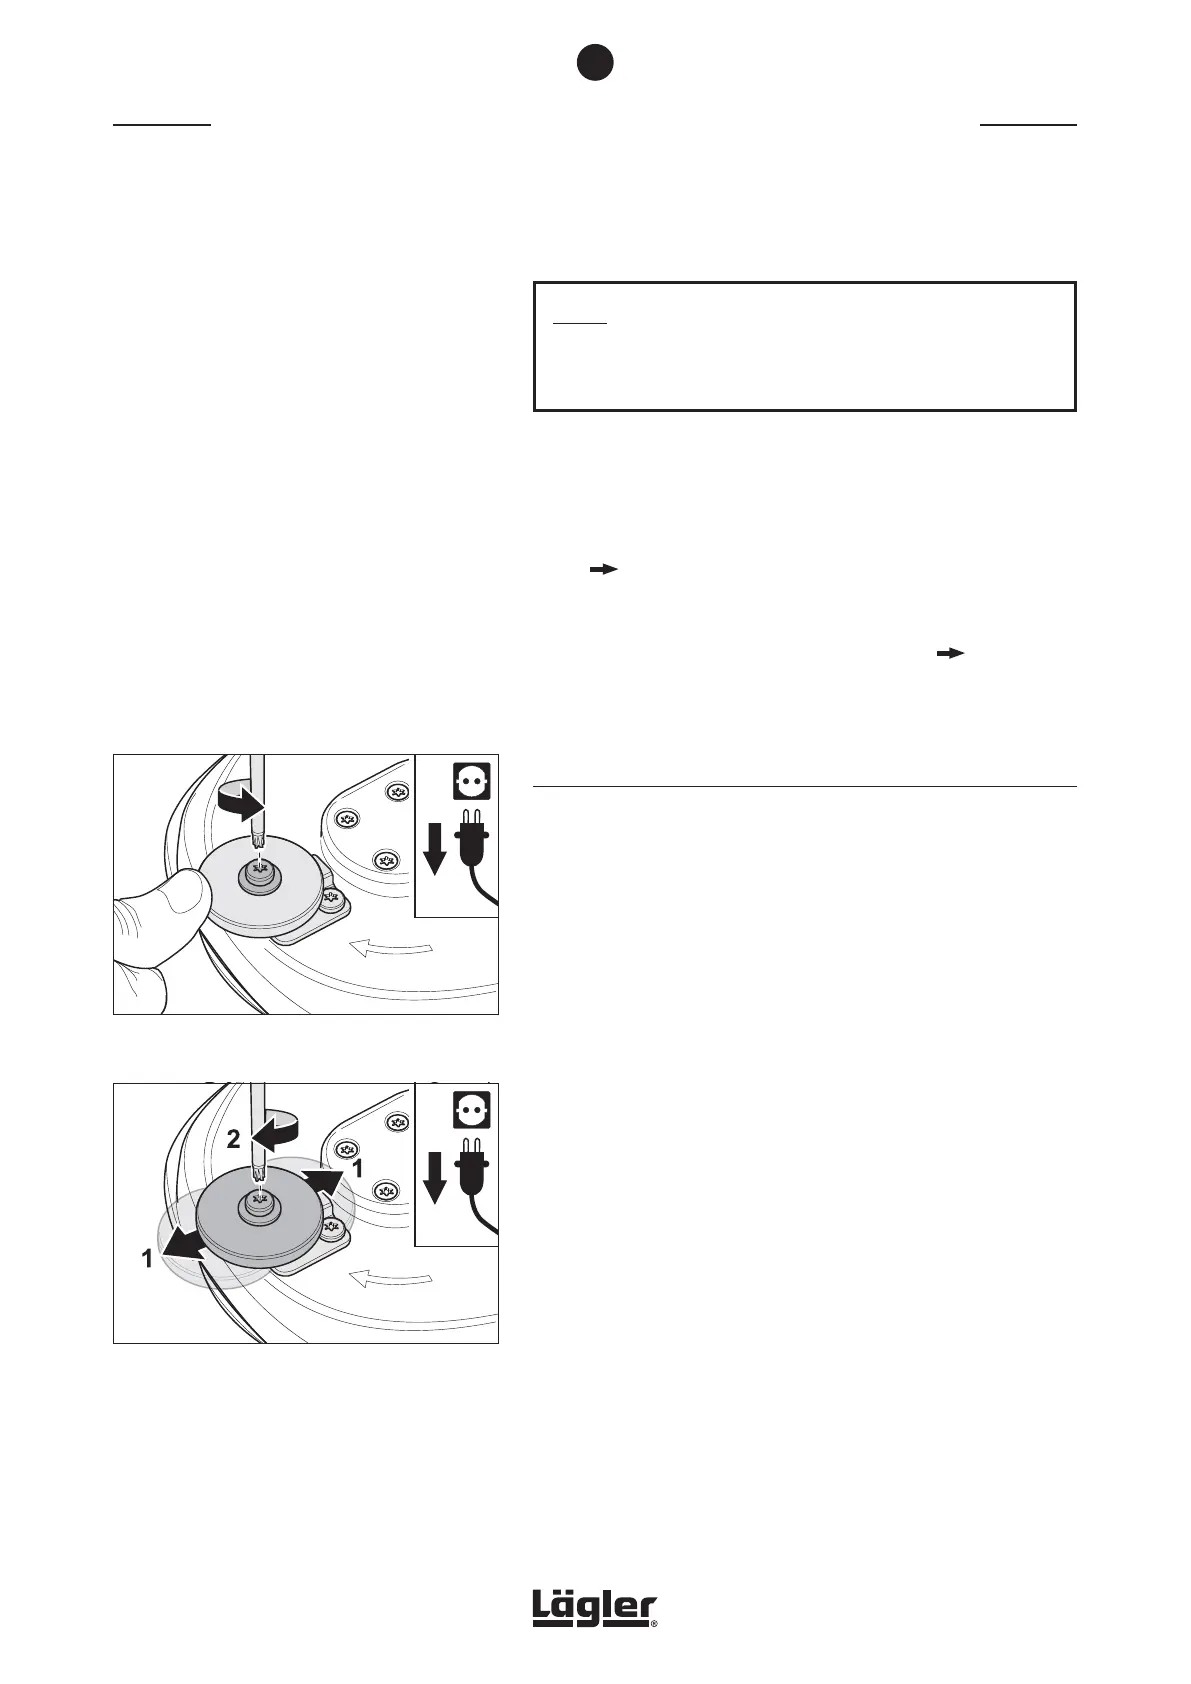
1 Switch off the machine and pull the power plug out of the
socket!
2 Use the universal spanner to undo the screw in the middle
of the wall-protecting roller (fig. 69).
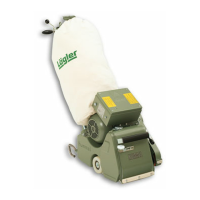
3 Push the wall-protecting roller into the position you require
(fig. 70, 1) and retighten the screw (fig. 70, 2).
4 Check the position by placing the switched off FLIP
®
against
the wall so that the wall-protecting roller rests against the
wall or skirting board.
5 The sanding plate must not be touching the wall. Otherwise,
push the wall-protecting roller in the desired direction.
If you deliberately want to sand right up to the wall, you can push
the wall-protecting roller completely out of the working area.
7
Fig. 69 Undo the screw in the middle of the wall-protect-
ing roller.
Fig. 70 Push the wall-protecting roller (1) and tighten the
screw (2).
42