If Calibra
te the automatic tar-
get aiming is checked and an
ATR is available, the adjustment
will include the determination of
the ATR Hz and V adjustment
errors.
☞
Use a clean Leica
standard prism as the
target. Do not use a
360° prism.
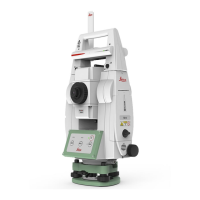
5. The procedure can be started in any face.
6. Measure t
o measure and to
continue to the next screen.
Non-motorised instruments
guide to the other face.
☞
The fine pointing has
t
o be performed man-
ually in both faces.
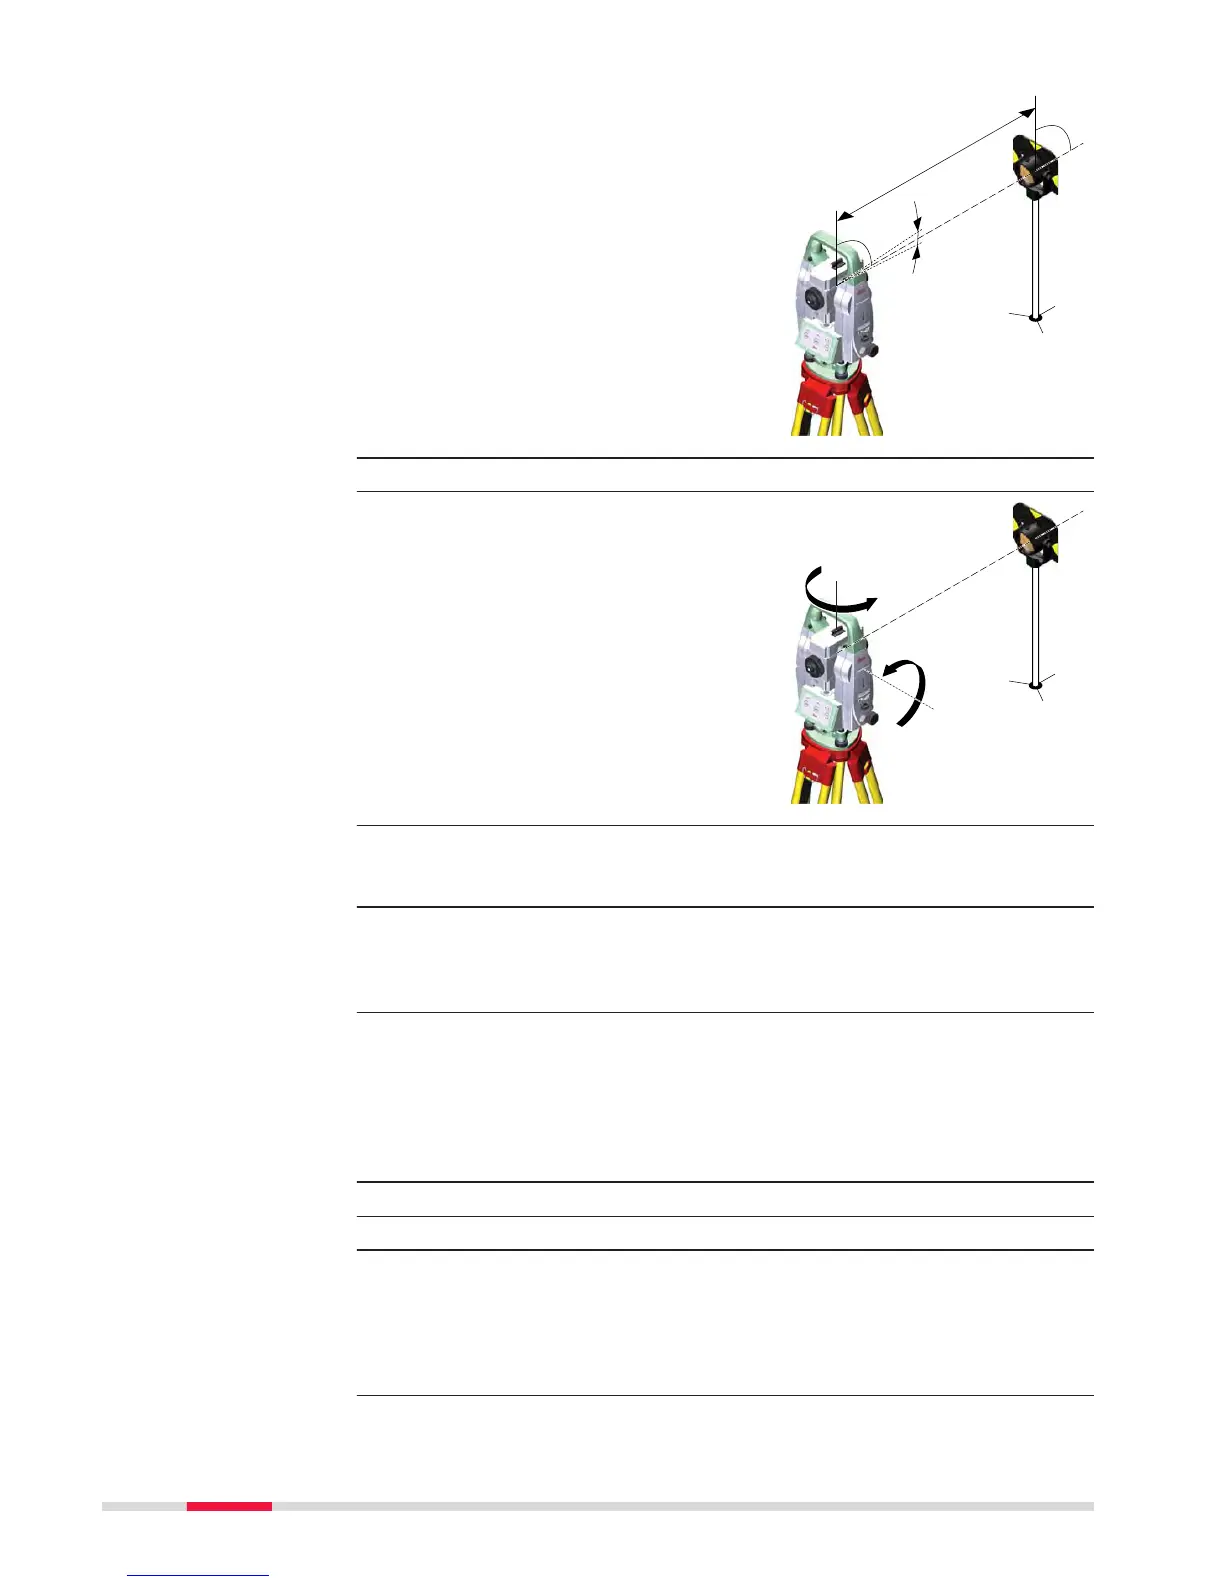
7. Face II measurement
Measure to measure the same target in the other face and to calcu-
late the instrument errors.
☞
If one or more errors are bigger than the predefined limits, the pro-
cedure must be repeated. All measurements of the current run are
rejected and none of them is averaged with the results from previous
runs.
8. Adjustment Status
Number of measurements: Shows the number of runs completed.
One run consists of a measurement in face I and face II.
l Component quality (1 σ): and similar lines show the standard
deviations of the determined adjustment errors. The standard devia-
tions can be calculated from the second run onwards.
☞
Measure at least two runs.
9. Next to continue with the check & adjust procedure.
10. Select Add another calibration loop if more runs have to be
added. Next and continue with step 4.
OR
Select Finish the calibration & store the results to finish the cali-
bration process. Next to view the adjustment results.
11. Select Finish to accept the results. No more runs can be added later.
52 Check & Adjust