2. Use a pole bipod, to align the
p
rism pole parallel to the plumb
line.
3. Check the position of the circular
level on the prism pole.
4.
a If the circular level is cen-
tred, no adjustment is nec-
essary.
b If the circular level is not
centred, use an allen key
to centre it with the
adjustment screws.
☞
After the adjustments, all adjusting screws must have the same
tightening tension and no adjusting screw should be loose.
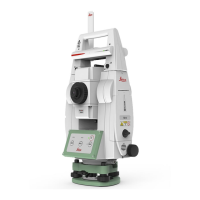
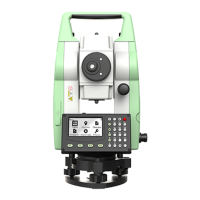
5.7 Inspecting the Laser Plummet of the Instrument
The laser plummet is located in the vertical axis of the instrument. Under nor-
mal c
onditions of use, the laser plummet does not need adjusting. If an adjust-
ment is necessary due to external influences, return the instrument to any
Leica Geosystems authorised service workshop.
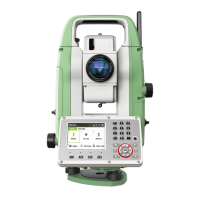
The following table explains the most common settings.
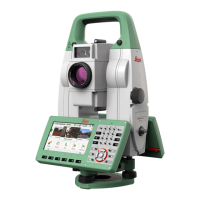
1. Set up the instrument on the tripod approximately 1.5 m above the
gr
ound and level up.
2. Select Settings\TS instrument\Level & compensator to access
the Level & Compensator panel.
The laser plummet is switched on when the Level & Compensator
panel is entered. Adjust the laser plummet intensity.
☞
Inspection of the laser plummet should be carried out on a
bright, smooth and horizontal surface, such as a sheet of
paper.
3. Mark the centre of the red laser dot on the ground.
Adjusting the circular
level s
tep-by-step
☞
Inspecting the laser
plumm
et step-by-step
56 Check & Adjust