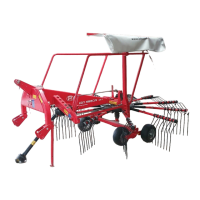
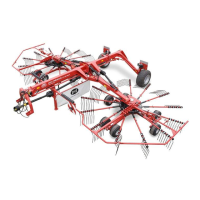
4.1059.8506.0 A
8-18 Maintenance
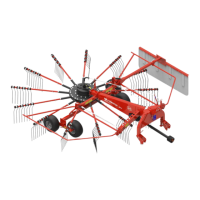
11. Loosen the nuts on the carriage bolts of the adjacent tine arms.
12. Remove the tine arm shaft from the rotor.
13. Install the tine arm shaft into the cam track. Make sure the bearing
roller at the outer end of the tine arm is properly positioned into
the cam track (see figure 42 on page 8-19).
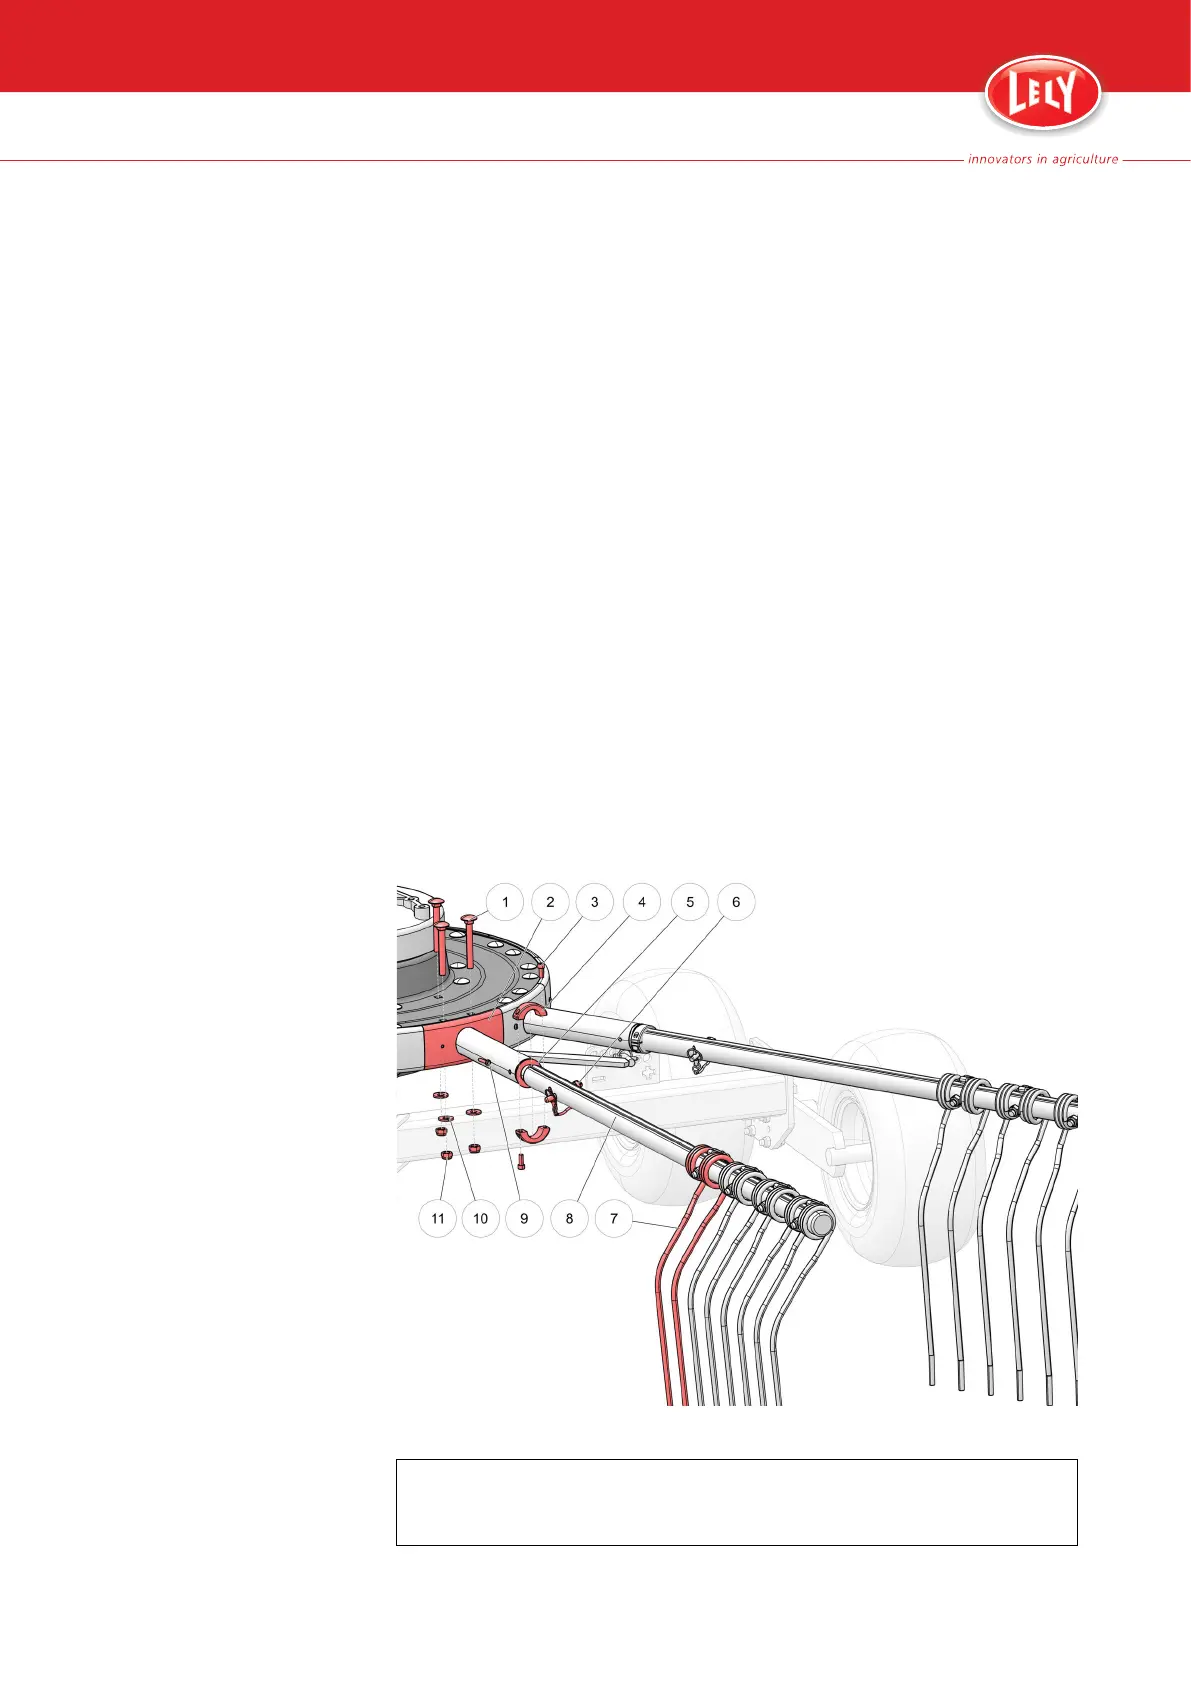
14. Torque tighten the nuts (11) (see figure 41 on page 8-18) of the
tine arm and adjacent tine arms to 110 Nm.
15. Lubricate the tine arm (see page 8-10).
16. Install the cover plate (2) with the screw (9) on the rotor.
17. Install the washer (5).
18. Pull the tine arm shaft and install the clamp block (4).
19. Apply Loctite 243 to the bolts (3) of the clamp block. Torque
tighten the bolts to 17 Nm.
20. Install the tine arm with the lock pin and the lynch pin.
21. Install the tines (see page 8-16).
22. Make sure the tines on all tine arms have the same working height.
If not, loosen all bolts that attach the tine arms to the rotor and
follow the torque procedure (see page 8-11).
23. Turn the rotor manually to make sure the bearing rollers of the tine
arms run smoothly through the cam track.
Figure 41. Replace the tine arm(s)
KEY:
1. Bolt - 2. Cover plate - 3. Bolt - 4. Tine arm clamp block - 5. Washer - 6. Lock pin with
lynch pin - 7. Tine - 8. Tine arm - 9. Screw - 10. Washer - 11. Nut