4.1059.8506.0 A
8-20 Maintenance
• Placing a support underneath the rotor to prevent it from
falling down.
• If necessary other measures to secure the rake against
unexpected movement.
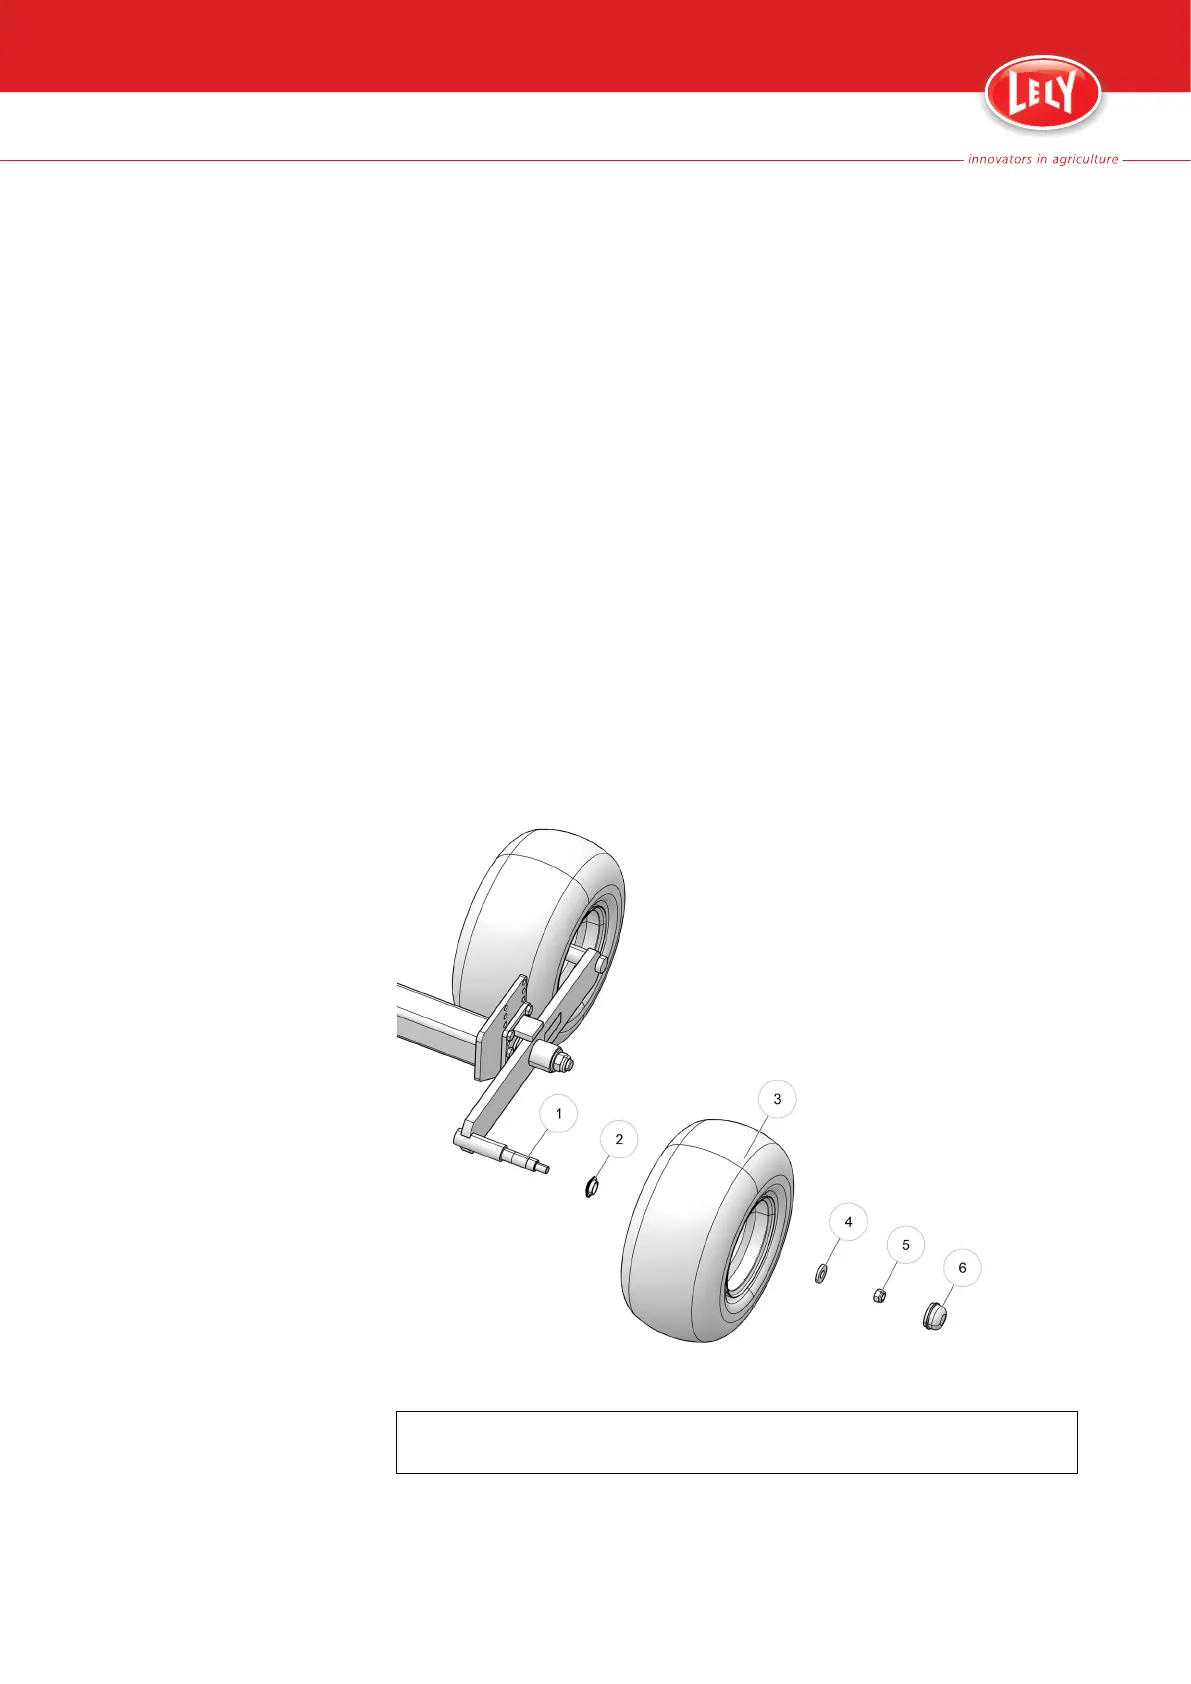
8. Remove the cap (6) (see figure 43 on page 8-20) of the rotor wheel.
9. Remove the nut (5) that secures the rotor wheel.
10. Remove the washer (4).
11. Remove the rotor wheel (3).
12. Make sure the sealing ring is installed correctly and stays in place
(see figure 44 on page 8-21).
13. Apply anti-corrosion grease to the stud (1) (see figure 43 on page 8-
20).
14. Put the replacement wheel on the stud.
15. Install the washer (4). Make sure it is installed correctly (see figure
44 on page 8-21).
16. Install the wheel nut (5) (see figure 43 on page 8-20).
17. Torque tighten the wheel nut to 215 Nm.
18. Install the cap (6).
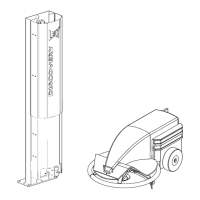
Figure 43. Replace a rotor wheel
KEY:
1. Stud - 2. Sealing ring - 3. Wheel - 4. Washer - 5. Nut - 6. Cap