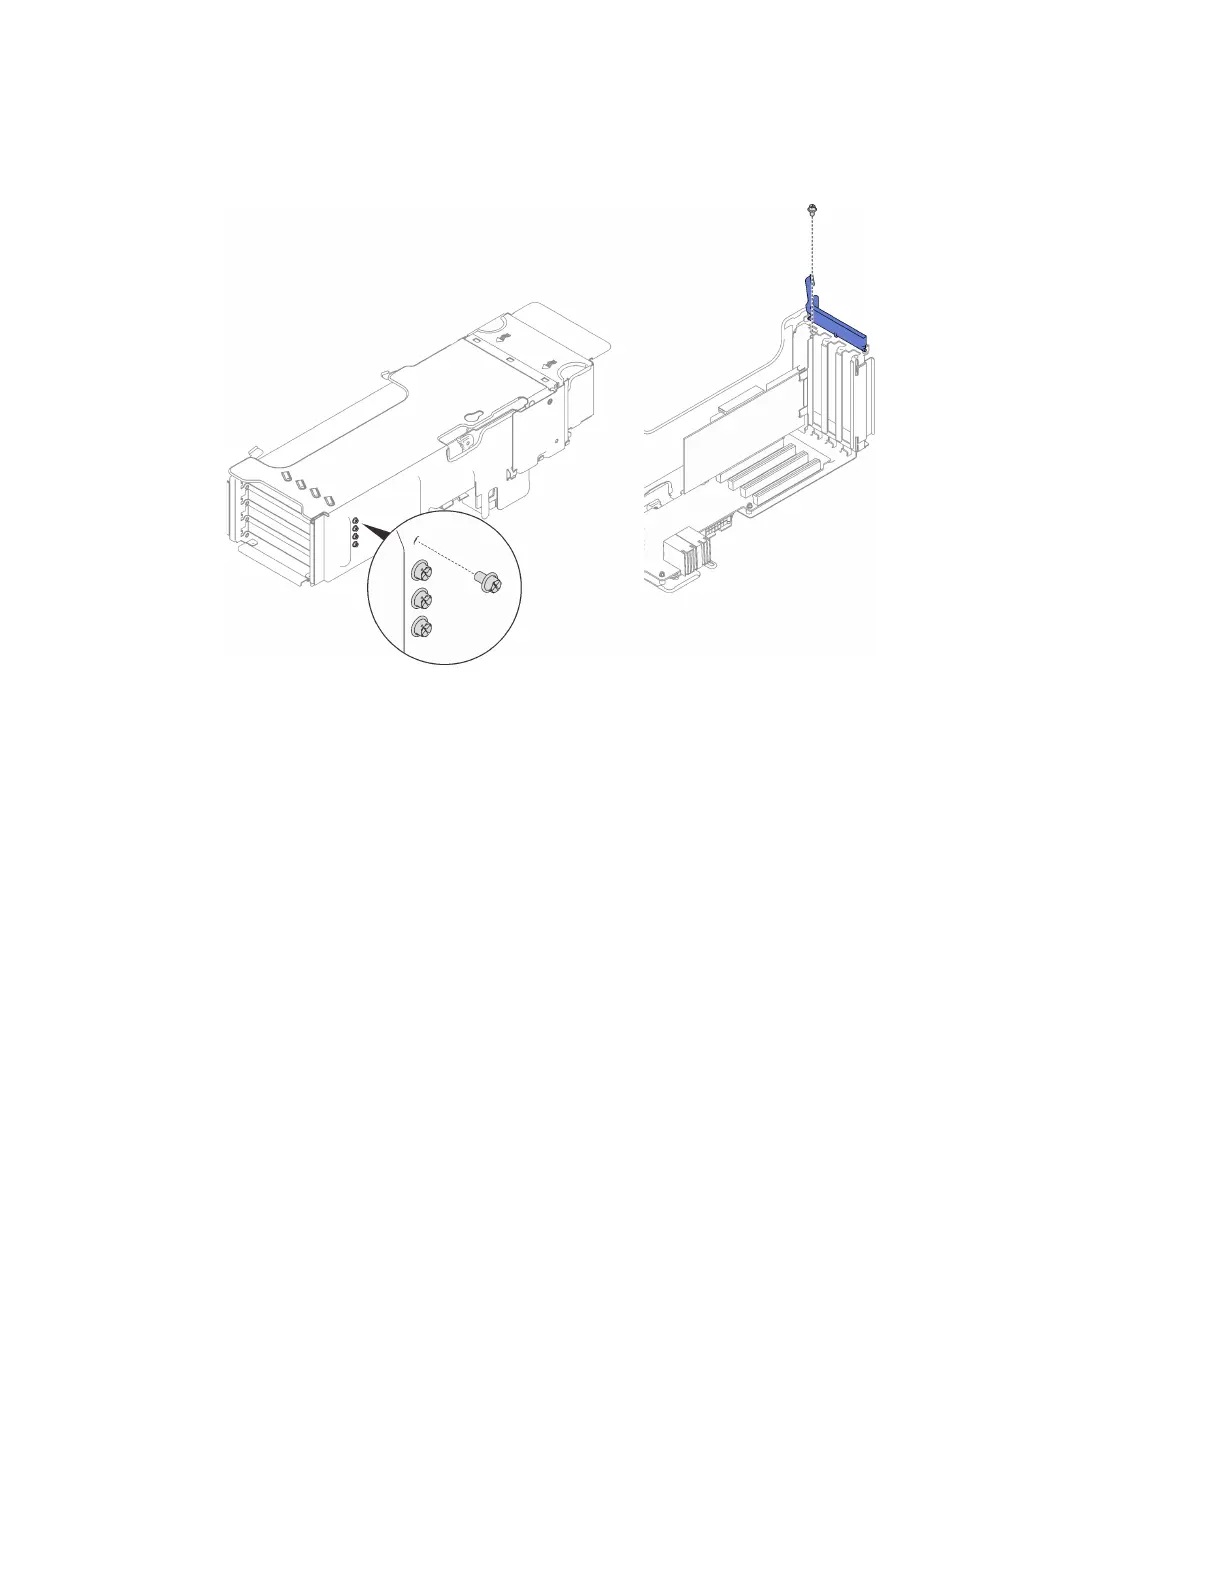
Step 3. (Optional) Secure the adapter with one of the four spare screws that come with the 4U PCIe riser
cage.
Figure 147. Securing the adapter to the 4U PCIe riser cage
After this task is completed
Proceed to complete the parts replacement (see
“Complete the parts replacement” on page 282).
Install a 4U PCIe riser cage
Follow instructions in this section to install a 4U PCIe riser cage.
About this task
Attention:
• Go over
“Installation Guidelines” on page 137 to ensure that you work safely.
• Touch the static-protective package that contains the component to any unpainted metal surface on the
server; then, remove it from the package and place it on a static-protective surface.
Procedure
Step 1. Align the riser cage with the slot on the 4U PCIe expansion tray.
Chapter 4. Hardware replacement procedures 259

 Loading...


