4-18 Service Manual
2580+, 2581+, 2590+, 2591+
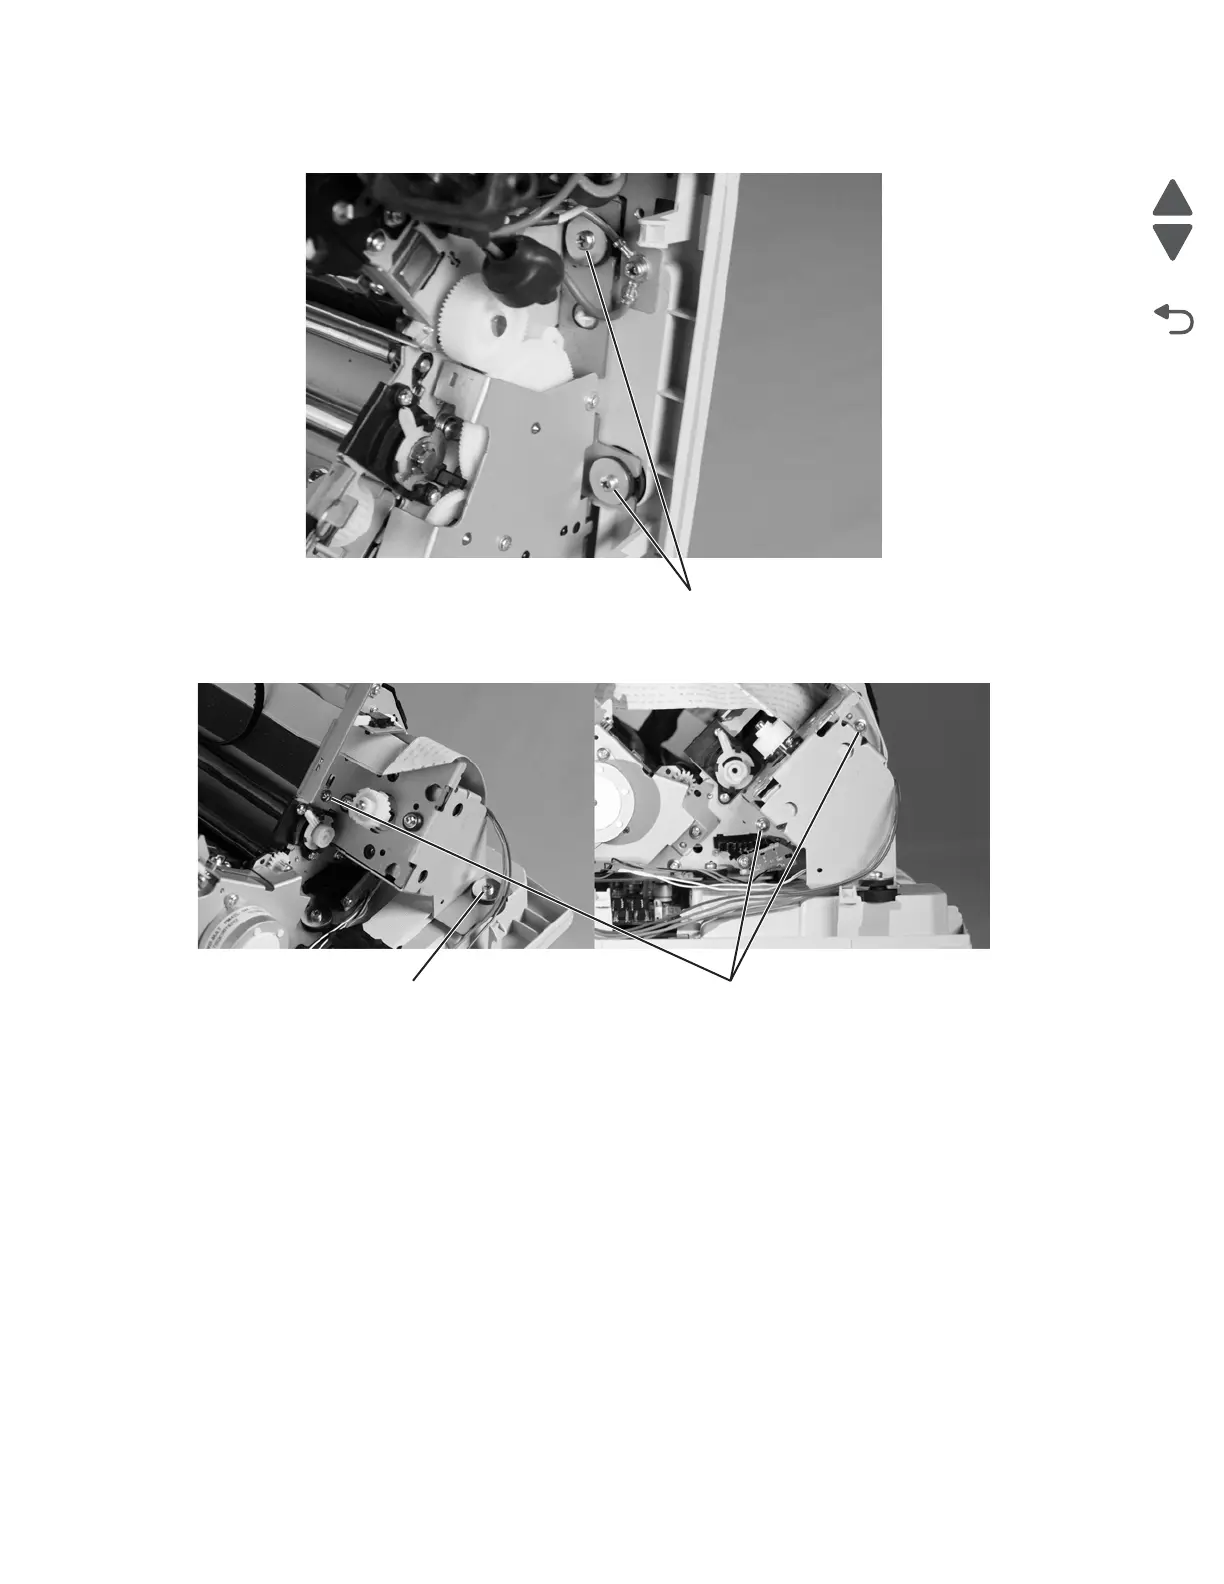
10. Loosen the two screws (E) from the right side of the print unit.
11. Remove the screw (F) securing the bracket to the grommet.
12. Remove the three screws (G) securing the carrier motor bracket to the print unit.
13. Remove the carrier motor bracket from the print unit by pulling up and out on the rubber grommet (F)
between the motor bracket and the bottom cover.
14. Ease the carrier motor assembly off the printer and remove.