54 55
ENEN
CAUTION : if the wheel attachment
mechanism is poorly adjusted or not
securely closed, the wheel may be loose or even
detach, increasing the risk of loss of control or fall.
Follow the instructions in Chapter 3 (page 32-36) to
ensure proper wheel adjustment before riding your
bike.
CAUTION : a damaged or poorly-adjusted
brake system increases the risk of loss of
control or falling. Carefully inspect your brakes
before every ride.
If the brakes are not working properly, do not ride
your bike. Adjust the brakes or consult your retailer
for a service.
The wheels may be secured to the frame with
one or more attachment mechanisms: nutted axle,
quick-release lever (Figure 5) or thru axle.
For instructions on adjusting and using the wheel
attachment mechanism on your bike, see Chapter
3 (page 74).
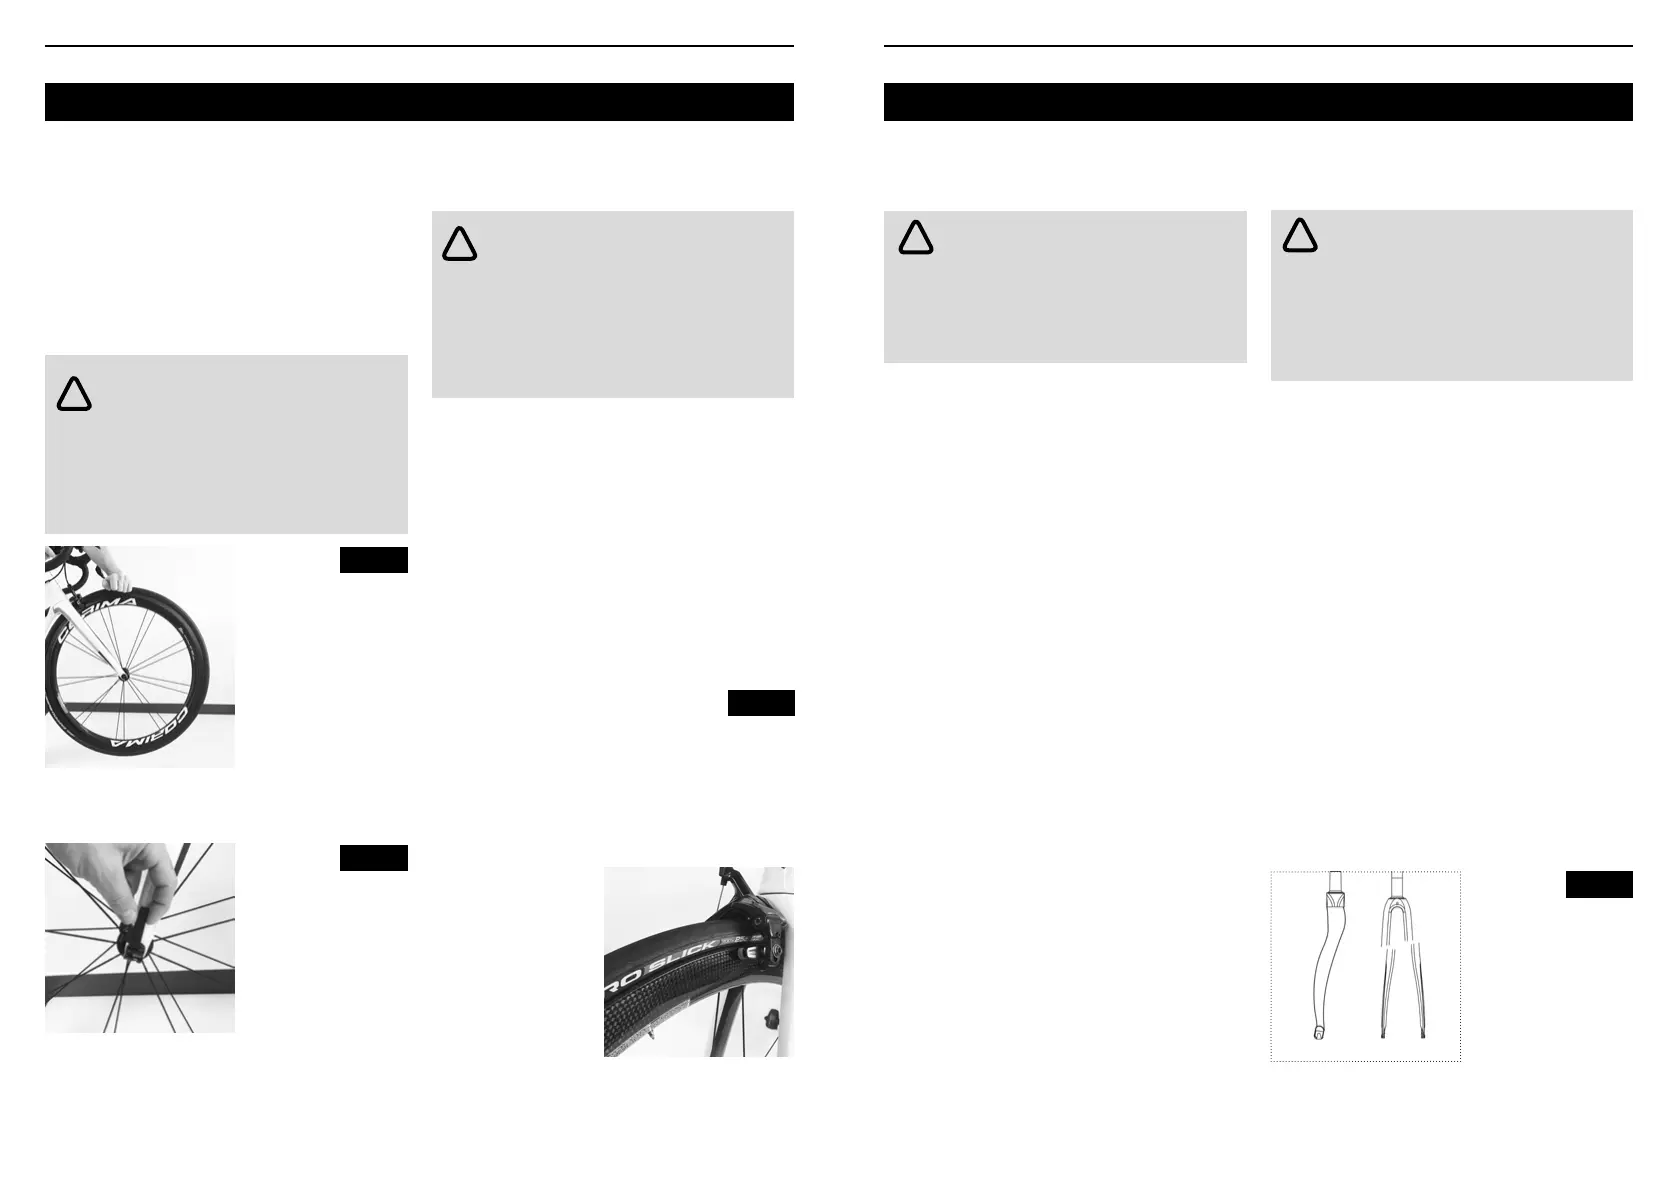
Checking the
wheel is secure
Quick-release
mechanism
1. Skewer bolt
2. Lever
Manual rim brakes : the brakes are connected to
the brake lever by a cable. Pressure on the lever
squeezes the brake pads against the wheel rim.
Pull the brake lever to check the brakes move freely
and stop the bike. If the lever touches the handlebar
when pulled back, the brakes are too slack. Ensure
the brake pads are aligned with the surface of the
rim (Figure 6). When the brakes are released, the
space between the pads and the rim should be
approximately 1 to 2 mm. If the pads are too close to
the rim, it means the brakes are too tight.
Aligning the brake pad
1. Brake pad aligned with the rim surface
2. Brake pad and rim
must be parallel, leaving
a gap of 1 to 2 mm
3. Distance to rim of 0,5 to 1 mm
Disc brakes: the brake is connected to the brake
lever by a cable or hydraulic hose. The lever controls
the brake, which in turn applies pressure to a disc
xed to the wheel hub.
Check the brakes
Follow the instructions relative to the type of brake
system on your bicycle:
• Manual rim brakes
• Disc brakes
Fig. 4
Fig. 5
Fig. 6
!
!
WARNING : Not only can other road users
hardly see a bike without proper lighting and
reectors, but your eld of vision is also reduced.
If you cannot see nor be seen, the risk of accident
is high. When visibility is low, use a front light, a rear
light and reectors.
Pull the brake lever to check the brakes move freely
and stop the bike. If the lever touches the handlebar
when pulled back, the brakes are too slack.
When the brakes are released, the space between
the brake pads and the disc should be between
0.25 and 0.75mm. If the pads are too close to the
disc, it means the brakes are not aligned or too tight.
Check the saddle and seatpost
Ensure the saddle is correctly tightened. Try rotating
the seatpost in the frame, and tilting the tip of the
saddle up and down. Neither should move, nor have
any play.
Check the suspension
Adjust the suspension to the type of riding and
terrain, ensuring no part of the suspension can
reach full compression.
Check lights and reectors
Make sure reectors are clean and properly
positioned.
Check that lights are in working order and that
batteries are charged.
Some countries or regional entities impose specic
rules for lighting such as color or form. Make sure
you are familiar with the laws of the country in which
you are riding.
CARBON FIBER COMPONENTS
For an equivalent weight, carbon ber is stronger
than steel or aluminum. This characteristic makes it
a particularly popular choice for cyclists.
Despite their high resistance, carbon bers can be
damaged or broken following an impact, an accident
or incorrect use or handling.
The behavior of a carbon ber under load is different
to that of other materials.An overloaded metal
component will rst bend or deform before breaking
(Figure 8). A carbon ber component does not bend
nor deform. This means a damaged carbon ber
part (reduced resistance due to damage) may look
normal, even after being subjected to a load which
would bend aluminum. Yet when the load exceeds
the strength of the carbon ber, the ber does not
bend, but breaks (Figure 8).
CAUTION : disc brakes and discs heat
when braking and can cause burns if they
come into contact with skin. In addition, disc edges
can be sharp.
Avoid touching the discs or brakes when they are
hot or in motion.
Fig. 8
!
!
Overloaded forks:
• Left: metal fork
bending under load.
• Right: the carbon
fork bore a much
heavier load, but split
due to overload
 Loading...