66 67
ENEN
Saddle and seatpost
The saddle supports most of your bodyweight while
riding. It also dictates leg extension and the fore-
aft position of the body on the bike. The seatpost
links the saddle to the bike and allows you to adjust
saddle position. Correct saddle set-up will allow you
to ride comfortably, no matter the distance.
Adjust the saddle angle according to your
preference. To begin with, the upper line of the
saddle should be parallel to the ground. If you bike
has a rear suspension, tip the saddle nose slightly
downward. When the suspension is compressed
by your bodyweight, the saddle will be horizontal.
The saddle can also be moved forward or backward
to improve comfort and adjust the distance to the
handlebar. Note that the saddle clamp should
always t around the at section of the saddle rails,
not beyond.
Adjusting the saddle angle
1. Loosen the saddle clamp bolt or bolts until the
saddle can be moved.
• Some seatposts have two bolts ; to adjust, loosen
one, then tighten the other.
2. Place a ruler or spirit level on the saddle to better
visualize the angle.
3. Adjust the saddle and tighten the bolts to the
torque specied on the seatpost.
Adjusting the saddle height
1. Ask another person to hold the bike, and sit on
the saddle with no shoes on.
2. Loosen the seatpost clamp screw or the quick
release lever. Do not tighten the clamp if the
seatpost is not in the frame.
3. Rotate the cranks until they are parallel to the
seat tube and place your heel on the lower pedal.
Adjust the saddle height so that your leg is straight.
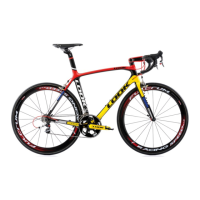
4. When you are wearing shoes, your knee should
be slightly exed when the joint of your big toe is on
the pedal (Figure 14).
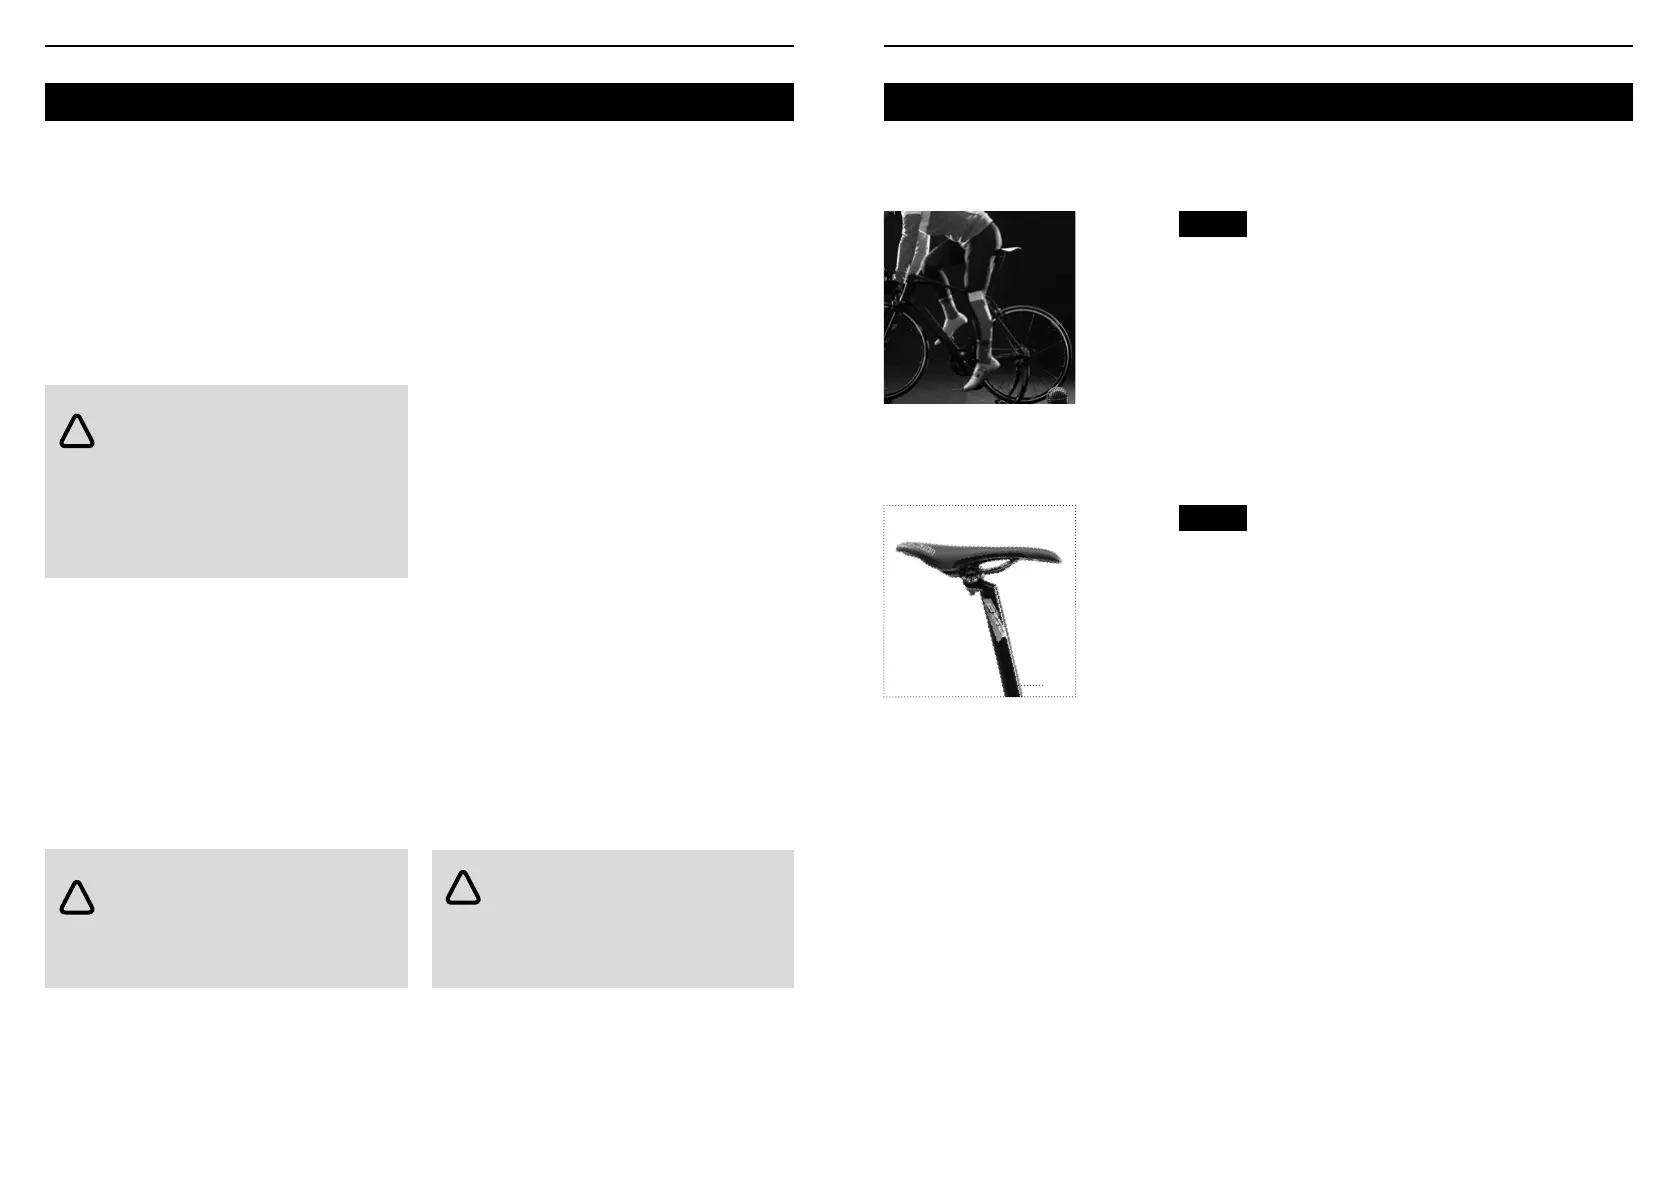
5. Ensure the seatpost is not pulled out beyond
the minimal insertion reference mark (Figure 15).
This mark should not be visible above the seatpost
clamp.
6. Tighten the screw to between 6 and 10 Nm
according to the torque recommendations specied
on the relevant parts.
WARNING : a badly-adjusted saddle or one
which offers insufficient support to the pelvis
can cause nerve and/or blood vessel damage. If
your saddle causes pain or numbness, adjust it. If
pain or numbness persists, contact your retailer for
a proper t or to select a more comfortable model.
WARNING : a badly-adjusted seatpost
can break the saddle rails or the clamping
bolt and cause a fall. Always tighten saddle clamp
around the at section of the saddle rails.
WARNING : a seatpost which is pulled
out too far can damage your bike, reduce
control when riding and cause a fall. Ensure the
mininmal insertion reference mark (Figure 15)
remains within the frame.
!
!
!
Headset
The headset refers to the bearings which allow the
handlebar and fork to turn. It should be checked
every month.
Checking the headset
1. Pull the front brake lever to block the front wheel,
and rock the bike forward and backward.
2. Lift the front wheel. Gently turn the handlebar and
fork from side to side.
If the headset bearings move in the frame or do not
turn smoothly, do not ride the bike. Servicing the
headset requires specic tools and training. Visit
your retailer, as a professional mechanic is the best
person to do this.
Crankset and bottom bracket
The cranks link the pedals to the crankset, which ts
into the bottom bracket. They transfer the cyclist’s
power to the road and, on some bikes, also assist
with braking.
The length of some cranks can be adjusted by
moving the pedals to an alternative position.
The bottom bracket is the set of bearings which
allow the crankset to spin in the frame. It should be
checked regularly and at least once a year.
Checking the crankset and bottom bracket
1. Lift the chain off the chainrings
2. Rotate the cranks until they are parallel to the
seat tube.
3. Place one hand on the crank and the other on the
saddle tube. Try to move the crank back and forth
toward the tube.
4. Rotate the cranks.
If the crank is loose of make a noise, if the rotation
stops suddenly or if you hear a grinding sound,
do not ride the bike. Servicing the bottom bracket
requires specic tools and training. Visit your retailer,
as a professional mechanic is the best person to do
this.
Fig. 14
Fig. 15
Leg extension when
saddle height
is correct.
Minimal seatpost
insertion reference
mark.
1.Ensure the mark is
concealed within the
bike frame
1
 Loading...