76 77
ENEN
Fig. 29
Fig. 32
Fig. 31
Fig. 30
WARNING : A Clix system is designed to
t a particular wheel and a particular fork.
If you change bike, wheel or fork, the Clix system
may no longer secure the wheel, which could result
in loss of control and fall. Do not use a Clix system
on any other bike, wheel or fork without carrying out
the necessary adjustments.
!
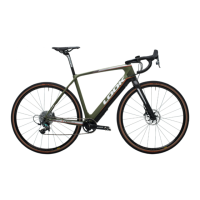
Installing a wheel with a nutted axle
Some wheels are secured by nuts on an axle.
A serrated washer (Figure 31) must be placed
between the nut and the fork or rear dropout.
1. The nuts on the front wheel must be tightened to
between 20 and 30 N•m, whereas the rear wheel
nuts must be tightened to between 30 and 35 N•m.
2. Ensure the wheel is securely attached :
Lift the wheel off the ground and rmly tap the top
of the tire (Figure 32). The wheel must not detach,
show any play or move sideways. If the wheel
attachment test fails, adjust it again or ask your
retailer for advice or a service.
Checking the
wheel is secure
Ensure the lever does
not rotate
Checking the
wheel is secure
Nutted axle
1. Serrated washer
1
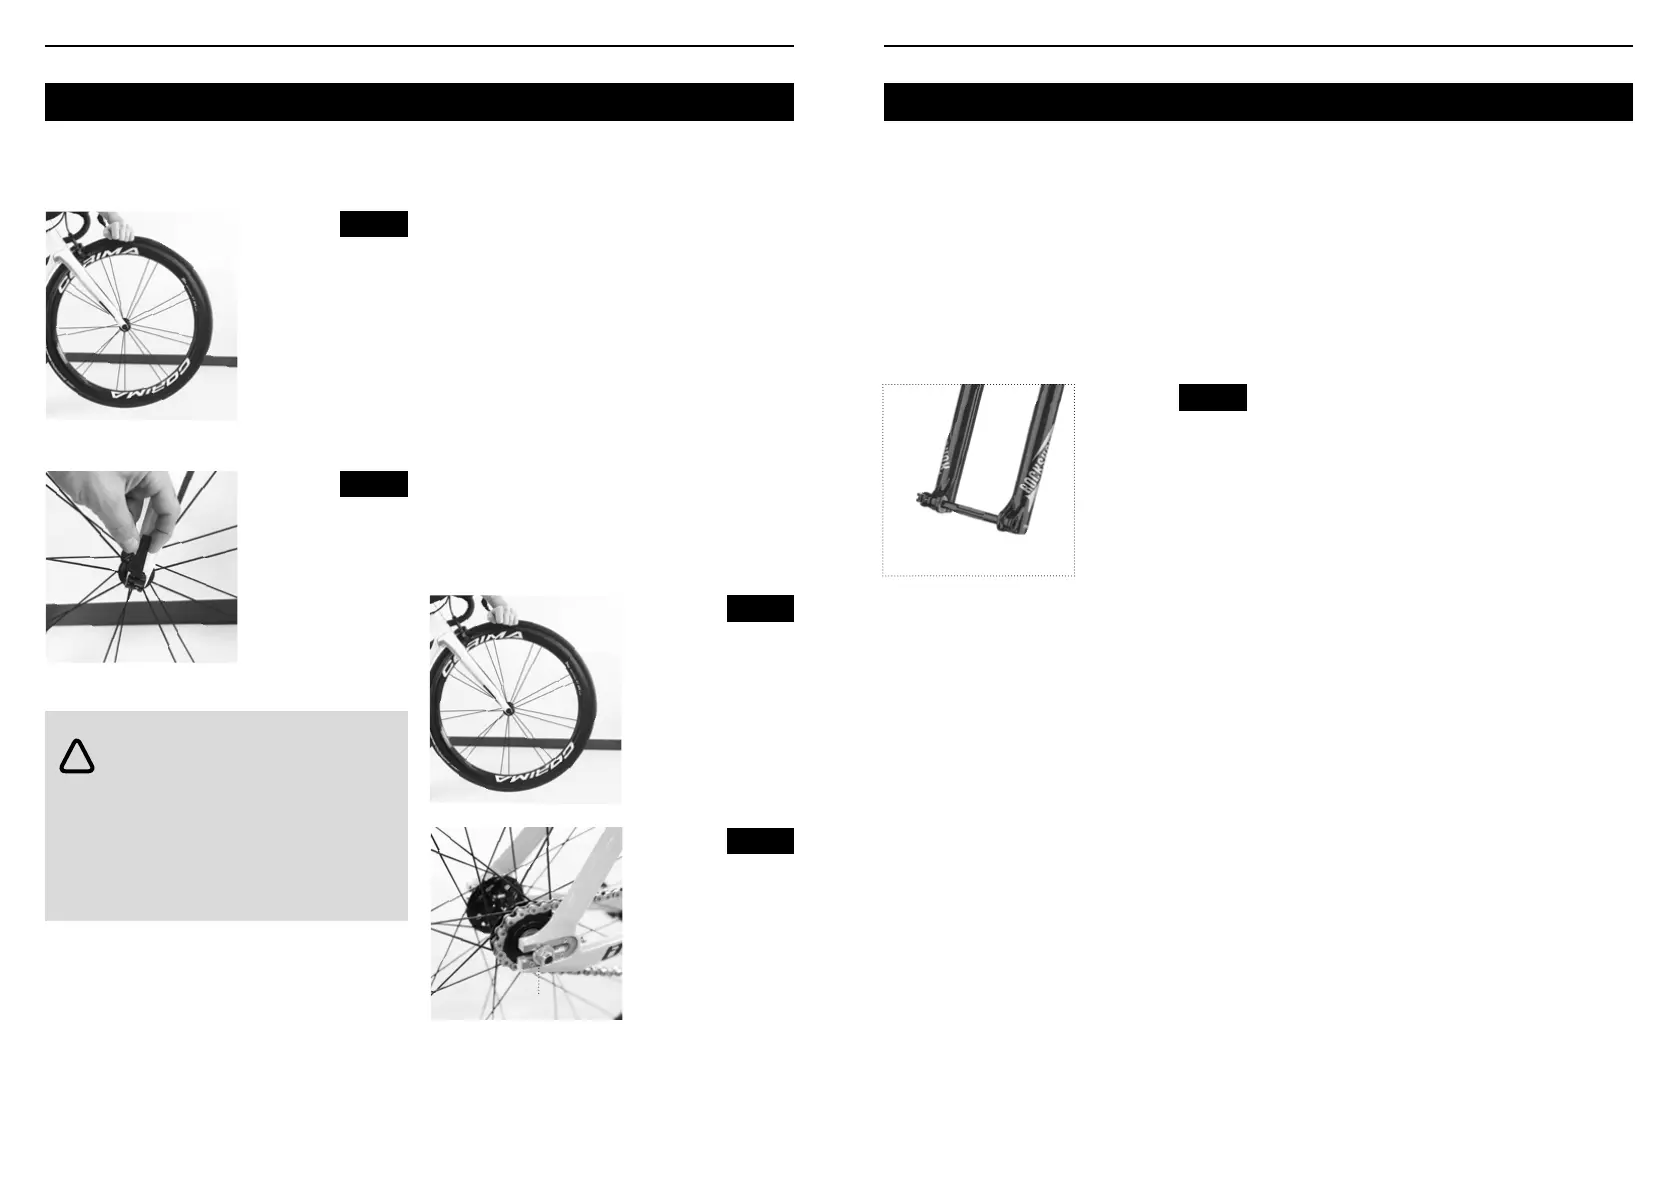
Fig. 33
Installing a wheel with a thru axle
There are different types of axles (Figure 33) which
are closed and adjusted in different ways. that close
and adjust in different ways. For instructions on
opening and closing the thru axle mechanism, refer
to the applicable product manual or ask your retailer
for advice.
Installing a tire
There are several types of tires and tubulars tires :
• Traditional tire : the air inside the tire is contained
in an inner tube, and the tire ts onto a normal rim.
• Tubeless tire : there is no inner tube, and the tire
ts onto a specically-designed rim.
• Tubular tire : the inner tube is xed or glued inside
the tire, which is glued to the rim.
The following instructions refer to wheels with
traditional tires. For instructions on other tires, refer
to the applicable product manual or ask your retailer
for advice. When buying spare or replacement
parts, check the tire size indicated on the sidewalls
or ask your retailer.
To x a puncture, glue a repair patch on the inner
tube or replace it.
Removing a wheel
1. Follow the instructions in the Brake Systems
section of this chapter to open the brakes.
2. Follow the instructions in the Wheels section of
this chapter to remove the wheel.
Removing the tire from the wheel
Manually remove the tire from the rim, using tire
levers if necessary. Never use pointy objects such
as a screwdriver.
1. Deate the inner tube completely.
2. Press the tire beads into the rim base (Figure 34).
Repeat this all the way around the rim.
3. Use a tire lever to lift one of the beads and pop it
out of the rim (Figure 35). Start on the opposite side
to the valve.
4. Progress around the wheel until the bead is fully
out of the rim.
5. Pull the inner tube from the tire.
6. Remove the second bead from the rim.
Thru axle
 Loading...