Using the System
9
Use the system’s graphical on-screen display to navigate menus and configure options
and settings.
9.1 On-Screen Display
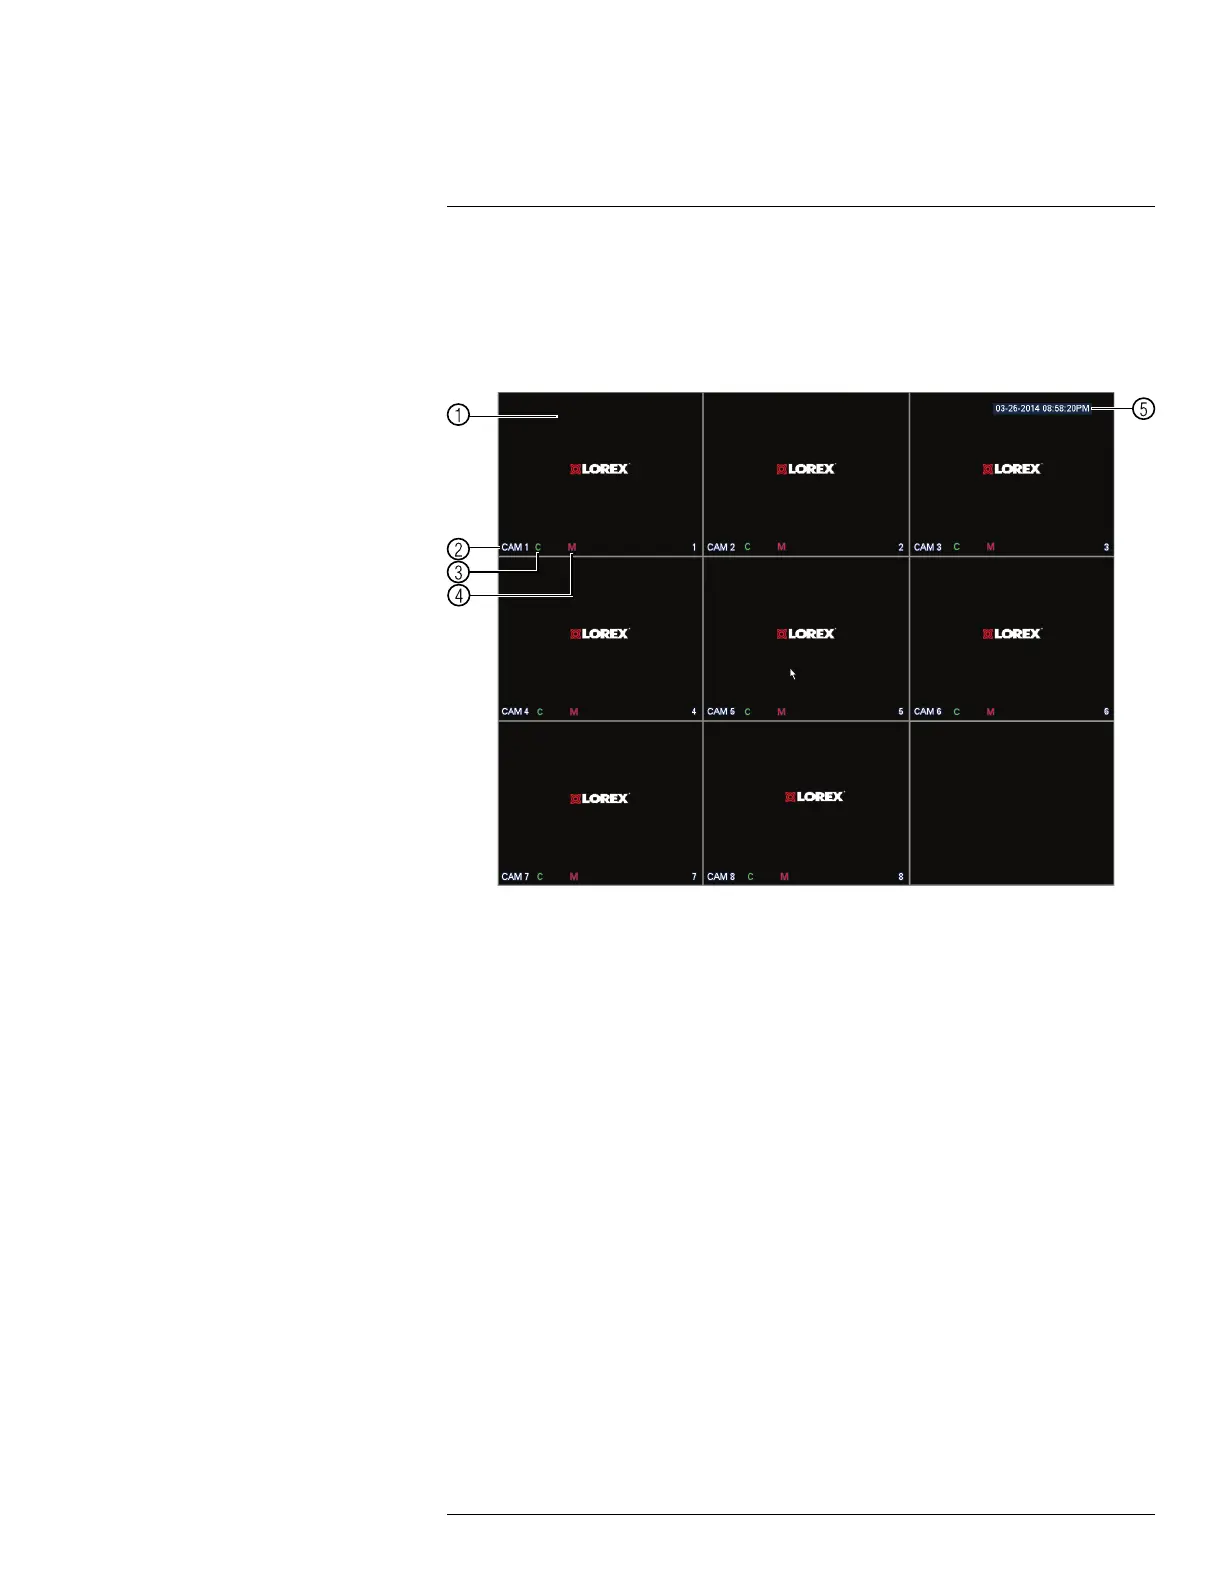
The system shows the following for all display views:
1. Display area:
• Double-click on a channel to view in full-screen; double-click again to return to split
screen.
• Right-click to open the Quick Menu.
• Left-click to open the Navigation Bar.
• Move the mouse to the top of a channel to view the Camera Toolbar.
• Click-and-drag cameras to rearrange the channel display. This does not affect the
channels each camera is connected or recording to.
2. Channel name
3. C: Camera is continuously recording.
4. M: Motion has been detected.
5. Date & time: Current system date and time. For details on setting the date and time,
see 10 Setting The Time, page 25.
#LX400060; r.35927/36038; en-US
20