Lucent Technologies Galaxy Power System 4812
11 - 4 Maintenance and Replacement Issue 5 June 2000
Replacement Procedures, continued.
!
Installing or Replacing a Rectifier, continued
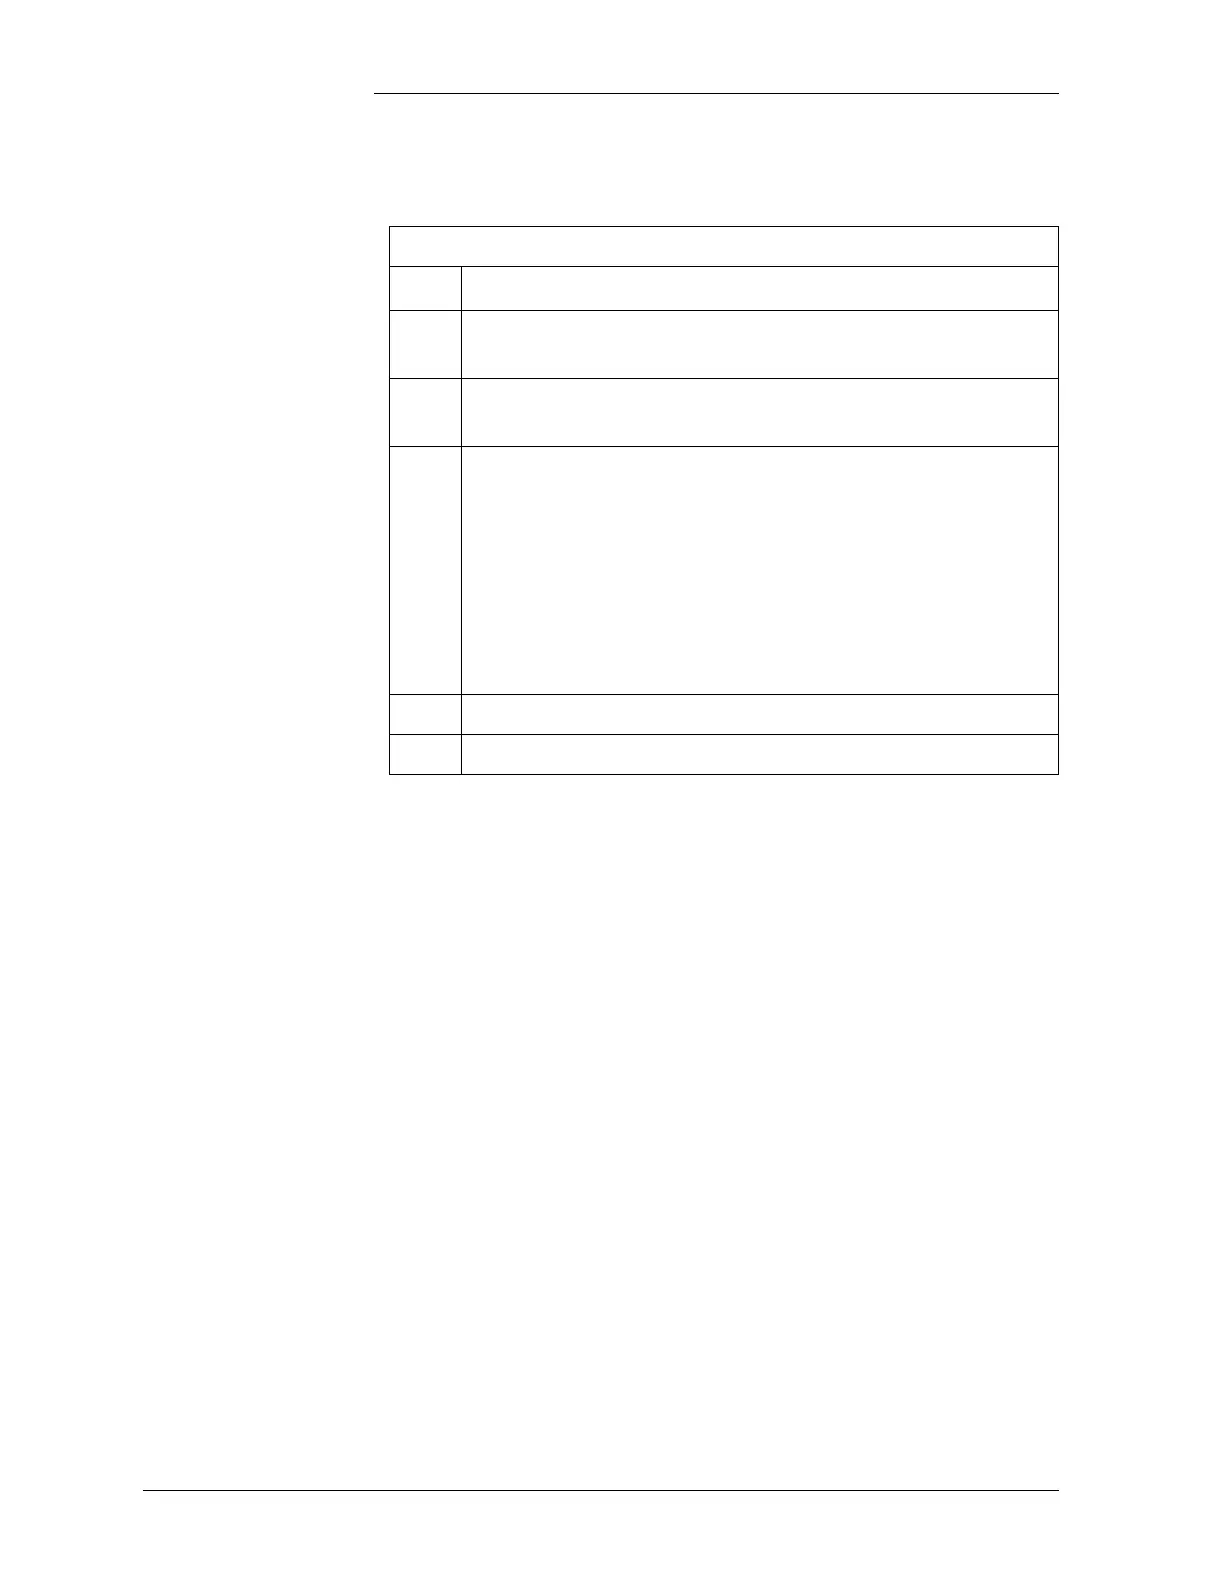
Step
Action
5
Slowly slide new rectifier onto the shelf until it contacts the
rear connector.
6
Using the Allen wrench, turn the Allen-head bolt clockwise
to pull the rectifier into the shelf.
7
Once the rectifier has been installed, set the rectifier ID.
Follow the directions for the “ID Not Configured” alarm in
Table 13-E (Millennium) or “rid” in Table 14-E (Vector).
Note: The red LED on the rectifier will blink until the
rectifier establishes communication with the controller.
After communication is established, the controller will
issue a RECT MAJ alarm until the rectifier ID is set.
8
Turn the ac service back on.
9
Turn the rectifier’s ON/STBY switch to ON.