10.2.1 Replacing the batteries
Unclip and lift off the battery cover.
If there are already batteries in the Printer, remove the batteries and insert 4 fully
charged batteries paying attention to the ‘+’ and ‘-‘. If the batteries are not fully charged,
charge for 16 hours before use. Use only 1.5V NiMH AA rechargeable batteries in the
Printer.
Align the cover into place and click shut.
10.2.2 Replacing the adhesive paper
Pull the clear central lever on the clear paper cover upwards and forwards until it is
release from its locked position. To avoid damage do not use excessive force.
Remove the spool and any remaining adhesive paper. Place a new adhesive paper
roll into the paper reservoir, holding approx. 2 inches of the paper outside of the Printer.
Ensure the new paper is feeding from the bottom of the roll. Close the cover by applying
equal amounts of pressure on each side of the cover until the lid is in the locked
position.
Now tear the surplus paper across the serrated edge.
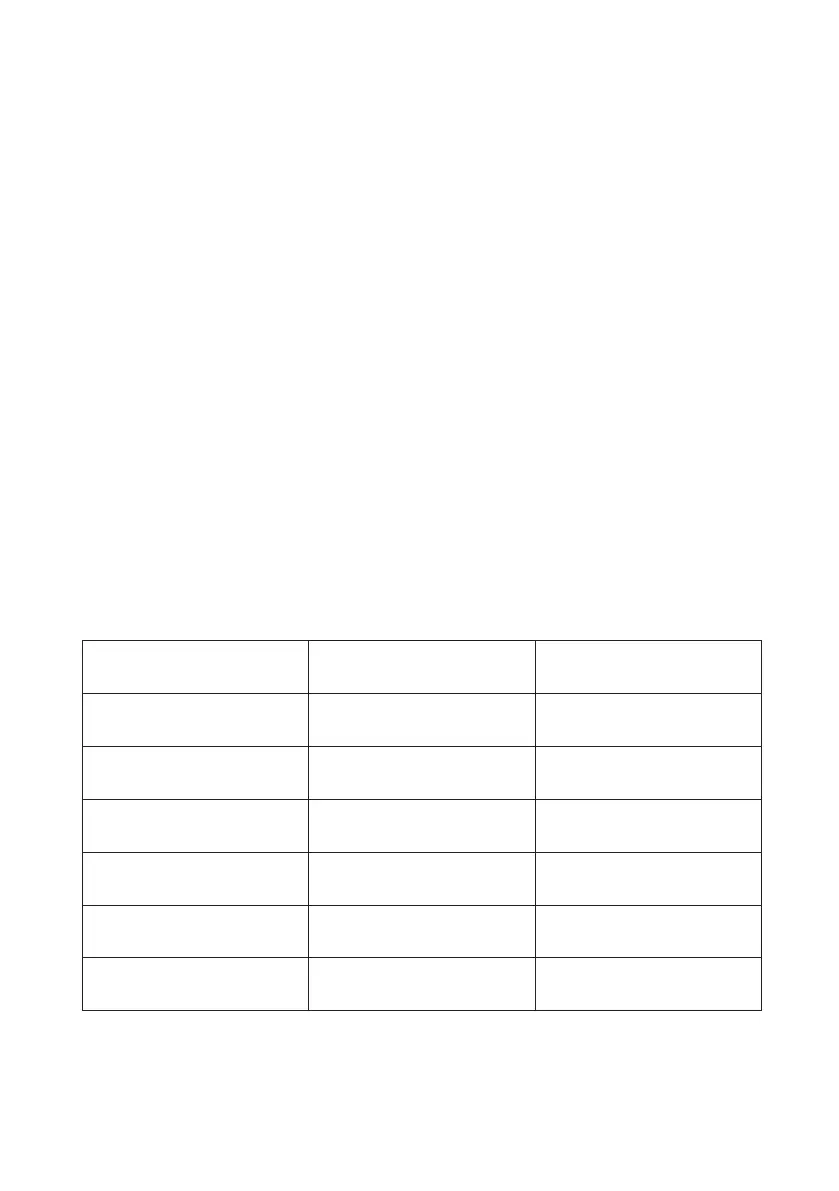
10.2.3 LumiraDx Printer Status light
LED Indication Condition Solution
On Printer On -
Off Printer Off -
* * * Paper Out Fit new paper
** ** ** Thermal head too hot Allow head to cool
*** *** ***
Battery cut-out (no charge
remaining)
Recharge batteries
**** **** ****
Battery low (approx. 20%
charge remaining)
Recharge batteries
Ancillary Devices - 91