User Guide
10
© Copyright 2013 Luxul. All rights reserved. Trademarks & Registered Trademarks are property of respective holders.
Make sure there is adequate space around the XMS-1024 for adequate ventila-
tion and proper heat dissipation. It is recommended to have at least 4-6 inches
around all sides.
Do not place heavy articles on the XMS-1024.
Power outlets should be within 5 feet of the XMS-1024.
Verify the ground connection of the outlet is functioning properly.
Check the power cord to confirm a secure connection.
Avoid placement in direct sunlight.
When installing the XMS-1024 on a flat surface, attach the rubber feet to the
bottom of the device to avoid scratching the surface.
4: XMS-1024 INSTALLATION
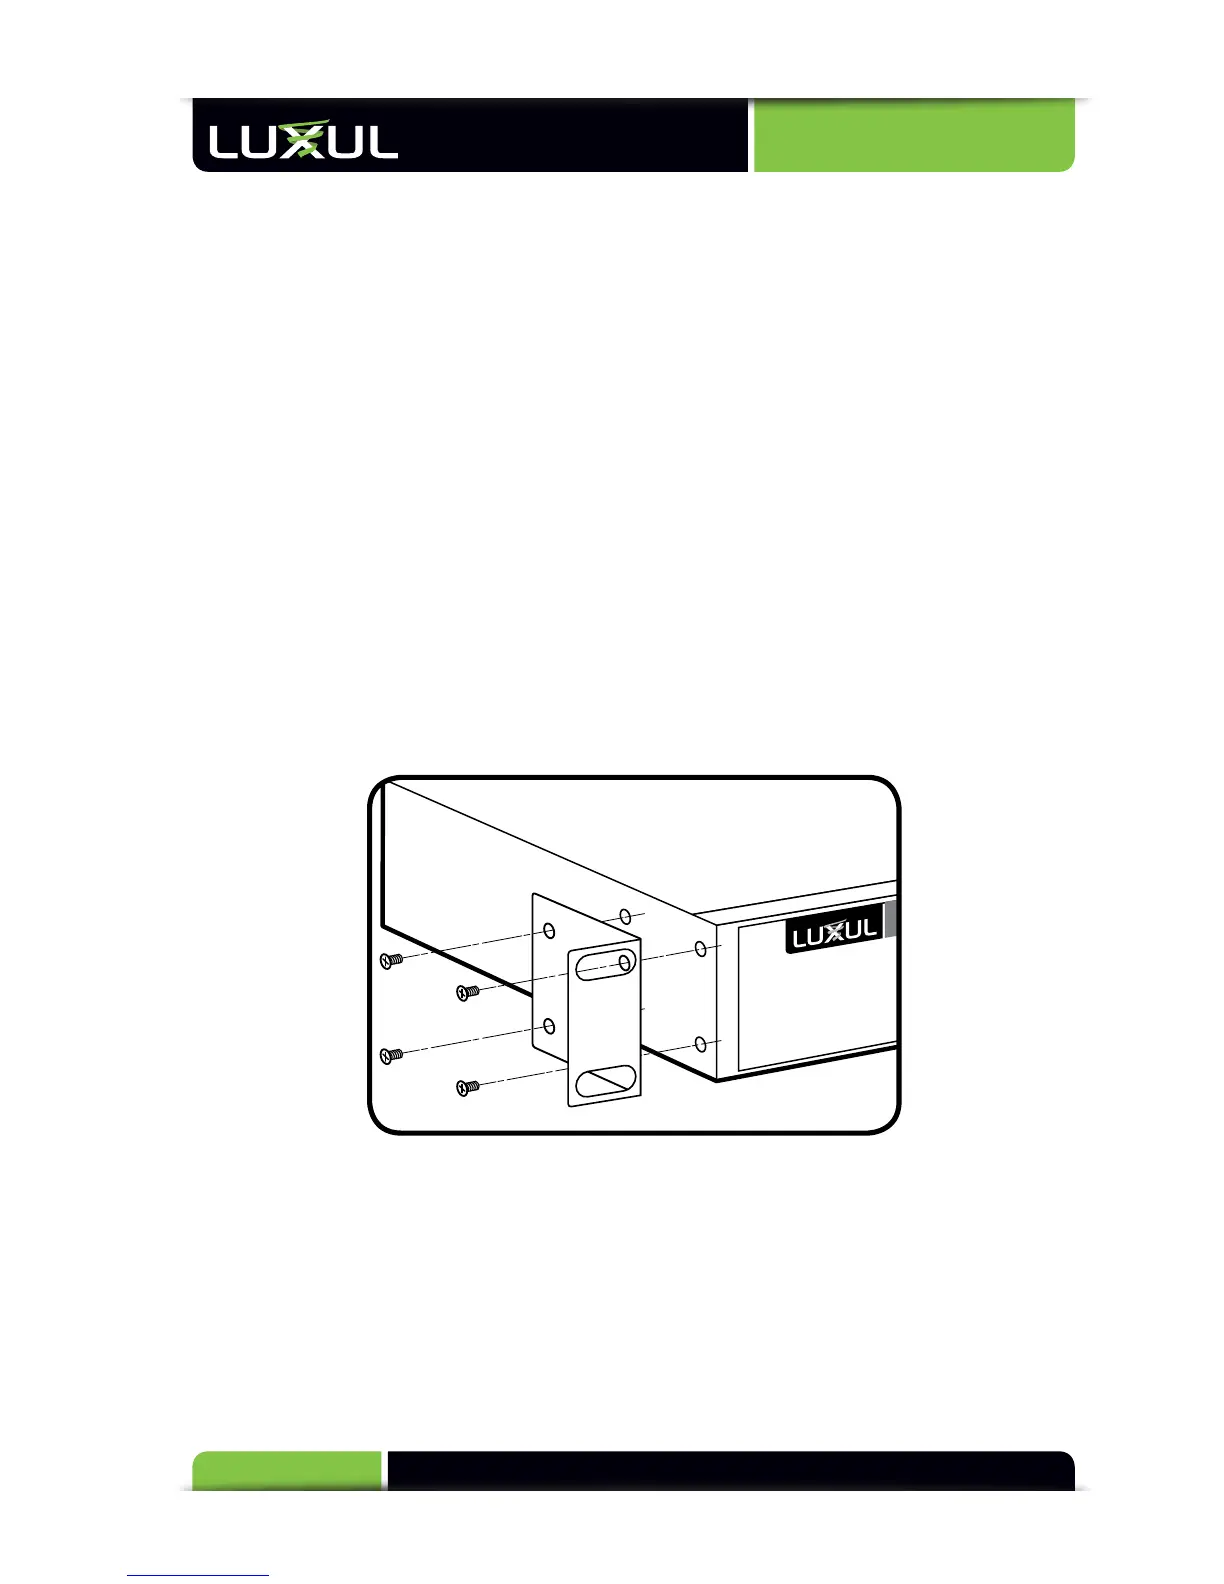
4.1 Installing the XMS-1024 in a Rack
The XMS-1024 can easily be installed in a standard 19” rack. The XMS-1024 includes two
mounting ears for installing and stabilizing the switch. For attaching the mounting ears
and installing the switch within a rack, please refer to the following illustration:
Rack-Mounting the XMS-1024
Using the included screws, attach the mounting ears to each side of the switch.
Mount the switch in the rack with the LEDs facing outwards. Be sure the switch is
level and properly secured within the rack.
4.2 Desktop Setup
For use as a desktop device, position and apply the included rubber feet to the
bottom of the XMS-1024.