Page 7
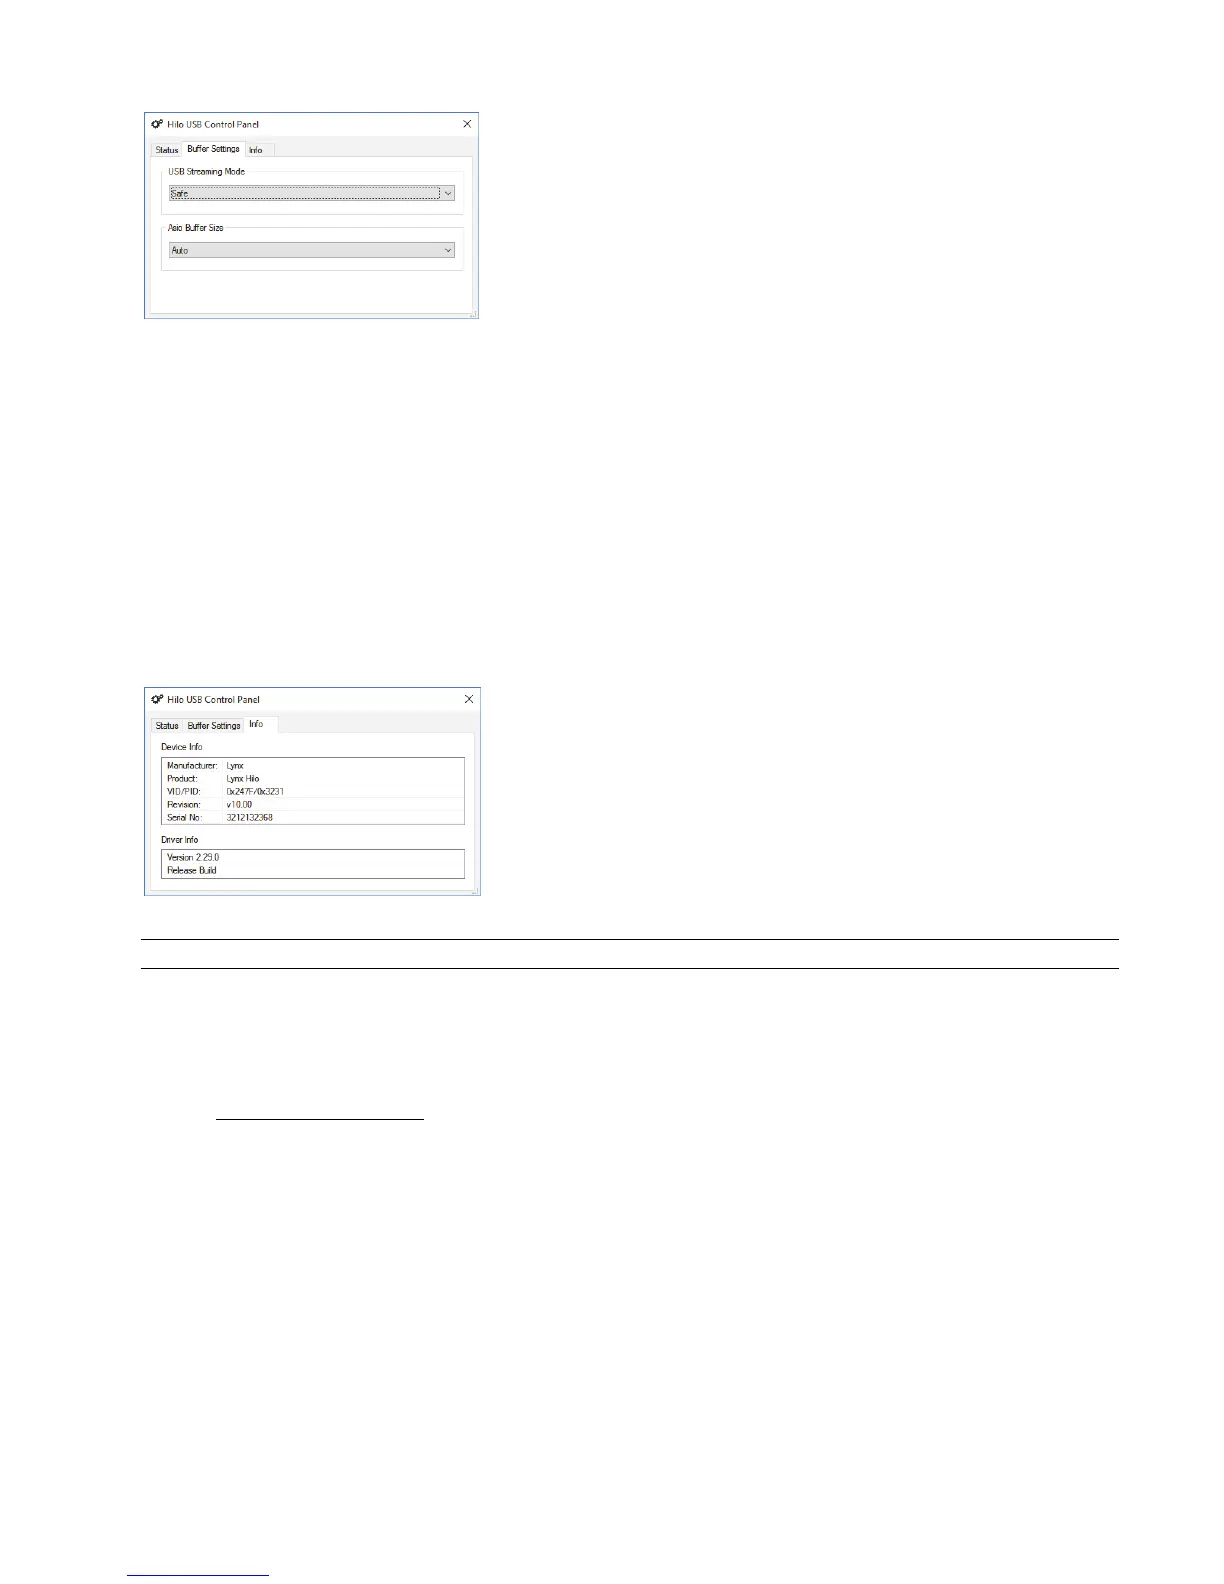
In the BUFFER SETTINGS page, the USB Streaming and ASIO buffer parameters
control the size of the audio packets that are used to transfer audio to the LT-USB
hardware. Smaller buffer sizes will give you lower latency.
However, if a buffer size is too small for the system or context, audio anomalies
such as clicks and pops may occur. It is recommended to become familiar with
altering the LT-USB buffer size to best suit the context of use.
When using ASIO based applications, both the Streaming and ASIO buffer sizes
contribute to the overall latency of the system and interact in a cumulative fashion.
It is not possible to set the stream buffer to a value smaller than that required for
the ASIO buffer size.
When using WDM based applications, only the Streaming buffer size parameter contributes to the overall latency of the system. The
ASIO buffer size is ignored. Most WDM applications also add a large amount of additional latency to ensure clean playback. For this
reason, ASIO is the preferred driver model for pro-audio and low-latency situations.
To modify the latency, the “Streaming” buffer size must first be set. Choose the desired size and click “Apply”. We recommend
setting this value to “Low Latency” in order to have the greatest flexibility in ASIO buffer size selection. If clean audio is not possible
in this state, increase the stream buffer size to “Standard”. Once the Streaming size is set, you will have various options for the
“ASIO” buffer size. Choose the appropriate size and click “Apply”. The default state for this value is “Auto”. Auto chooses a safe
buffer size based on the stream buffer size selected and the sample rate being used. Once you have determined the smallest supported
Stream Buffer size, you typically will not have to change this again. The ASIO buffer size, however, may need to be increased or
lowered from time to time depending on the context of use.
Once you determine the lowest achievable buffer size, you will typically have to double the size each time you double the sample rate,
but the effective latency will remain constant. For example, if a system is capable of operating at a buffer size of 128 samples at 48
kHz, then for a 96 kHz project, the buffer size will likely need to be increased to 256 samples.
The third tab in the Hilo Control Panel opens the INFO page.
This page simply reveals the connected product (again Hilo), the
Revision of the LT-USB (its firmware version), serial number
and driver build.
2.5.3 Installation for Macintosh OS X
Hilo will operate as a Core Audio device under OS X automatically without any driver installation required. Core Audio is the
dominant audio driver model for OS X, and is used for media playback applications as well as Pro Audio applications.
Simply connect the USB cable from Hilo to your Mac OS X computer and Hilo will be immediately available for use. Please note that
Hilo does require OS X version 10.6.4 or above.
2.5.3.1 OSX Audio Applications
Hilo can be used as a playback device for most popular multimedia, home theater and pro audio applications. Some such applications
allow selection of specific playback devices. In these cases, a Lynx Hilo output device can be selected from the appropriate device
selection menu.