256 Creating Motion
3. Click inside the frame where you want the animation to end, and select Insert >
Timeline > Frame.
4. Move the object, instance, or text block on the Stage to the desired position. Adjust the size
of the element if you want to tween its scale. Adjust the rotation of the element if you want
to tween its rotation. Deselect the object when you have completed adjustments.
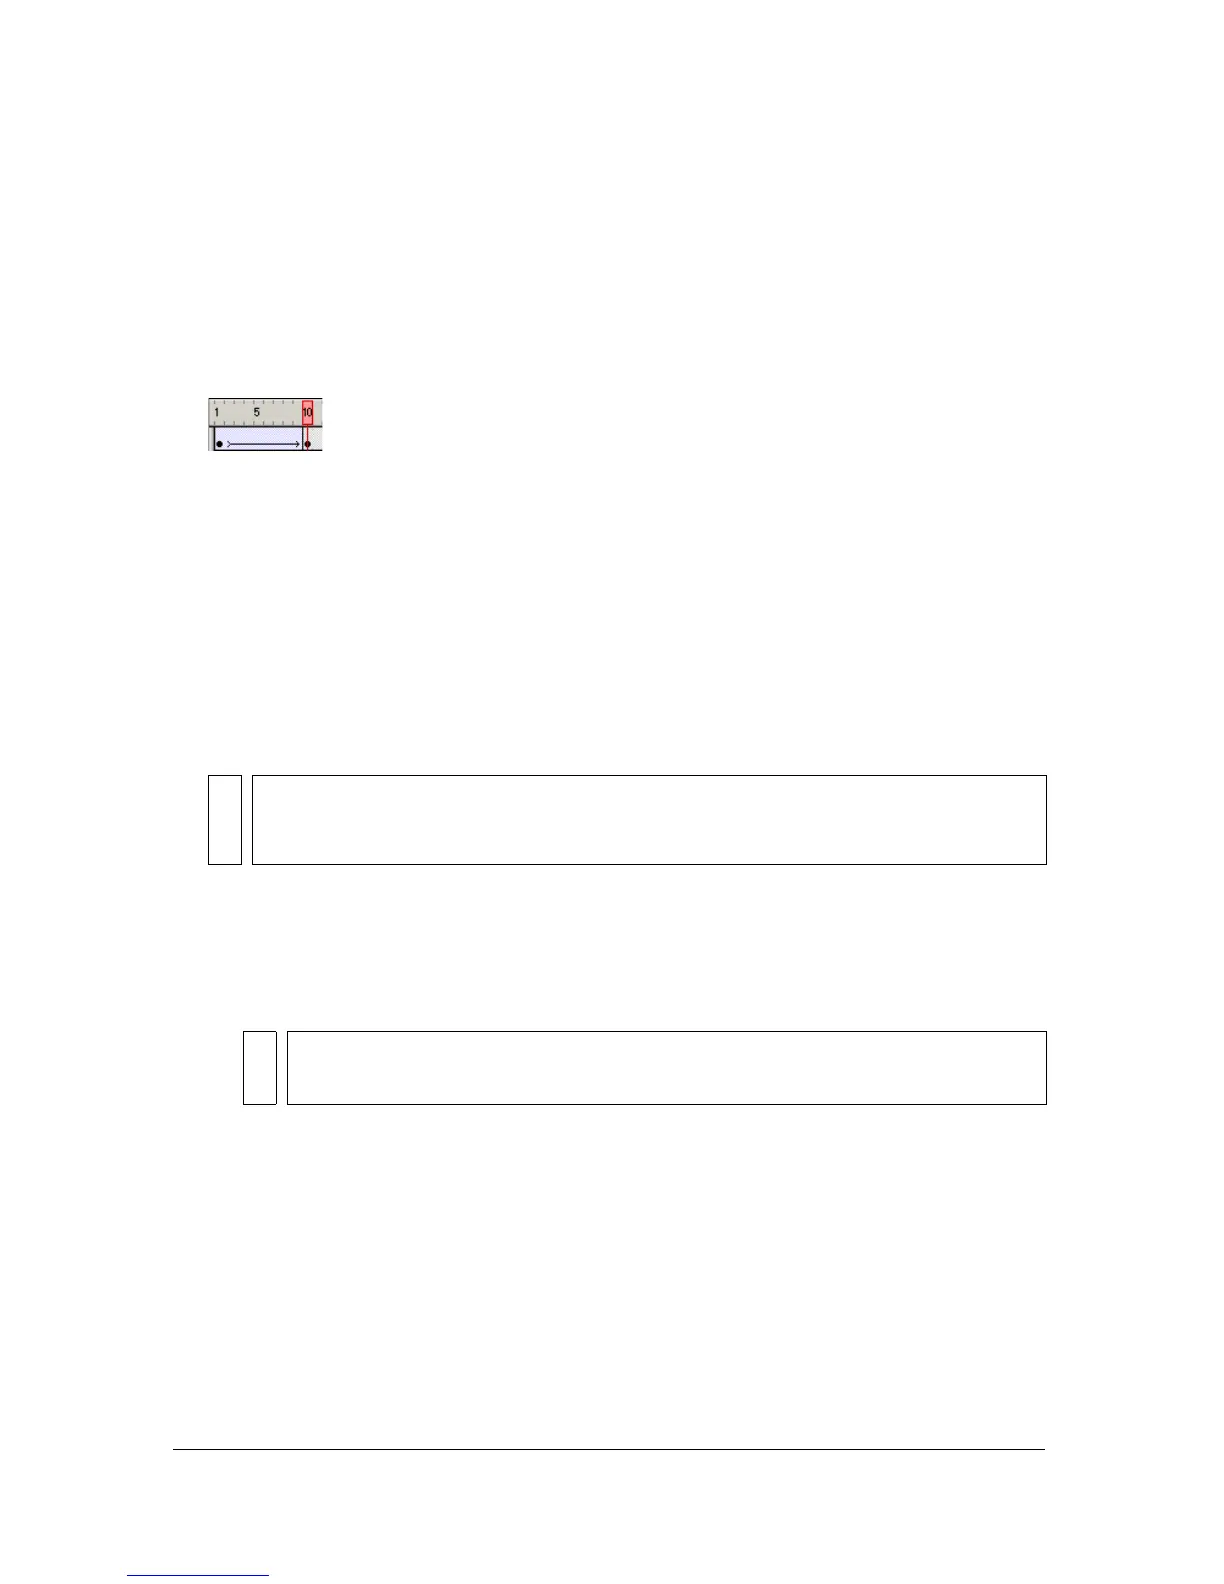
A keyframe is automatically added to the end of the frame range.
5. Drag the arrow next to the Easing value or enter a value to adjust the rate of change between
tweened frames:
■ To begin the motion tween slowly and accelerate the tween toward the end of the
animation, drag the slider up or enter a value between -1 and -100.
■ To begin the motion tween rapidly and decelerate the tween toward the end of the
animation, drag the slider down or enter a positive value between 1 and 100.
By default, the rate of change between tweened frames is constant. Easing creates a more
natural appearance of acceleration or deceleration by gradually adjusting the rate of
change.
6. To rotate the selected item while tweening, select an option from the Rotate menu:
■ Select Auto to rotate the object once in the direction requiring the least motion.
■ Select Clockwise (CW) or Counterclockwise (CCW) to rotate the object as indicated,
and then enter a number to specify the number of rotations.
7. If you’re using a motion path, select Orient to Path to orient the baseline of the tweened
element to the motion path. (See “Tweening motion along a path” on page 257.)
8. Select Synchronize to ensure that the instance loops properly in the main document.
Use the Synchronize command if the number of frames in the animation sequence inside
the symbol is not an even multiple of the number of frames the graphic instance occupies
in the document.
9. If you’re using a motion path, select Snap to attach the tweened element to the motion path
by its registration point.
NOTE
If you want to use the Custom Ease In/Ease Out dialog box to produce a more
complex change in speed within the tween’s frame span, see “Applying custom ease
in/ease out to motion tweens (Flash Professional only)” on page 258.
NOTE
The rotation in step 6 is in addition to any rotation you applied to the ending
frame in step 4.