7. Select “Default Gateway” using
Default gateway Address entry window will appear
8. Enter the default gateway Address using
when at the Cell to the far right.
lease move on to ‘DNS Setting’
DNS Setting : Auto(DHCP)
1. Select “DNS Setting” using
ou will be asked to Select “Auto(DHCP)” or “Manual”
2. Select “Auto(DHCP)” using
lease move on to ‘Proxy Setting’ if your ISP (Internet
ervice Provider) requires Proxy Configuration.
move on to ‘Connection to the Network’
1. Select “DNS Setting” using
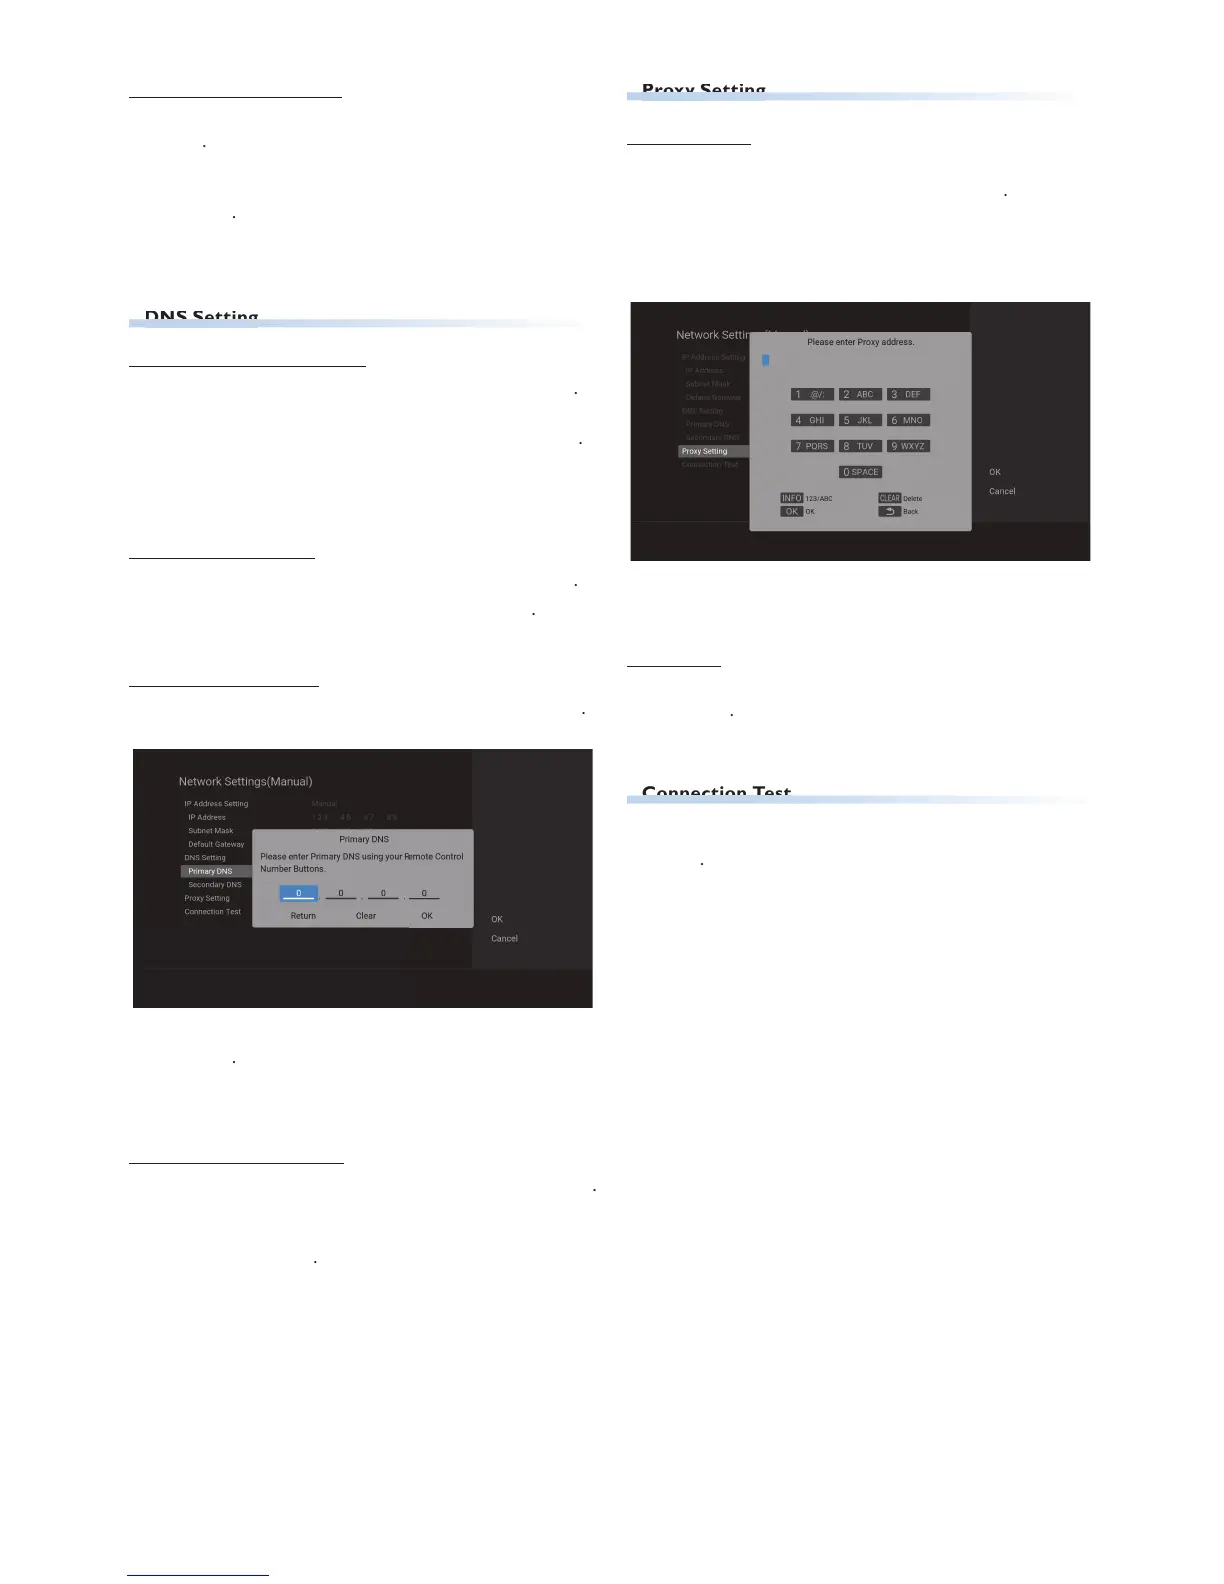
3. Select “Primary DNS” using
rimary DNS Address entry window will appear
4. Enter the primary DNS Address using
when at the cell to the far right.
lease move on to ‘Secondary DNS : Manual’
6. Select “Secondary DNS” using
econdary DNS Address entry window will appear
7. Enter the Secondary DNS Address using
Enter the Secondary DNS Address after checking the
specifications of your Router, then enter the same
when at the cell to the far right.
lease move on to ‘Proxy Setting’ if your ISP (Internet
ervice Provider) requires Proxy Configuration.
move on to ‘Connection to the Network’
ress
1. Select “Proxy Setting” using
roxy Address entry Screen will appear
3. Enter the Proxy Address using the Software Keyboard.
or details on how to use the Software Keyboard, refe
o ‘Guide to the Software Keyboard’ on page 42
1. Select “Connection Test” using
onnection test will Start and the test result will be
EN.indd44 2015/09/0219:00:58

 Loading...