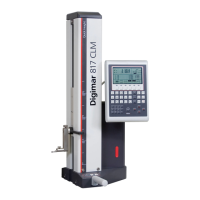
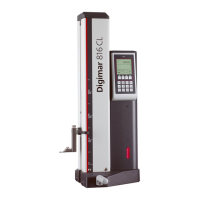
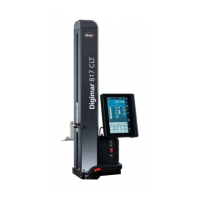
Mahr GmbH, Digimar 817 CLT
22
4.7 Measuring methods
4.7.1 Basic measuring functions
The basic measuring functions can be started
quickly and easily at the push of a button.
The procedure here is always the same:
•
Position the measuring probe above/below
the point to be measured.
• Press the button of the desired measuring
function in the function key bar of the user
interface.
•
The measuring probe automatically
approaches the surface to be measured
and accepts the measuring value.
For dynamic measurements where a
maximum or minimum (bores or shafts) is
to be measured, you need to move either the
workpiece or the measuring instrument in
such a way that the measuring instrument can
calculate an extreme value. In measurements
with two consecutive contacting processes
(e.g. bore, groove, or shaft), the first contacting
process is always performed upwards.
The individual measuring functions
are explained in detail in the online
help of the Digimar software.
4.7.2 2D mode
Common 2D measuring tasks can be
completed with the measuring functions in 2D
mode, including calculations of index circles
(hole circle) or angles and distances between
bores. To this end, the measurements of the
Z and X axes are each measured and saved
separately.
The sequence of measuring functions in 2D
mode is always as follows:
•
Activate 2D mode by pressing the
button.
• Measure the features in the Z-axis.
•
Tilt/rotate the workpiece (usually 90°) by
pressing the or button.
•
Measure the features again in the same
order in the X-axis.
• If other features are to be measured in the
Z-axis, the workpiece must be tilted back
again by pressing the / button.
•
Perform the calculations, e.g. "index circle".
When 2D mode is activated, the function key
bar of the user interface displays the relevant
buttons for the possible measuring functions.
The results of the measurements performed
can be displayed as a measuring value list
or graph in the information area of the user
interface.
The graph can be switched on or off by
pressing the button.
The individual measuring functions in
2D mode are explained in detail in the
online help of the Digimar software.
 Loading...
