1
2
3
Replacing valve seat insert
94
Removing valve seat insert
Note:
If the valve seat inserts are replaced, the valve guides must be replaced at the same time as
otherwise exact refacing of the valve seat inserts cannot be guaranteed.
For the above−mentioned reasons, the tool for removing and installing the valve guides and valve
seat inserts have been designed in such a way that, when this tool is used, the valve guides and
the valve seat inserts can be replaced only together or only the valve guides alone can be re-
placed.
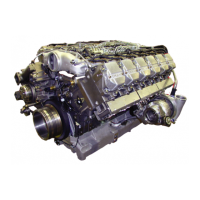
Fig. 1
Use a valve seat machining tool (valve seat turning
tool) to cut a groove approx. 3−4 mm wide in the
valve seat insert.
Insert an internal puller into the cut groove and
tighten.
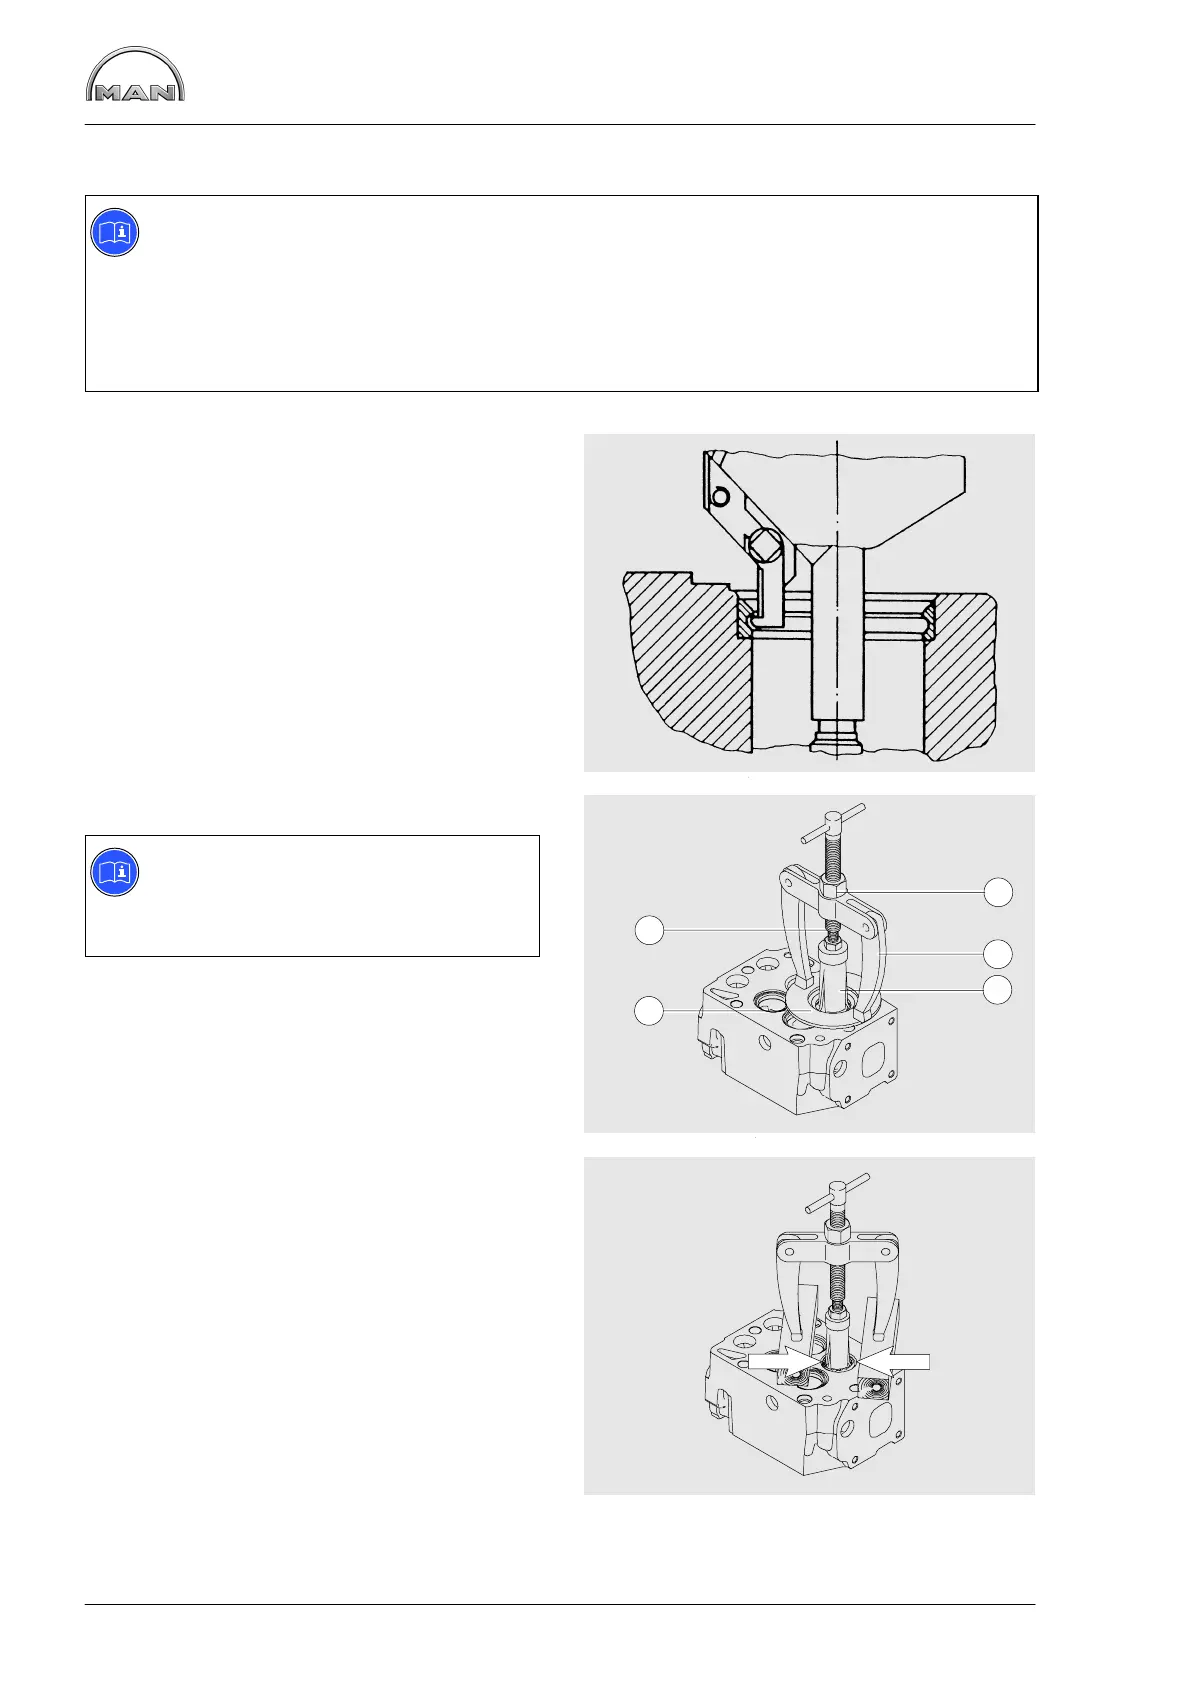
Fig. 2
Note:
To avoid damaging the cylinder head
sealing face, lay disc à or similar item
under the arms Á of the support.
Screw threaded spindle Ä into internal puller Â,
align arms Á of the support and pull out the valve
seat insert by turning nut À.
Clean the contact face of the seat insert in the cyl-
inder head.
Fig. 3
If a valve seat machining tool is not available, the
following procedure may be adopted:
D Apply two short welding beads on the valve
seat (arrow) using an arc welding set
D Pull out the valve seat insert
D Clean the contact face of the seat insert in the
cylinder head
3
4
2
5
1
 Loading...