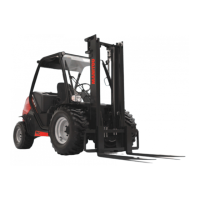
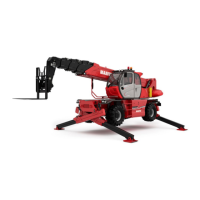
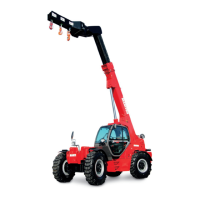
2 - HYDRAULIC ATTACHMENT AND MANUAL LOCKING DEVICE
FITTING AN ATTACHMENT
- Ensure that the attachment is in a position facilitating the locking to the carriage. If
it is not correctly oriented, take the necessary precautions in order to move it safely.
- Check that the locking pin is in position in the bracket (Fig. A).
- Place the lift truck with the boom lowered in front of and parallel to the attachment,
and tilt the carriage forwards (Fig. B).
- Bring the carriage under the locking tube of the attachment, slightly raise the boom,
tilt the carriage backwards in order to position the attachment (Fig. C).
- Lift the attachment off the ground to facilitate locking.
MANUAL LOCKING AND CONNECTION OF THE ATTACHMENT
q
IMPORTANT
q
Make sure that the rapid connectors are clean and protect the holes which are not used, with the caps provided.
- Take the locking pin on the bracket and lock the attachment (fig. D). Do not forget
to fit the cotter pin.
- Stop the engine and keep the ignition on the lift truck.
- Release the pressure in the attachment hydraulic circuit by moving switch1 on
the hydraulic controls lever backwards and forwards 4 or5 times.
- Connect the quick-release couplers according to the logic of the attachment’s
hydraulic movements.
MANUAL RELEASE AND DISCONNECTION OF THE ATTACHMENT
- Proceed in the reverse order of paragraph MANUAL LOCKING AND CONNECTION
OF THE ATTACHMENT, taking care to refit the locking pin in the bracket.
REMOVING THE ATTACHMENT
- Proceed in the reverse order to FITTING AN ATTACHMENT, taking care to store
the attachment flat on the ground and in the closed position.
4 - 5
A
B
C
D
1
E

 Loading...