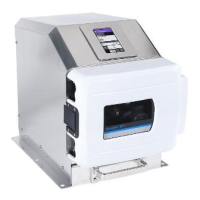
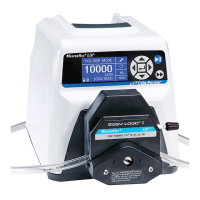
2-5 Masterflex SS B/T Washdown Digital Pump Drive with Advanced Connectivity
Section 2: Basic Setup & Settings
Masterflex
7. Tap CONFIRM to save or CANCEL to discard changes.
Setting the Date
To change the date:
1. Tap SETTINGS
from any of the mode screens. e Settings Screen will be displayed.
2. Tap DATE.
3. Select the desired date format (either month/day/year or day/month/year).
4. Tap the desired MONTH, DAY or YEAR eld to select and then enter the date using the onscreen keypad.
5. Tap CONFIRM
to save or CANCEL to discard changes.
Display Brightness
To adjust the display brightness:
1. Tap SETTINGS
from any of the mode screens. e Settings Screen will be displayed.
2. Use the DISPLAY BRIGHTNESS slider to adjust the touchscreen brightness to the desired level.
Dispense Completion Alerts
When Sound Dispense is enabled a short beep will sound at the completion of each pump dispense.
To enable or disable the dispense completion alert:
1. Tap SETTINGS
from any of the mode screens. e Settings Screen will be displayed.
2. Tap the SOUND DISPENSE toggle to select either ON or OFF.
Batch Completion Alerts
When Sound Batch is enabled a single long beep will sound at the completion of each batch cycle.
To enable or disable the batch cycle completion alert:
1. Tap SETTINGS
from any of the mode screens. e Settings Screen will be displayed.
2. Tap the SOUND BATCH toggle to select either ON or OFF.
Analog Output
e B/T supports and controls analog output through the pump drive’s 31-pin connection (for further
information see "
31-Pin Electrical Connections" on page 4-5.
1. Tap SETTINGS from any of the mode screens. e Settings Screen will be displayed.
2. Tap ANALOG OUTPUT. e Analog Output Screen will be displayed.
3. Tap to select the desired analog output type from the available list.
4. If using either ANALOG: VOLTAGE or ANALOG: CURRENT:
a. Tap EDIT
. e Analog: Voltage Edit Screen or Analog: Current Edit Screen will be displayed.
b. Select the desired current or voltage operating range from the available list.
c. Tap CONFIRM
to save or CANCEL to discard changes. e Analog Output Screen will be