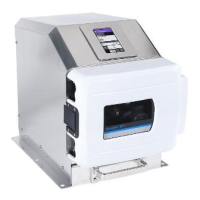
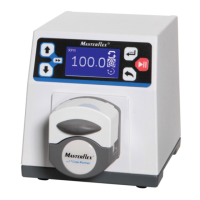
2-7 Masterflex SS B/T Washdown Digital Pump Drive with Advanced Connectivity
Section 2: Basic Setup & Settings
Masterflex
WI-FI Settings
e B/T can connect to a network using Wi-Fi and Ethernet connections.
NOTE:
• e Ethernet connection will take priority if both Wi-Fi and Ethernet are used simultaneously.
• e B/T supports WEP, WPA, WPA2, and None (open) Wi-Fi security protocols.
To select a Wi-Fi network:
1. Tap SETTINGS
from any of the mode screens. e Settings Screen will be displayed.
2. SCROLL
through the Settings Screen pages to locate WIFI SETTINGS.
3. Tap WIFI SETTINGS. e Wi-Fi Settings Screen will be displayed.
4. If required, tap the WIFI toggle to select either ON or OFF.
5. Tap the desired Wi-Fi network from the available list.
6. If required, enter the network PASSWORD using the onscreen keypad.
7. Tap CONNECT to join the network or CANCEL to cancel.
8. Tap CONFIRM
to return to the Settings Screen.
To remove a Wi-Fi network:
1. Tap SETTINGS
from any of the mode screens. e Settings Screen will be displayed.
2. SCROLL
through the Settings Screen pages to locate WIFI SETTINGS.
3. Tap WIFI SETTINGS. e WIFI Settings Screen will be displayed.
4. Locate the desired Wi-Fi network and tap REMOVE WIFI
.
5. Tap REMOVE to remove the network or CANCEL to discard changes.
6. Tap CONFIRM
to return to the Settings Screen.
Ethernet Settings
e B/T can connect to a network using Wi-Fi and Ethernet connections.
NOTE:
• Con rm that the Ethernet cable is securely attached to the Ethernet port at the rear of the pump drive.
• e Ethernet connection will take priority if both Wi-Fi and Ethernet are used simultaneously.
To con gure Ethernet settings:
1. Tap SETTINGS
from any of the mode screens. e Settings Screen will be displayed.
2. SCROLL
through the Settings Screen pages to locate ETHERNET SETTINGS.
3. Tap ETHERNET SETTINGS. e Ethernet Settings Screen will be displayed.
4. Tap DHCP to automatically con gure IP settings or STATIC to manually edit settings using the onscreen
keypad.
5. Tap CONFIRM
to save or CANCEL to discard changes.