172
7.12 ADJUSTABLE TIE ROD REPLACEMENT
CHAPTER 7: PART REPLACEMENT INSTRUCTIONS
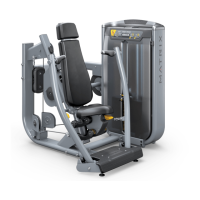
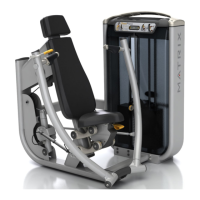
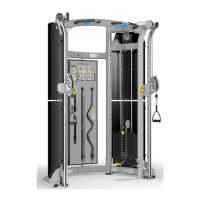
1) Remove the screw holding the adjustable tie rod to the arm (Figure A).
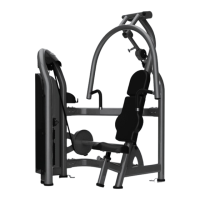
2) Pull the adjustable tie rod off of the arm (Figure B). NOTE: Be sure to support the arm so that it does not swing away and cause damage
or injury.
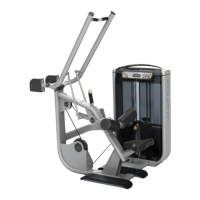
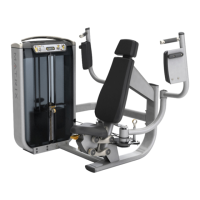
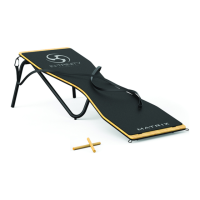
3) Remove the screw holding the bottom of the adjustable tie rod to the rotational tube (Figure C).
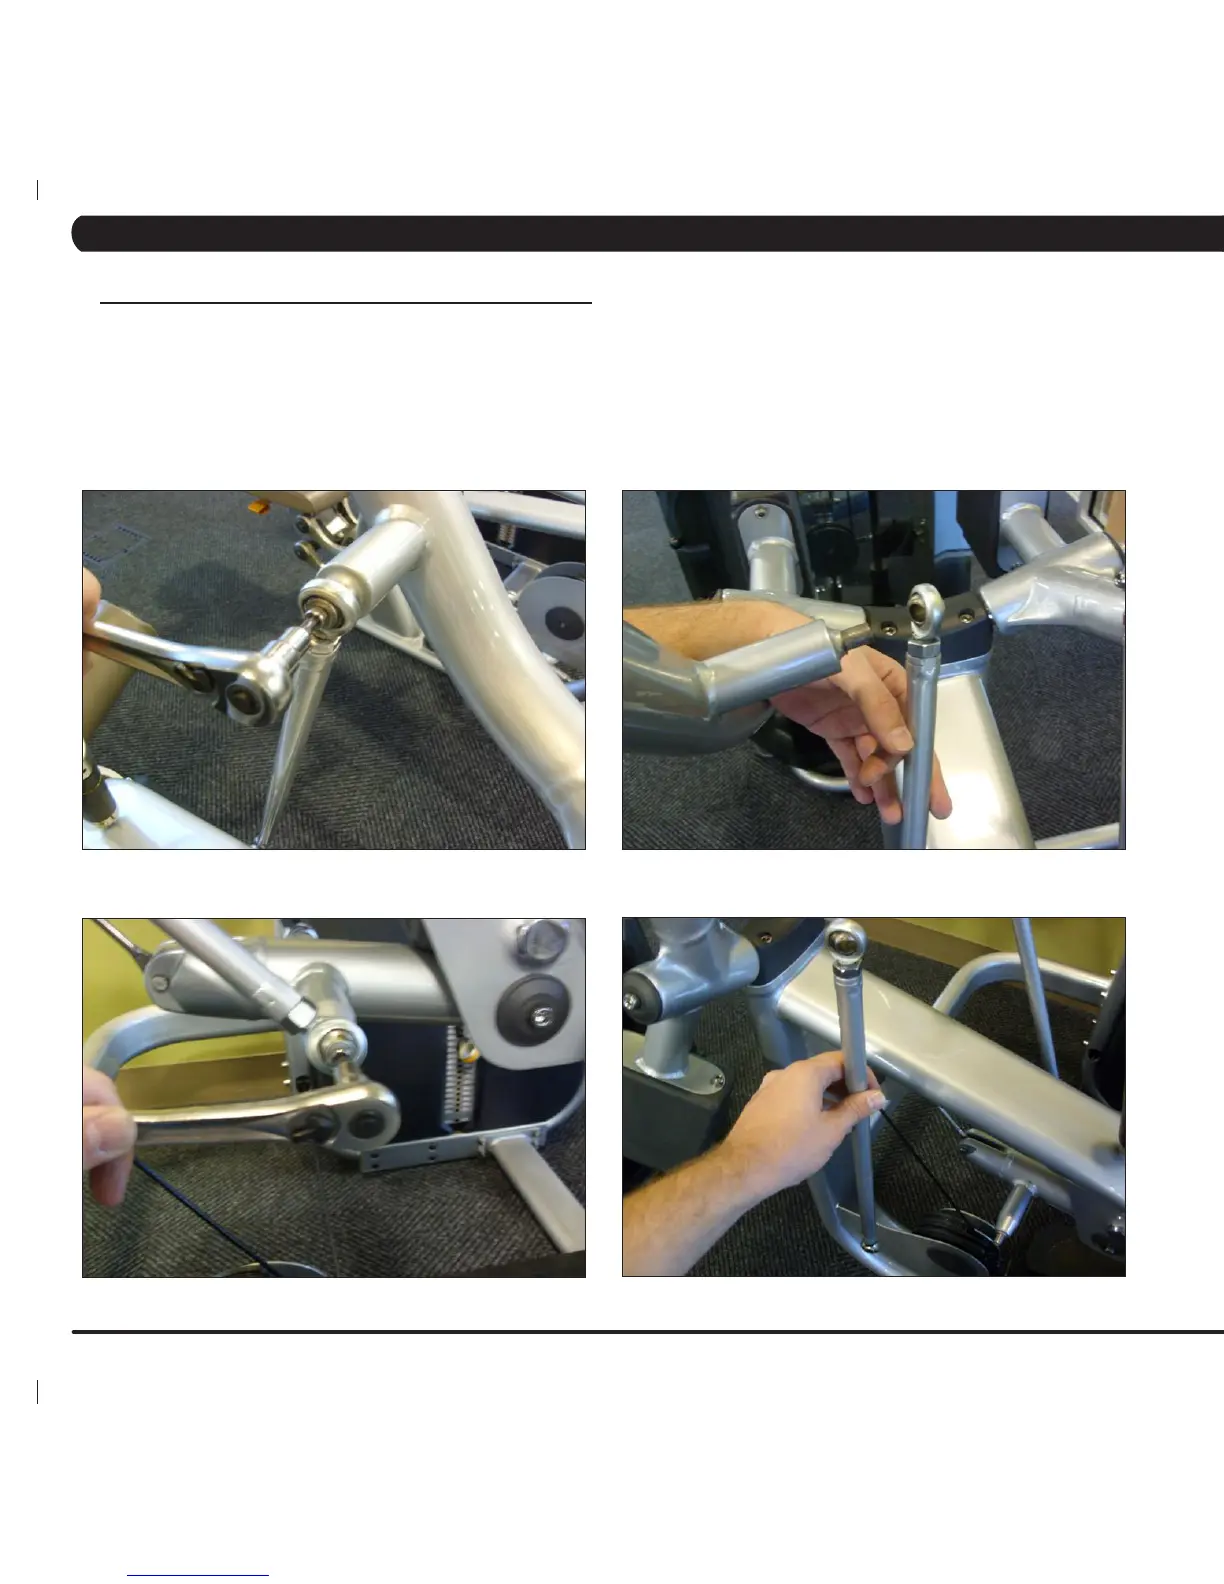
4) Remove the adjustable tie rod (Figure D).
5) Reverse Steps 1-4 to install a new adjustable tie rod.
NOTE: After installing a new adjustable tie rod, be sure to check that the arms are level. If not, follow the instructions in Section 6.3 to level the
arms.
FIGURE A FIGURE B
FIGURE C FIGURE D
 Loading...