2.2 Installation Checklist and Menu (continued)
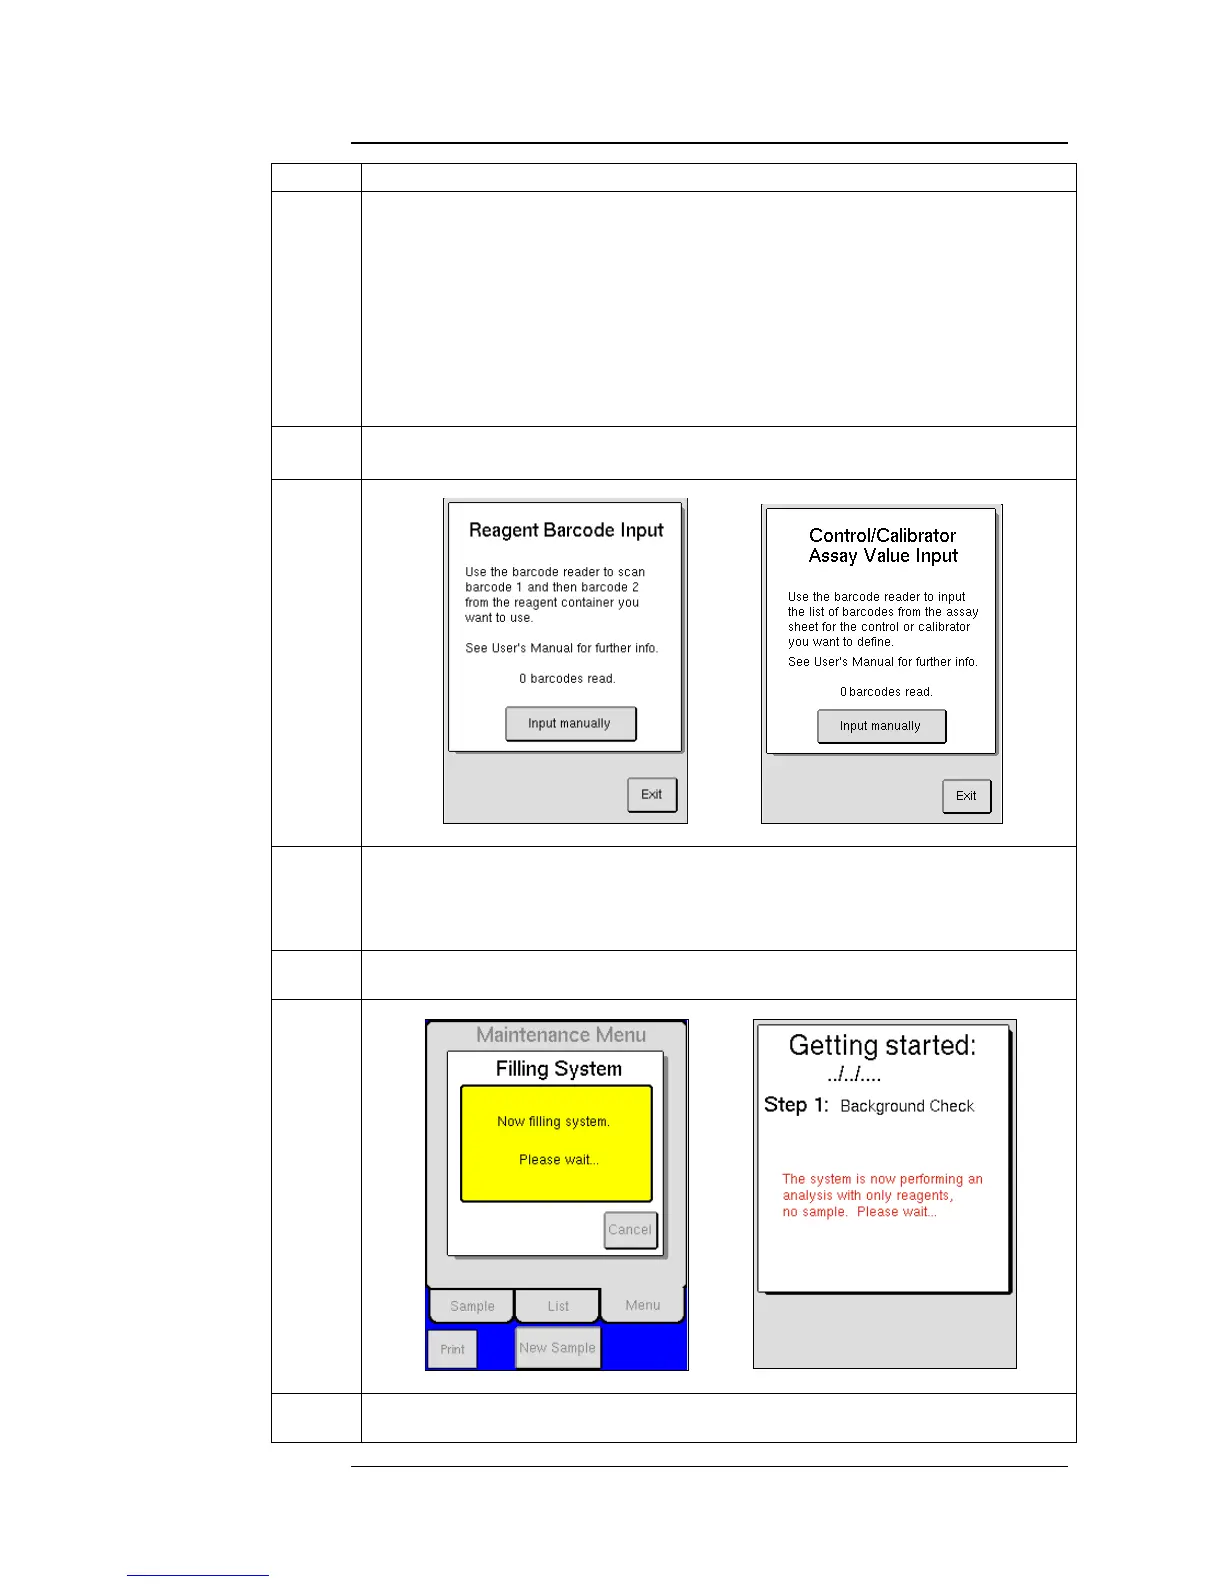
Press Step 2 [ENTER REAGENT BARCODES].
Scan barcode 1 and then barcode 2 on the Diluent container. (Press and hold
the ACTIVE or ON button each time a barcode is scanned.)
o If using a Combination pack, following instruction for scanning in
Diluent container.
If using single containers of Diluent and Lyse press [ENTER ANOTHER
BARCODE] and scan barcode 1 and then barcode 2 on the Lyse container.
Press [EXIT] to return to Reagent Barcode Input screen and then press
[EXIT] again to return to the Installation Menu.
After reagents are scanned, then loosen reagent container caps, remove
factory seals, and place reagent level sensors in respective containers.
Press Step 3 [ENTER CONTROL BARCODES] to enter assay value ranges into the
system for the lot of Control being used.
Scan barcodes 1-9, in that order, for each control level.
Once accepted press [EXIT] to return to Installation Menu.
Press Step 4 [PERFORM FILL SYSTEM] to fill system with reagents. This cycle
will last for approximately 3 minutes.
Press Step 5 [GO TO STARTUP]. See Section 5.2 for details on guided startup
sequence.
 Loading...