5.5 Analyzing the Sample (Open Tube) (continued)
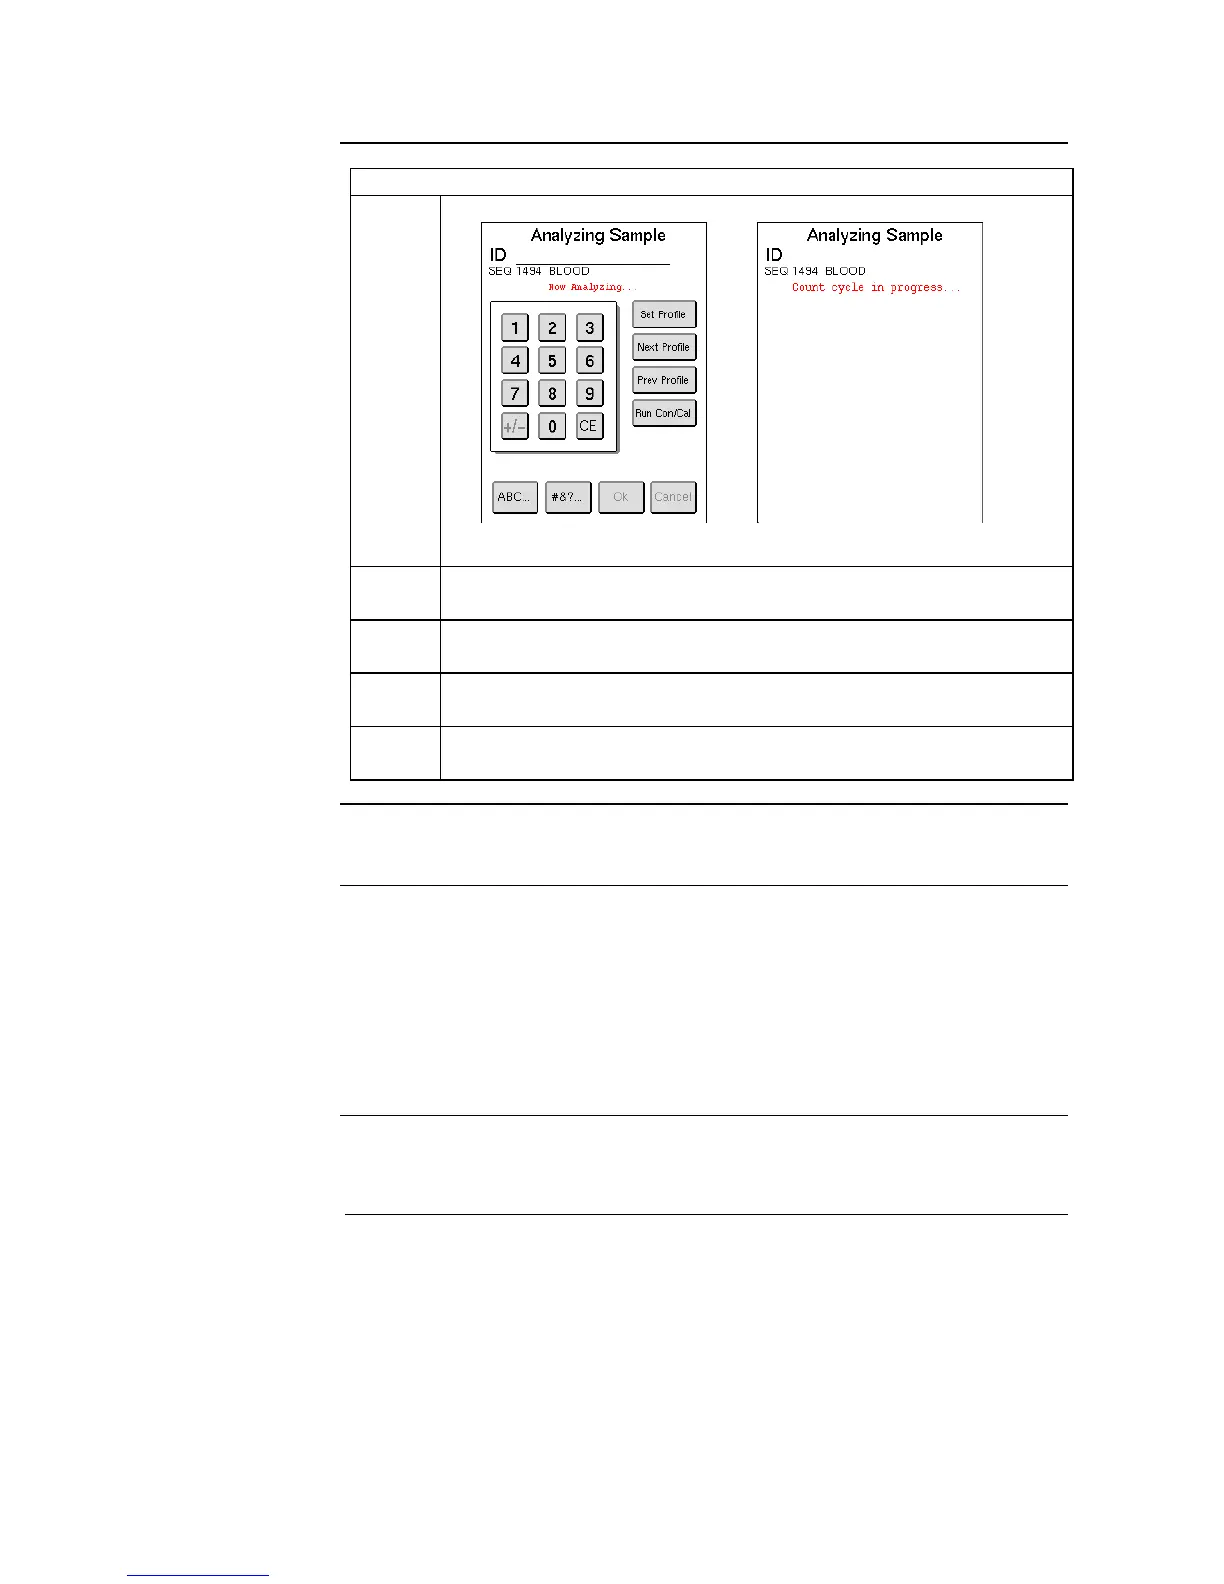
The instrument now switches to the sample analysis screen.
In first screen displayed above Sample ID and profile can still be
added.
Approximately 30 seconds after aspiration the display switches to
that in Figure 5.14 and no further ID entry is possible.
After 45 seconds results will be displayed on List or Sample menu.
For more information of results refer to Section 5.10.
When NEW SAMPLE button returns to green, operator can begin
analysis of next sample.
5.6 Analyzing the Sample (Pre-dilution procedure)
This section describes how to analyze a pre-diluted sample through the “pre-
dilute” aspiration probe and how to use the dispense function. There are two
ways of pre-diluting a sample. The recommended pre-dilute method is using
the dispense function, which uses the factory calibrated dilution ratio of 1:225
(20 µl sample in 4.5 ml diluent). The second method is performing an external
pre-dilution using in-house dilution procedures, dilution ratios between 1:200
– 1:300, and re-calibrating system using selected dilution ratio.
Dilution Rates
and Ratios
Dilution Rates: 1:200 – 1:300
Recommended: 1:225 (20 µl sample in 4.5 ml diluent)