5.7 Analyzing the Sample (Micro Pipette Adapter, MPA) (continued)
Always use gloves when in contact with potentially biohazardous materials.
After puncture, wipe away the first drop of blood with a clean tissue or gauze
pad. (First drop of blood often contains excess tissue fluid.)
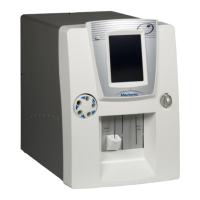
When second drop forms, aspirate the sample as shown below, being careful
to only allow the tip of the micropipette to touch the drop of blood (not the
finger directly).
By holding puncture site downwards and applying gentle, intermittent
pressure above the site, the blood flow will be enhanced. Do not use scooping
motion or strong repetitive pressure, “milking”, to the site. (This can cause
hemolysis or contaminate sample with excess tissue fluid.)
Fill the micropipette completely with fresh whole blood and wipe off excessive
blood on the outside surface.
Be careful not to wick blood from open ends of the micropipette.
Ignoring these instructions might cause incorrect and non-reproducible results.
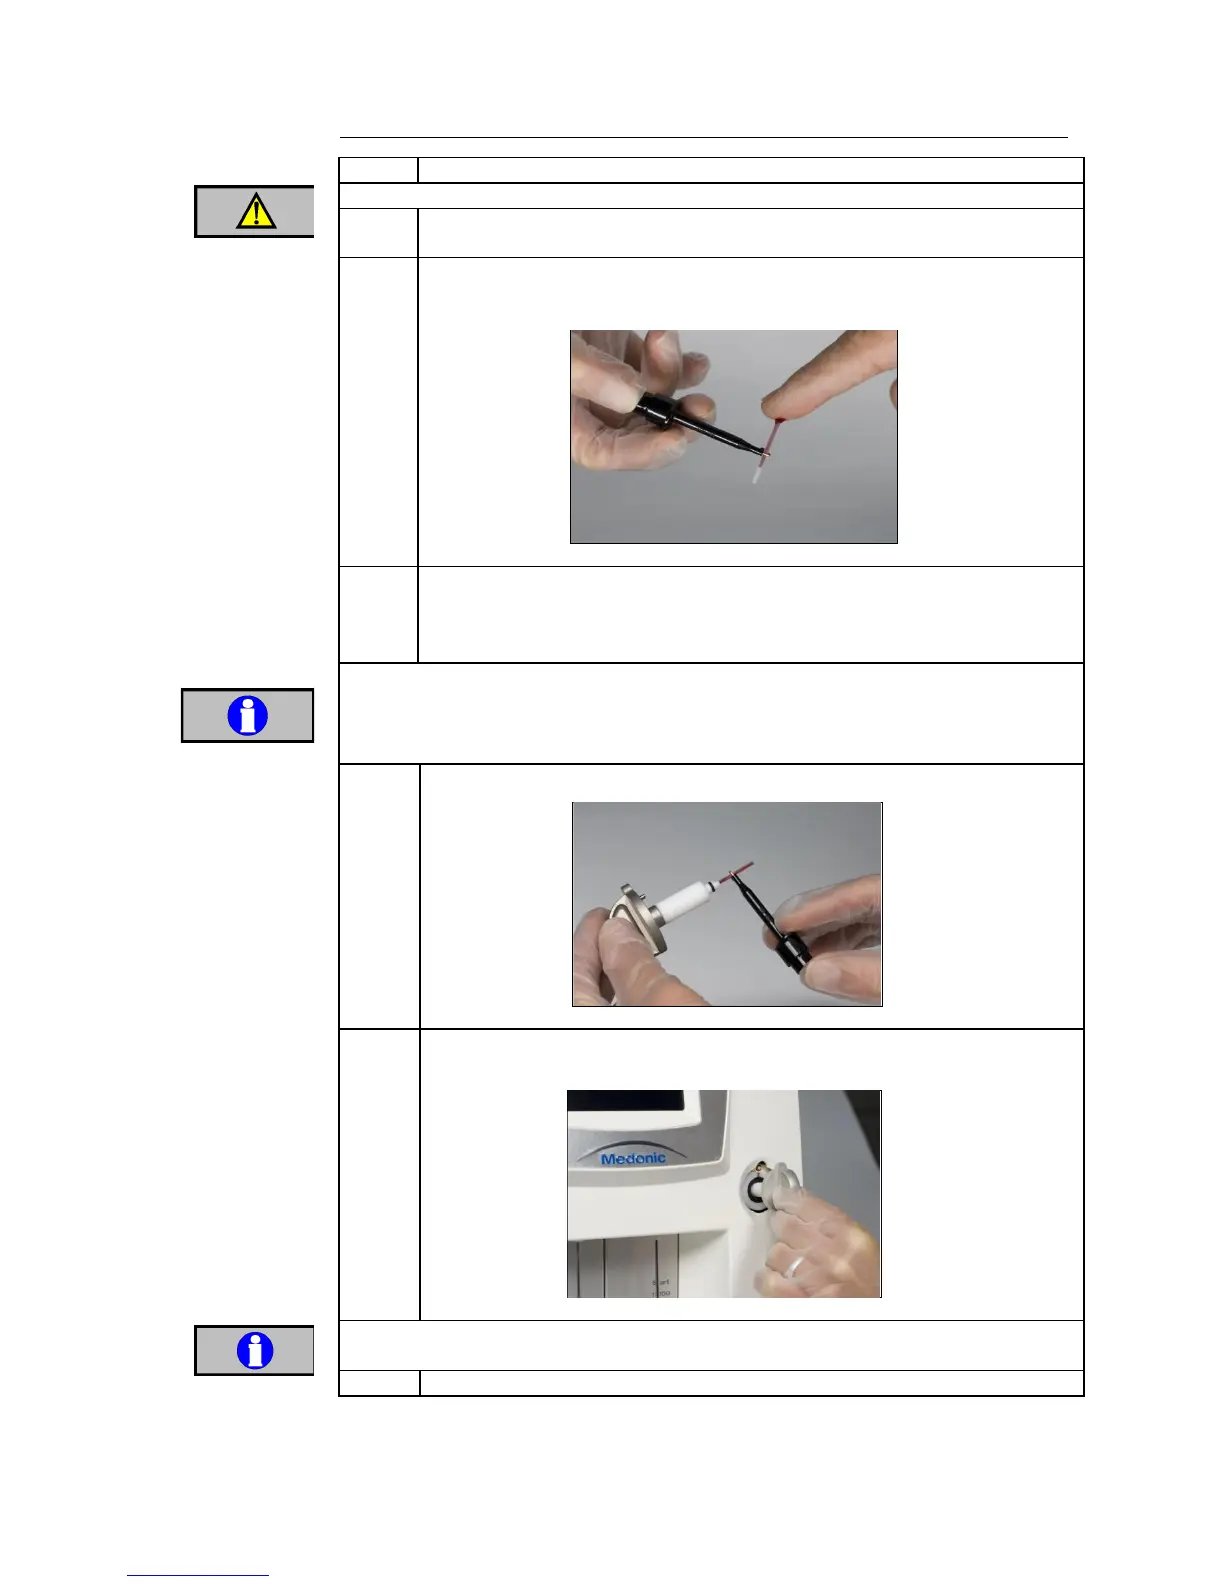
Insert the micropipette into the MPA device as shown below:
Insert the MPA into its holder and the instrument will automatically start the
analyzing sequence.
Do not remove MPA during sample aspiration or analysis. Removal prior to
completion of analysis may cause erroneous results.
Refer to Section 5.5 Steps 6 - 10 for remainder of analysis sequence.