78 of 289
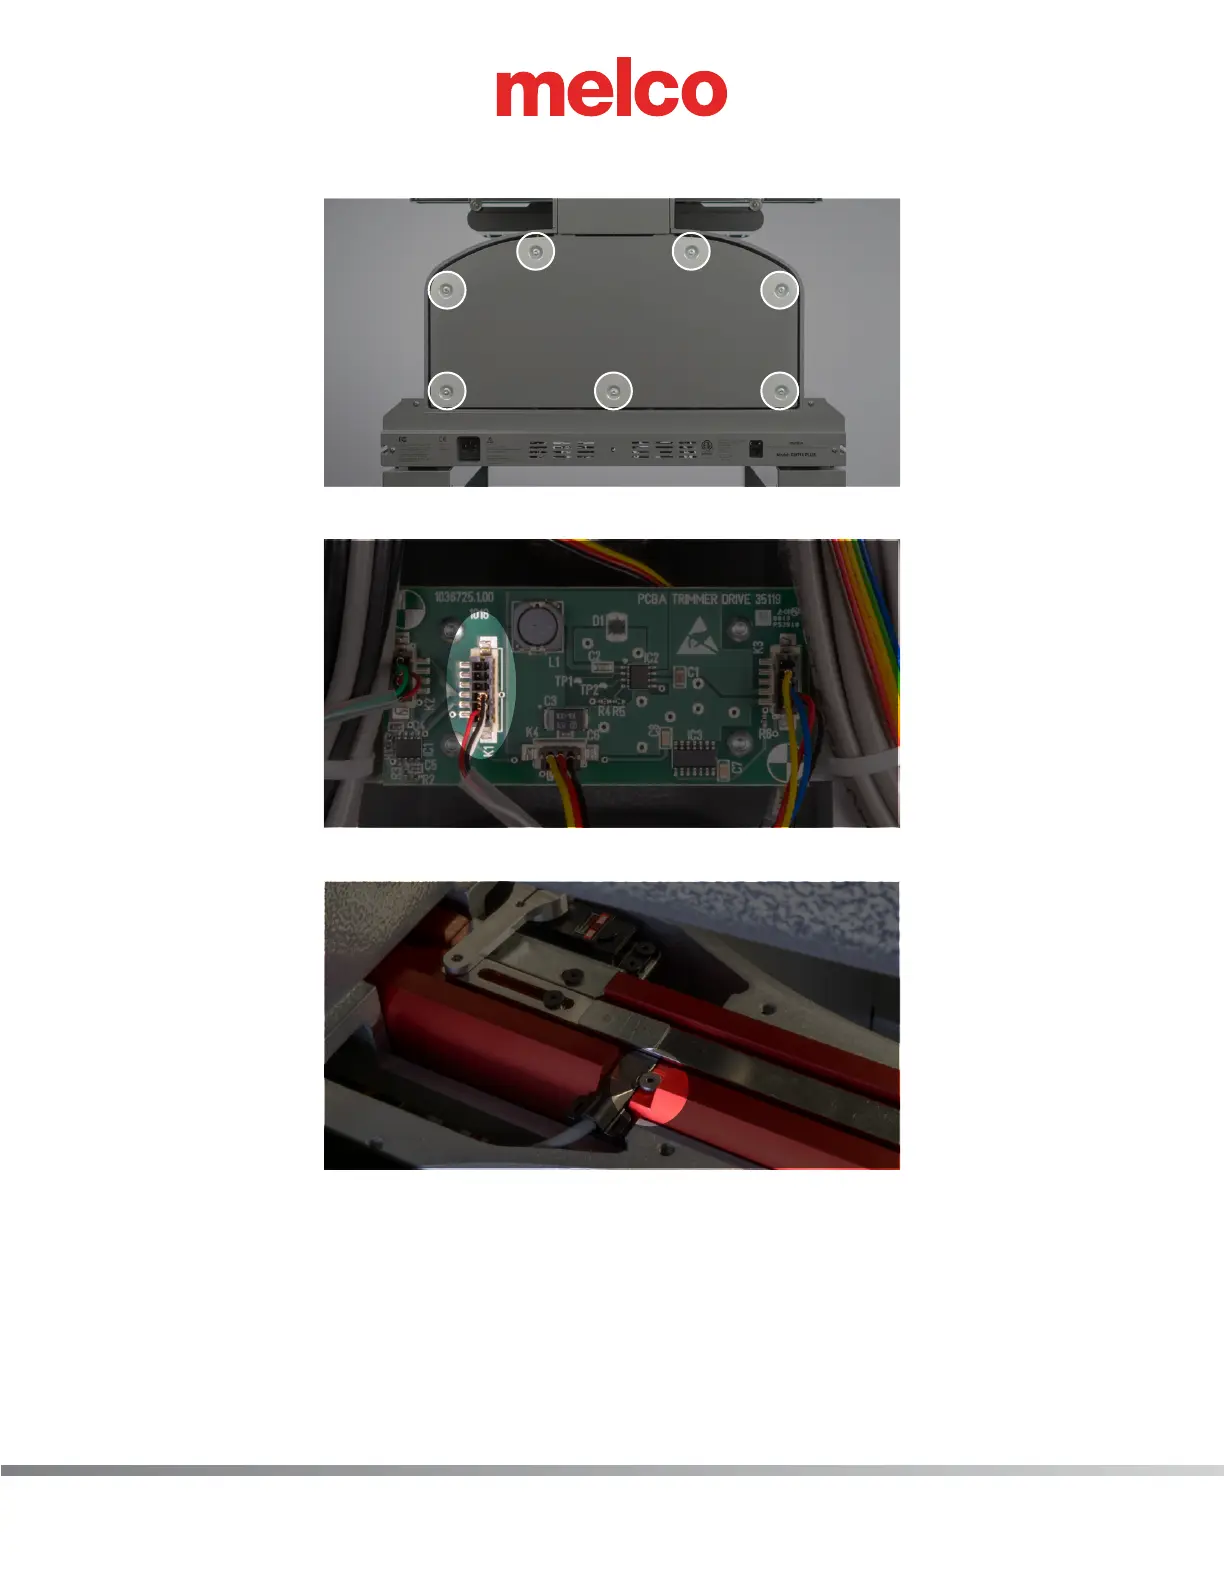
3. Remove lower arm rear cover (7 M4 Socket head cap screws)
4. On the trimmer PCBA locate the connection labeled K1 (second from left) and disconnect.
5. Remove the mounting M3 low head screw and remove sensor.
6. Install new trimmer sensor. Making sure the at side is facing down, slide the sensor under the
trimmer connecting link. Slide it into the lower arm until it hard walls into the lower arm. If it is
not all the way in the slot, it could cause problems during trims. Secure it with M3 low head screw
while making sure the mounting screw is in the mounting cut out on the sensor. Connect the
trimmer home sensor to the trimmer PCBA connector labeled K1.
7. Reconnect power and ethernet cable. Power up machine and connect to OS.