Number Item Description
8
Remaining Time/Song Time
Passed
You can switch the display option by pressing the Down button
( ) while playback is suspended.
Importing Music Files
Music files can be imported from a USB drive or a CD to the N10/N100.
Importing from USB Drives
To import music files from a connected USB drive, follow the procedure below.
1 Connect the USB drive that contains music files to the USB 2.0 port.
Notes:
• Use only the compatible USB drives listed on melco-audio.com.
• Connect only NTFS-formatted, FAT32-formatted, HFS Plus-formatted, or exFAT-formatted USB drives.
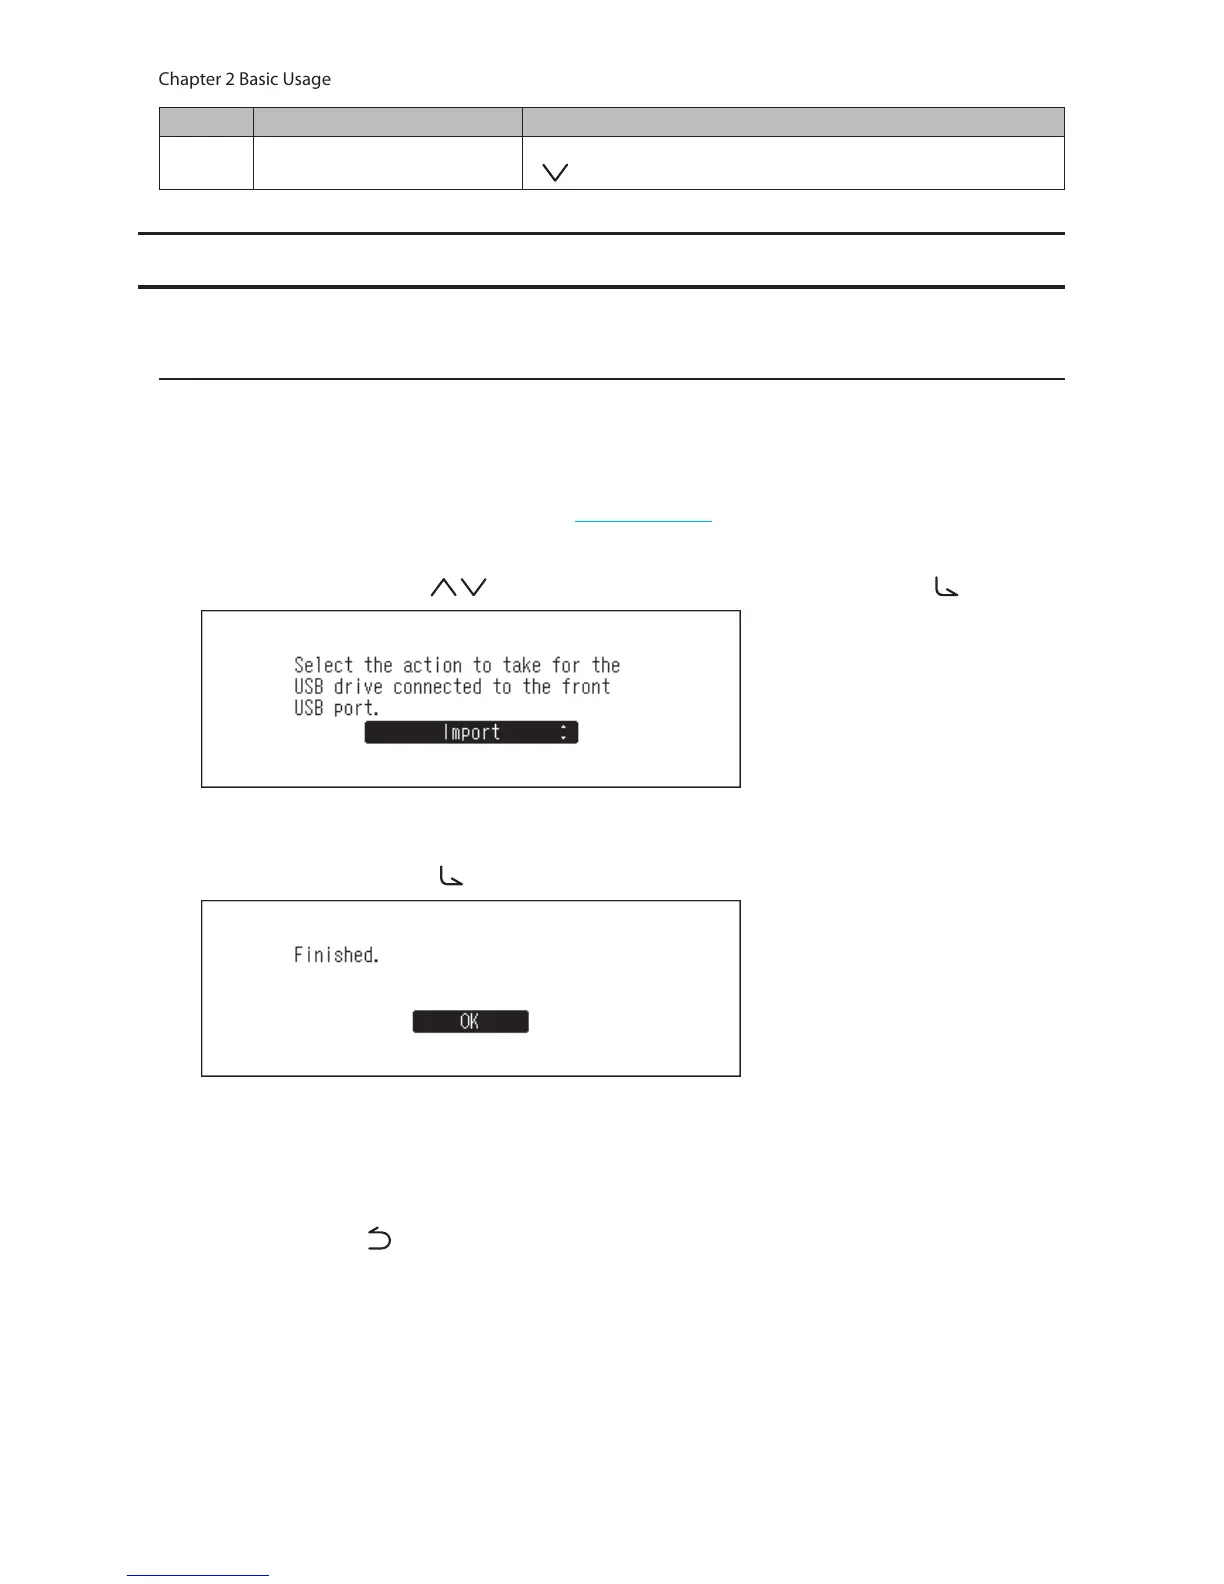
2 Press the Up/Down buttons ( ) and select “Import”, then press the Menu/Enter button ( ).
3 Wait until music importing is finished.
4 Press the Menu/Enter button ( ).
5 Disconnect the USB drive.
Notes:
• If a filename or folder name starts with a period (.), the file or folder cannot be imported.
• When the Back button ( ) is pressed while importing, the import process will be cancelled after the N10/
N100 finishes importing the current file. If the imported file size is large, the cancellation process may take a few
minutes to finish.
Import Destination Details
Imported music files will be stored in the “import” folder. There are two options to store the imported data in the
N10/N100. To change these options, go to Settings > Import from USB drive and select “Into One Folder” or “Into
Folders by Date”.