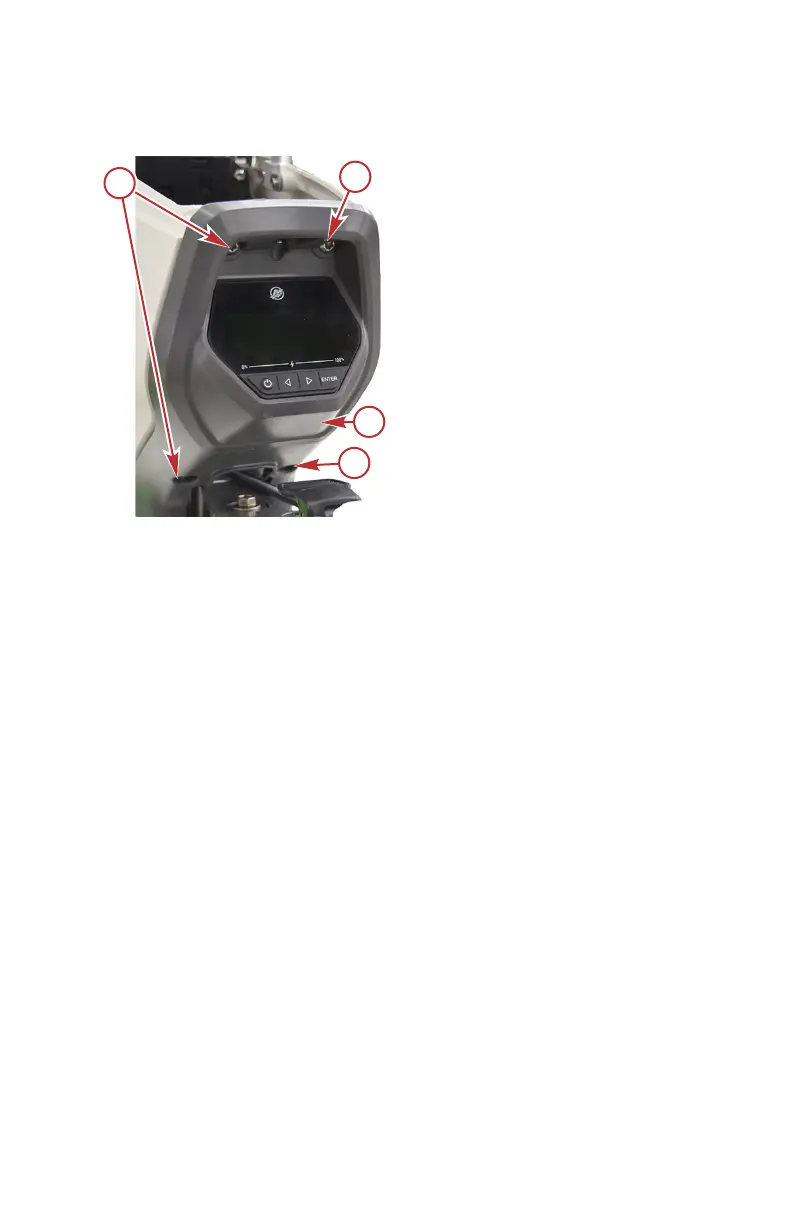
3. Install the front cowling upper panel on the outboard with the four short
hex head screws.
Tiller model shown, other models
similar.
a - Short hex head screws (4)
b - Front cowl upper panel
4.
Install the battery. Refer to Battery Installation.
Remote Wiring Harness Installation
1.
Remove the battery from the outboard. Refer to Battery Removal.
2.
Remove the front cowl upper panel from the outboard. Refer to Front
Cowl Upper Panel Removal.
3.
Remove the front cowl lower panel from the outboard. Refer to Front
Cowl Lower Panel Removal.
4.
Remove the starboard cowl panel from the outboard. Refer to Starboard
Cowl Panel Removal.
5. Remove and discard the weather cap from the 14‑pin data harness
connection.
6. Connect the 14‑pin data harness connector to the outboard harness
14‑pin connector.
INSTALLATION
eng 55
 Loading...