Installing the Ultrasonic Probe SediGraph III 5120 Installation
44 Mar 2010
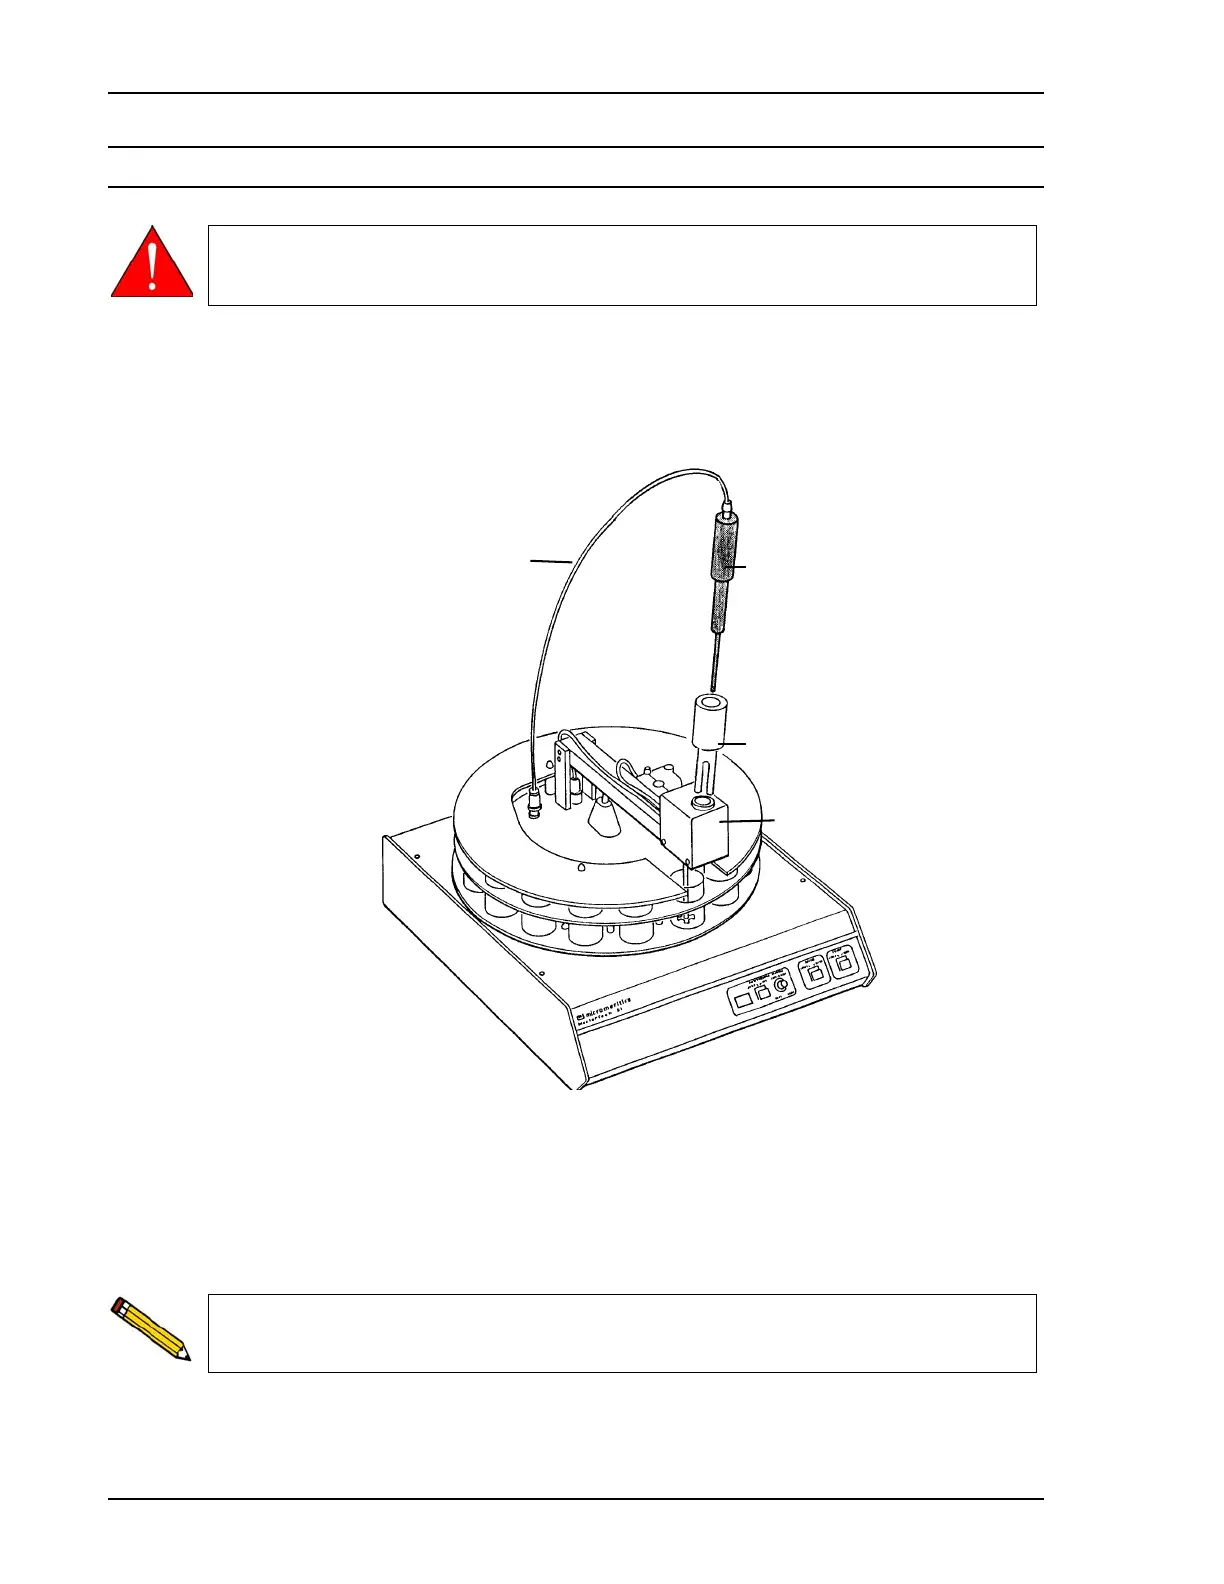
Installing the Ultrasonic Probe
1. Make sure that the power ON/OFF switch on the rear panel of the MasterTech is in the
OFF (O) position.
2. Attach the probe cable to the connector labeled Ultrasonic Probe.
3. Ensure that the probe tip is attached to the probe; if not, attach it. A 1/4-in. probe tip is
supplied with the MasterTech 052. An 1/8-in. tip is also available. (Refer to Chapter 10 for
ordering information.)
4. Insert the cylinder into the arm, positioning it so that the longer slots slide over the
protrusions inside the arm.
5. Insert the probe into the cylinder.
Make sure that no power is supplied to the unit before starting this procedure.
Cable
Ultrasonic Probe
Cylinder
Arm
Position the shorter slots of the cylinder over the protrusions if you are using the
1/8-in. probe.

 Loading...


