EasyManuals Logo

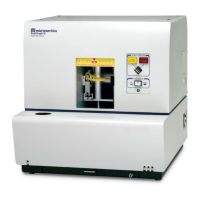
Micromeritics SediGraph III 5120 Installation Instructions And Checklist

Micromeritics SediGraph III 5120
50 pages
To Next Page IconTo Next Page
To Previous Page IconTo Previous Page
Page #9 background imageLoading...
Page #9 background image
SediGraph III 5120 Installation Removing Packing Material and Making Internal Connections
Mar 2010 5
Removing Packing Material and Making Internal Connections
1. Open the analysis compartment door. Remove the instrument drawing and the packing
material.
2. Remove the four screws on the top of the cover and the two screws open the back of the
cover, then lift the cover up and remove it from the analyzer.
Before operating the SediGraph, remove the internal packing material. Failure to do
so may result in damage to the SediGraph. See the drawing #512/10300/00, which was
shipped inside of the analysis module, for details
Other manuals for Micromeritics SediGraph III 5120

Questions and Answers:

Question and Answer IconNeed help?

Do you have a question about the Micromeritics SediGraph III 5120 and is the answer not in the manual?

Micromeritics SediGraph III 5120 Specifications

General IconGeneral
BrandMicromeritics
ModelSediGraph III 5120
CategoryMeasuring Instruments
LanguageEnglish

Related product manuals