Classic Manual Rev L
11 | P a g e 1 0 - 0 0 1 - 1 R E V L
To remove the front cover of the Classic in preparation for installation, remove the four Phillip’s
head screws with a #2 Phillip’s screwdriver. Lift the front half of the Classic casting off. You will
need to unplug the display cable. It works the same as any phone cable.
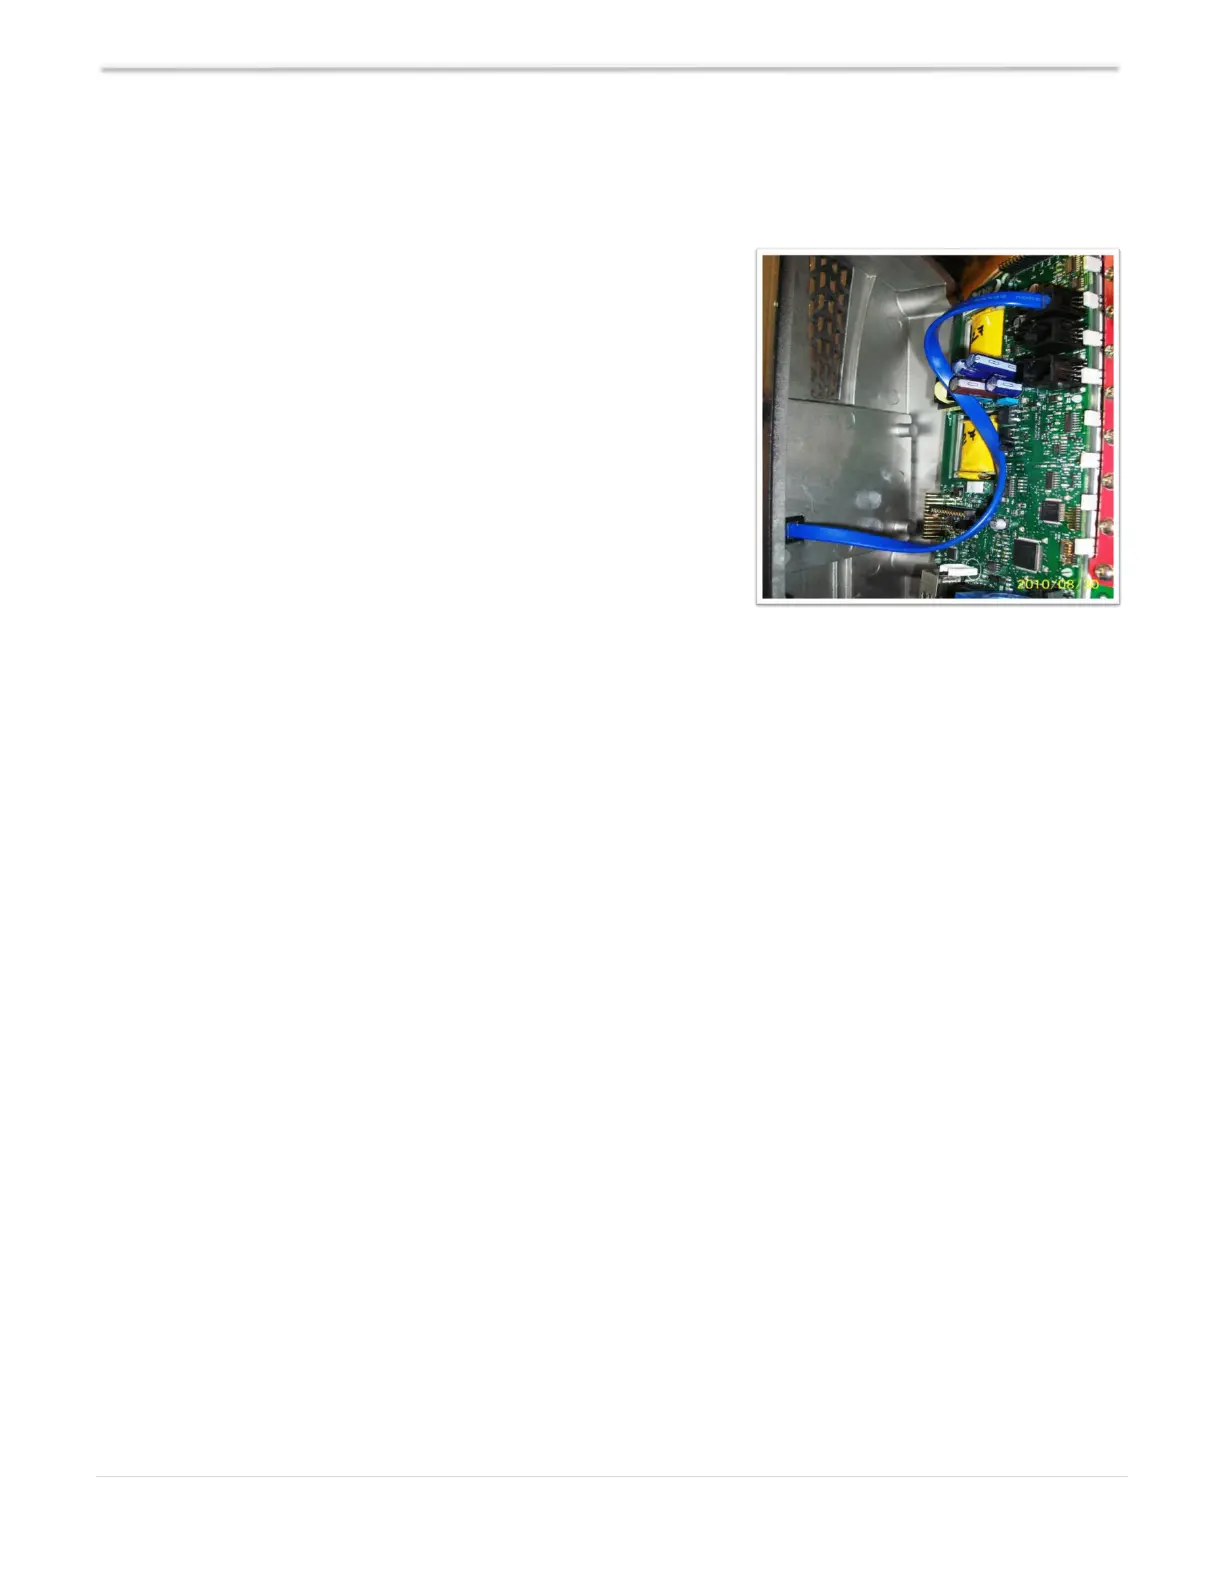
When installing the cover for the final time, squeeze a small
amount of silicone grease (included in the parts bag) onto the
metal pins of the male jacks on the display cable before
plugging them in.
To re-install the front cover of the Classic you will need to
plug in the display cable and carefully route it around the
components on the circuit board as you set the cover in place.
See Figure 2. Do not force the cover if it does not seat into
place easily; stop and look for any cables or wires that may be
interfering. With the cover seated in place, install the four
Phillip’s screws with a #2 Phillip’s screwdriver.
Figure 2
Mounting the Classic
The following section covers typical mounting arrangements. If you require additional details that
are not covered here, please contact our tech support team. The Classic is designed to be directly
mounted onto the MidNite Solar E-Panel. The Classic can accommodate other installation methods
as well. Mount in an upright position out of direct sunlight when possible. For your convenience the
Classic has four one-inch knock outs that are pre-cast. The Classic has mounting locations and
conduit locations that are similar to other brands of charge controllers to facilitate ease of upgrading
older technologies.
Mounting the Classic to the E-Panel:
Remove the front cover of the Classic.
Install the mounting bracket on the E Panel and start the upper mounting screw into the
bracket, leaving it about half-way out so you can hang the Classic on this screw.
Install the one-inch close nipple into the E-Panel as shown in the E-Panel directions. The
one-inch close nipple, two plastic bushings, and three locknuts are included with each E-
Panel. One locknut acts as a spacer.
Carefully hang the Classic on the screw in the bracket and slide it over the close nipple
(see Figure 5).
Install the lock nut and bushing on the close nipple and tighten the screw in the mounting
bracket.
Do not install the front cover until you complete the wiring of the Classic.