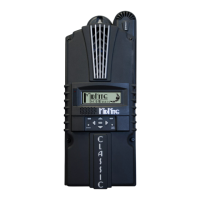
Classic Manual Rev L
12 | P a g e 1 0 - 0 0 1 - 1 R E V L
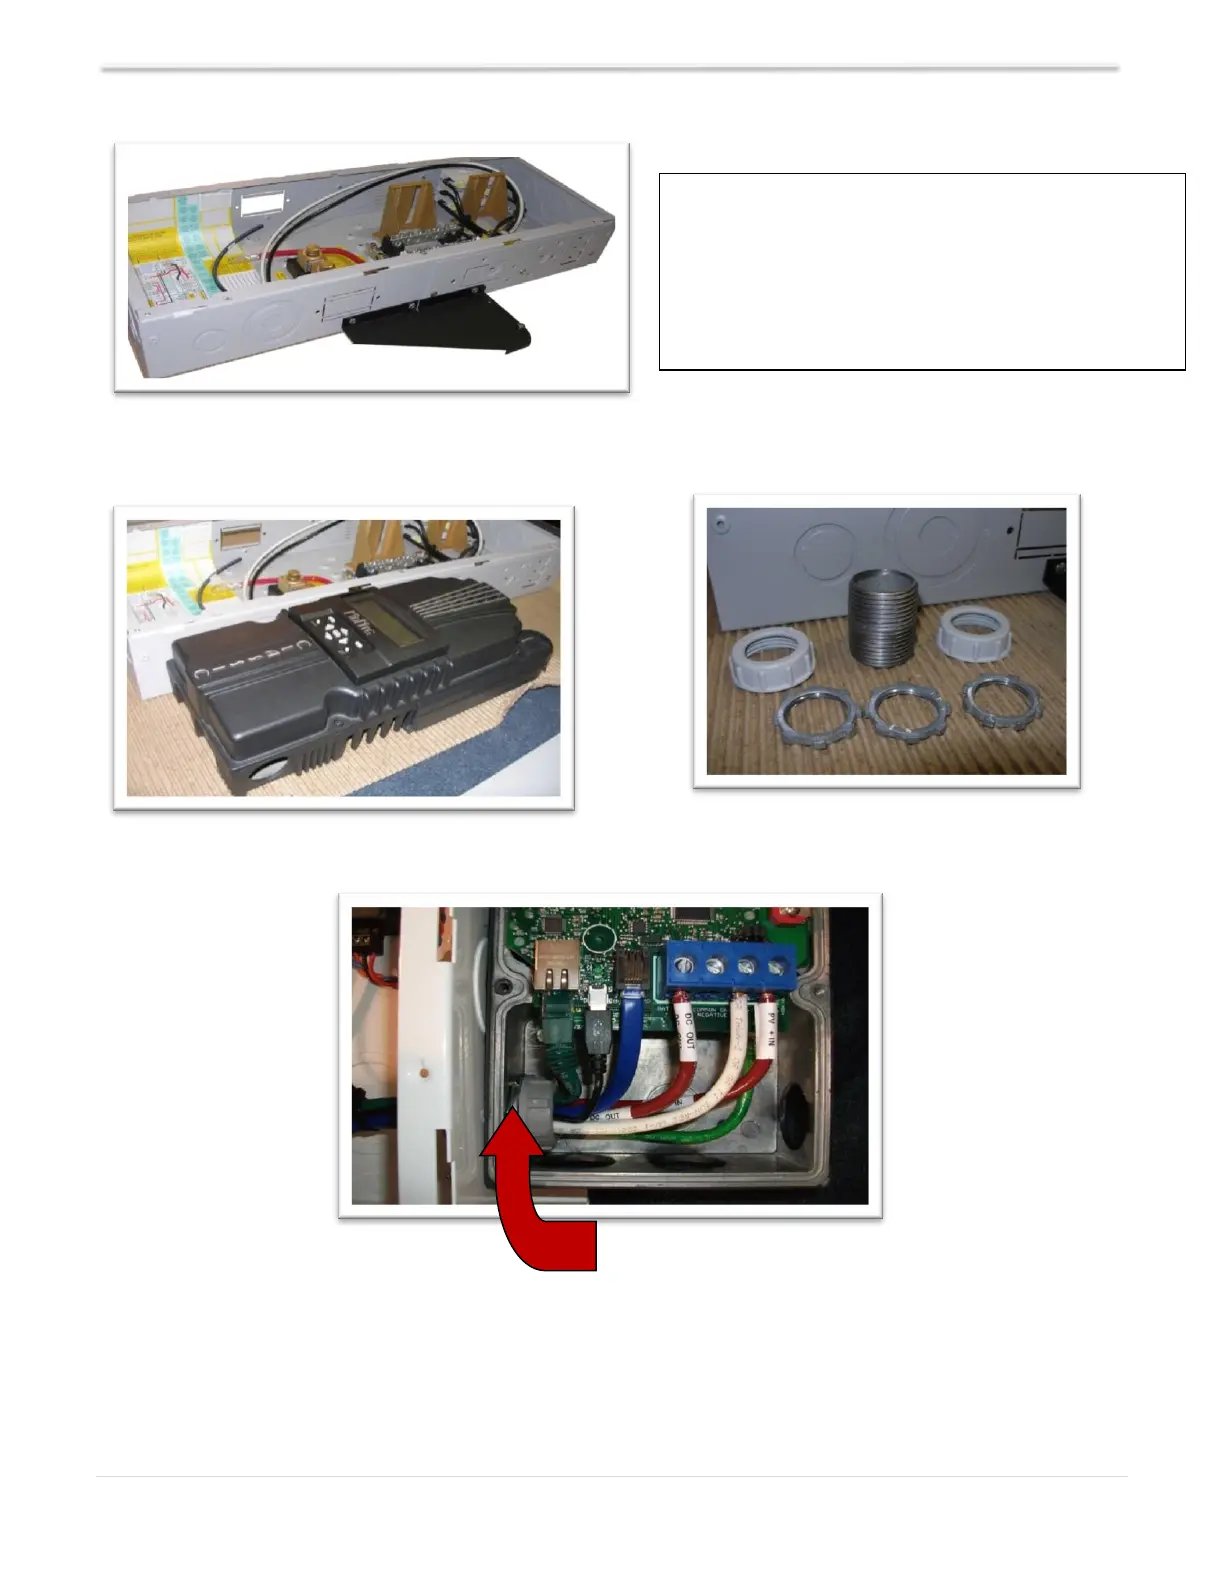
Figure 3 – Classic mounting bracket
Figure 4 – Classic mounted to E-Panel Figure 5 – Nipple, locknuts, and bushings
Figure 6 Install locknut here to act as a spacer.
Alternative Mounting
To mount the Classic to a plywood surface, use 1 1/2” wood screws in the top keyhole slot hole and
the holes in the wiring compartment, taking care to make sure the Classic is plumb and level.
IMPORTANT!
Do not mount in a zero clearance compartment.
Overheating may result. The Classic produces heat
in normal operation. Airflow around the Classic is
required to prevent overheating and shutdown.
This is especially true in hot environments.