Classic Manual Rev L
13 | P a g e 1 0 - 0 0 1 - 1 R E V L
Sealed or Vented
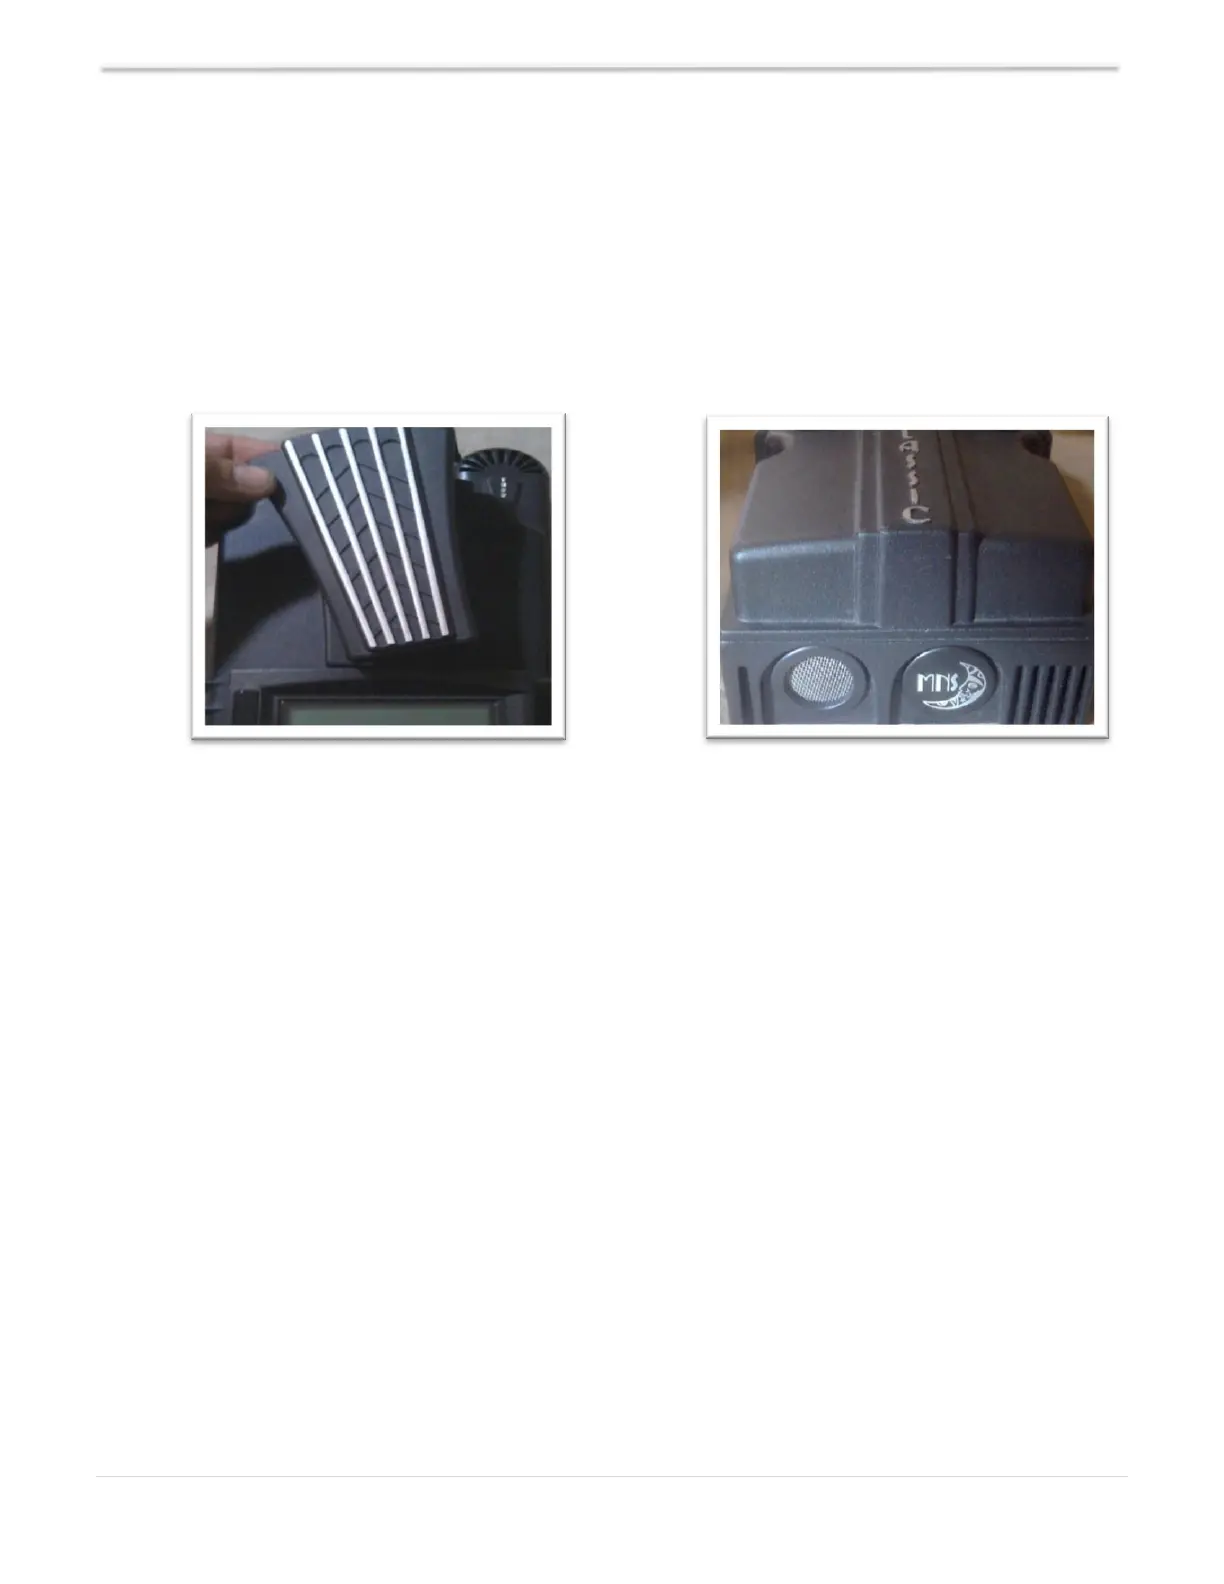
The Classic can be sealed for protection from salt air or dust. It comes from the factory vented. If
you live in a dusty or salt air environment, you may wish to seal the Classic. Sealing the Classic does
not make the unit water resistant. To seal the Classic, install the solid plastic knock-out covers into
any unused knock-outs and snap the upper vent cover onto the Classic as seen in Figures 7 and 8.
Note that the Classic will be slightly de-rated (will put out less power) by sealing it. Refer to the
specifications page of this manual for the ratings in the sealed mode (40C+, shown in Table 6). To
obtain the parts necessary to seal the Classic, please contact our Tech Support Team and ask for
MNCLSEALKIT.
Wiring the Classic
WARNING - SHOCK HAZARD: Disconnect the batteries and input power before opening the Classic
front cover. ALWAYS use proper over-current protection and disconnects on the PV+
and battery + wires.
Ensure all source and battery circuits are de-energized and wait five minutes before working on the
wiring in the Classic. The Classic has two common neutral (negative) terminals; therefore, only one
neutral conductor is required to run from the E-Panel and terminate on either (or both) common
neutral terminal. This negative conductor should be sized to match the battery + cable. The positive
DC source wire goes to the PV+ setscrew. The positive battery DC wire goes to the battery +
terminal. Torque the terminal screws to the specs below.
Connect ONE PV array per Classic.
NOTE: The Classic should be wired by a qualified professional and needs to meet all applicable
electrical codes.
Maximum and Minimum Wire Size
The Classic’s blue DC terminal connector will accept wire from #14 to #4 AWG (use THHN;
#4 AWG welding cable will not easily fit into the terminal block).
The Classic’s AUX 1 and AUX 2 terminal connectors will accept wire up to #18 AWG.