Complete Parts List is available at www.MillerWelds.com
OM-262506 Page 25
SECTION 5 − INSTALLATION
install3 2014−12 − Ref. 800 652 / Ref. 800 477-A / 803 274 / 804 712
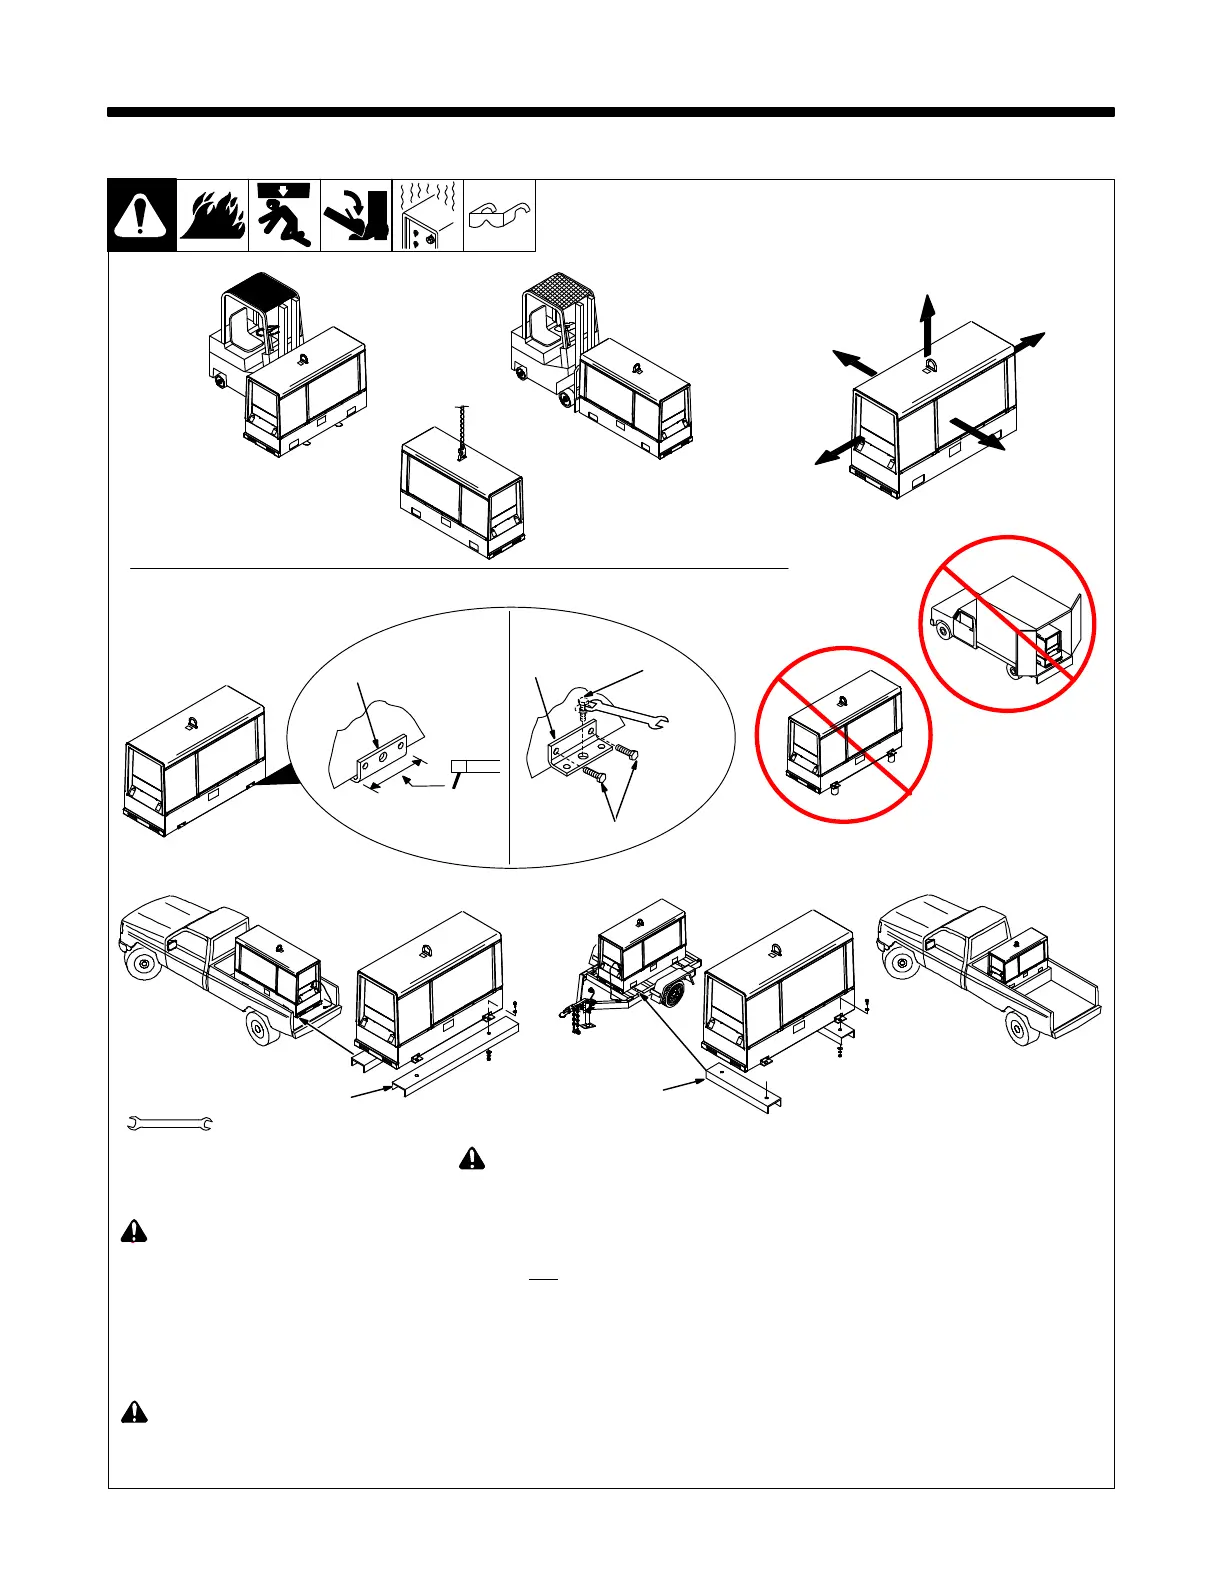
Movement
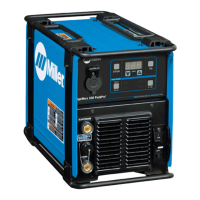
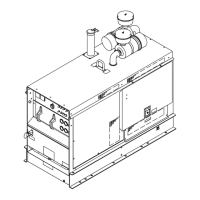
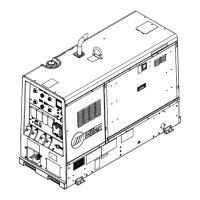
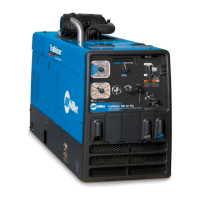
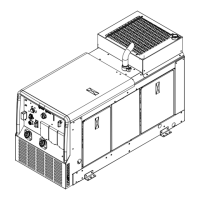
5-1. Installing Welder/Generator
OR
Airflow Clearance
18 in.
(460 mm)
18 in.
(460 mm)
18 in.
(460 mm)
18 in.
(460 mm)
18 in.
(460 mm)
1
2
2
4
Welding
Unit In
Place
Bolting
Unit In
Place 3
9/16 in.
Tools Needed:
Location/Mounting
Go to MillerWelds.com for more
information on truck installations.
Movement
! Do not move or operate unit where
it could tip.
See Section 4-3 for lifting eye rating.
Airflow Clearance
NOTICE − Do not install unit where air flow
is restricted or engine may overheat.
Location/Mounting
! Always securely fasten welder/gen-
erator onto transport vehicle or
trailer and comply with all DOT and
other applicable codes.
! Do not weld on base. Welding on
base can cause fuel tank fire or ex-
plosion. Weld only on the four
mounting brackets or bolt unit
down.
NOTICE − Do not mount unit by supporting
the base only at the four mounting bracket-
s. Use cross-supports to adequately sup-
port unit and prevent damage to base.
1 Cross-Supports
2 Mounting Brackets (Supplied)
Mount unit on flat surface or use cross-sup-
ports to support base. Secure unit with
mounting brackets.
3 1/2 in Bolt And Washer (Minimum −
Not Supplied)
4 3/8-16 x 1 in. Screws (Supplied)
To Bolt Unit In Place:
Remove hardware securing the four
mounting brackets to the base. Reverse
brackets and reattach to base with original
hardware.
Mount unit to truck or trailer with 1/2 in. (12
mm) or larger hardware (not supplied).
To Weld Unit In Place:
Weld unit to truck or trailer only at the four
mounting brackets.
OR
1
OR
OR






 To Next Page