5-96 Image Optimization
5.13.3.1 Basic Procedures for the STQ Imaging
1. Select a proper probe. Perform 2D scan to locate the lesion.
2. Tap [Elasto]→[STQ] on the touch screen. Or, press the user-defined key (set the user-defined
key via [Preset]→[System]→[Key Config]) to enter the STQ imaging mode.
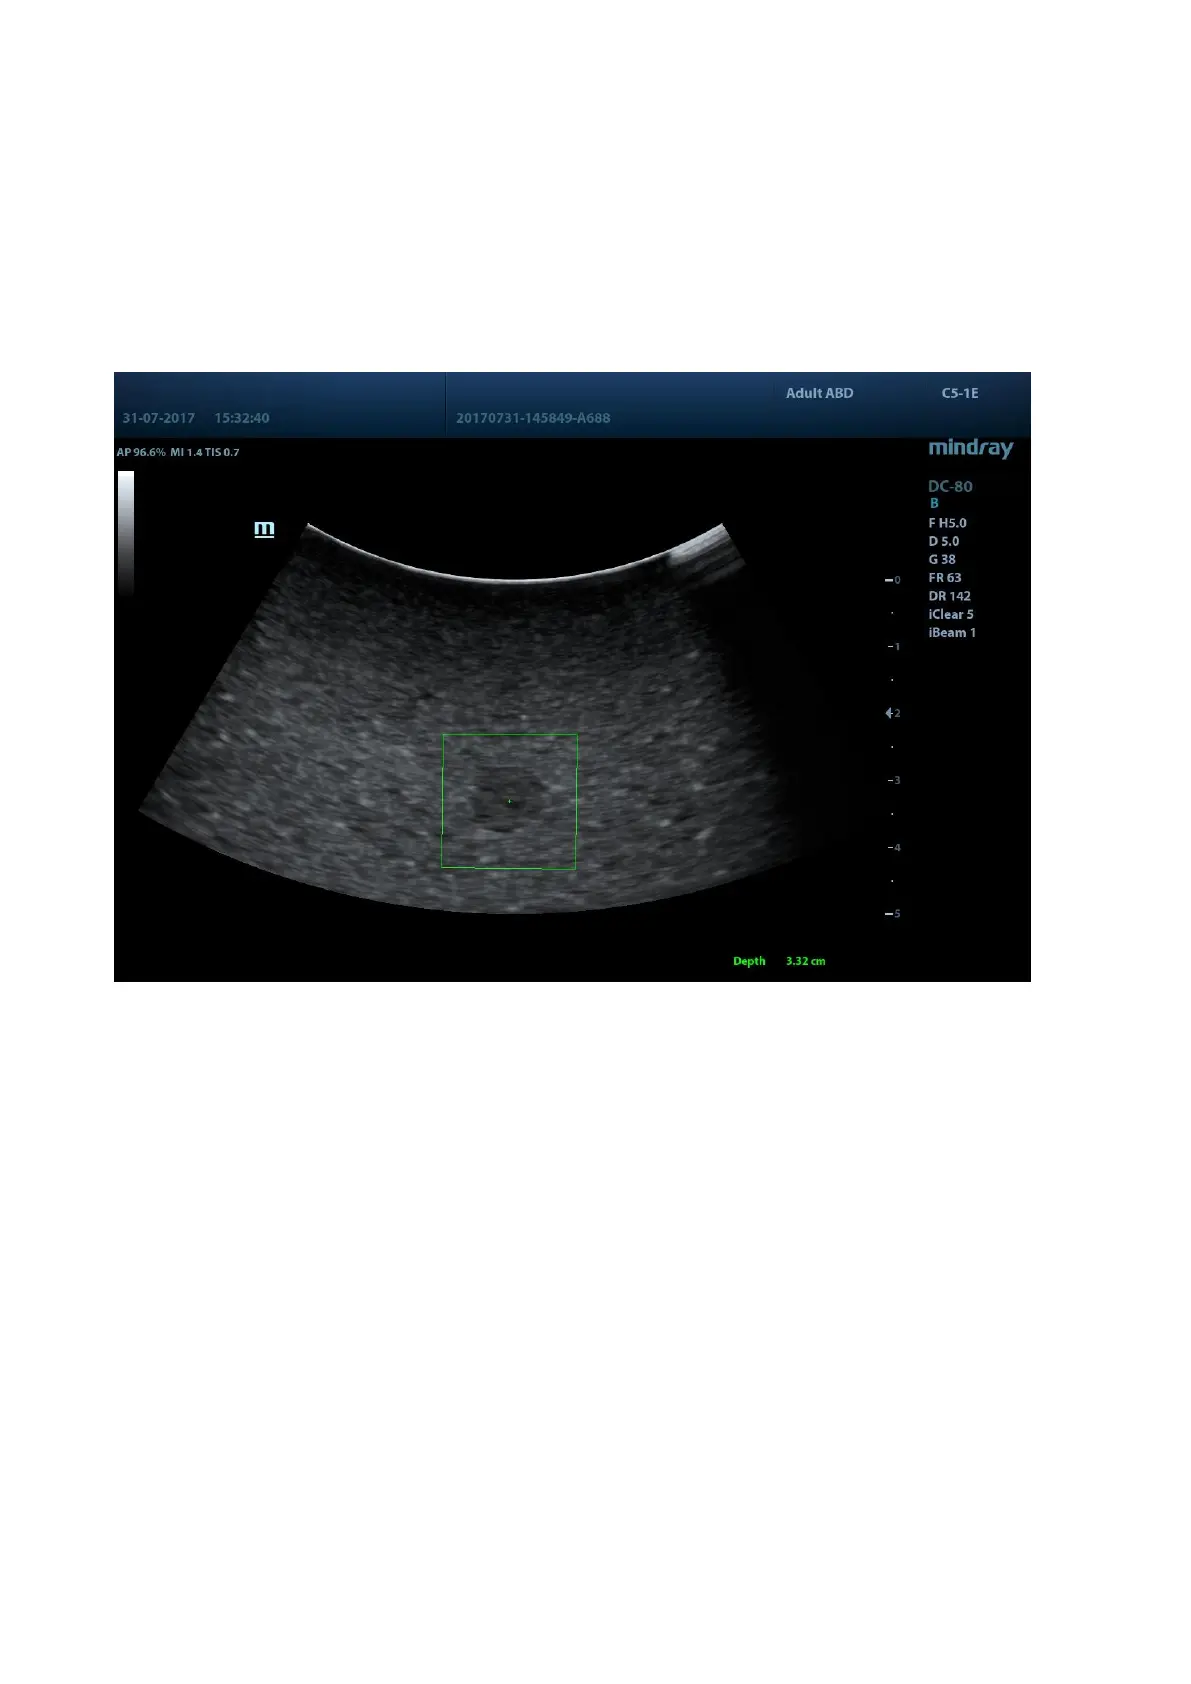
The ―Depth‖, at the right bottom of the screen, shows the depth value of the ROI center (marked
with a +).
3. Adjust the ROI based on the lesion size and the position, and rotate [Fixed ROI] knob or move
the trackball to adjust the ROI size and the position.
4. Press <Update> to generate the acquisition. Place the probe still with stable force (not
pressing, sweeping or moving the probe) to acquire the image. Adjust the B image parameters
to obtain a premium image.
The stress curve shows at the bottom of the screen after entering the real-time acquisition.
Elasto modulus inside the ROI of the current frame;
The mean value, maximum value, minimum value, SD value of STQ velocity;
Depth value of the active elasto modulus.
5. Freeze the image, and replay the image if necessary.
6. Perform the measurement or add comment/body mark to the image if necessary.
7. Save the single-frame and multi-frame image.
8. Reacquire the image if necessary.
9. Press <B> on the control panel or tap [STQ] on the touch screen to exit the elastography
imaging mode, and return to B mode.