11-10 DICOM/HL7
11.2 Verify Connectivity
If you want to verify connectivity (it is not a must), you can click [Verify] button on Storage, Print,
WorkList, MPPS, Storage Commitment, and Query/Retrieve pages respectively.
If the verification succeeded, the system prompts ―xxx Verify Succeed‖. Otherwise, it prompts ―xxx
Verify Failed‖.
If verification failed, the possible causes may be: wrong IP address; not able to access IP address;
remote DICOM server is not running; wrong port; incorrect application name.
Tips:
Not all the SCPs can support verification; please consult SCP belongings to confirm whether SCP
can support this service. If not, the verification won’t pass.
11.3 DICOM Services
If you completed all DICOM presets on DICOM Service Preset screen. Now you are ready for
Storage, Print, WorkList, MPPS, Storage Commitment, and Query/Retrieve applications.
11.3.1 DICOM Storage
DICOM Storage is used to send image (s) to DICOM storage server for storage.
Send image on iStation/Review/main screens
(1) Select image(s)
Press <iStation> on the control panel to open the iStation screen, click to select a patient
or an exam record in the list, thumbnails are displayed in the thumbnail area in the lower
part of the screen, then click to select a thumbnail or several thumbnails. Or,
Press <Review> on the control panel to enter the Review screen, click to select a
thumbnail or several thumbnails. Or,
On the main screen, select a thumbnail or several thumbnails.
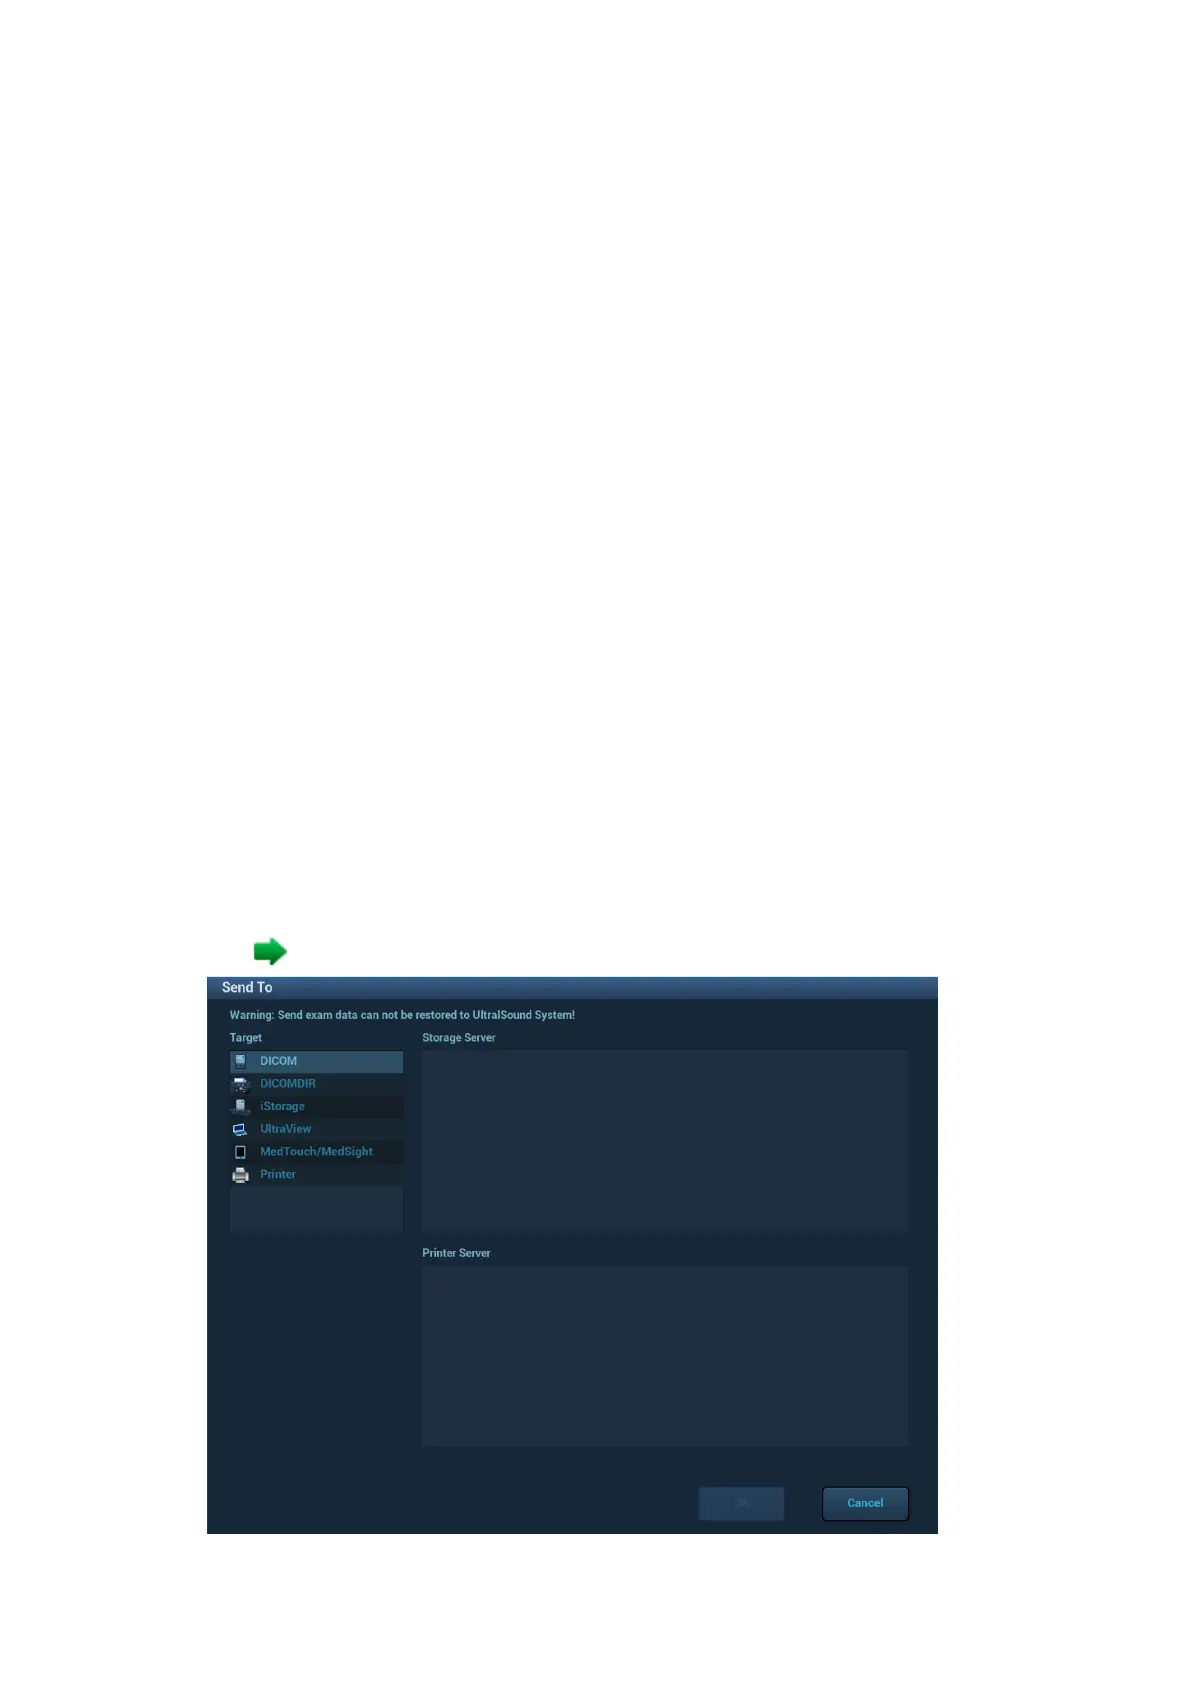
(2) Click at the upper right part of the image to pop up the following dialogue box.