Image Optimization 5-129
Removing the mark
Select one mark from the result pane (the cross appearing in the circle). Tap [Delete Cur.] to
remove the tumor mark.
Tap [Delete All] to remove all tumor marks.
Note: the button <Clear> is disabled when tumor mark is activated.
Displaying/Hiding the mark
Tap [Display Marks] to activate it. All tumor marks appear on CT/MR image.
Tap [Display Marks] to dim it. All tumor marks hide on CT/MR image.
Adding the comment
It is available to add the comment before adding tumor mark or after tumor mark is added. See
also Chapter ―9 Comments and Body Marks‖.
5.16.7 Respiratory Compensation
Fusion RESP Component (Fusion Respiration Component) is an option.
Configure Fusion RESP Component (optional software), one fusion imaging sensor,
one motion sensor support (optional hardware) before enabling Fusion RESP
Component. See also Chapter ―2.5.3 Options‖. Stick respiration sensor to the
patient’s abdomen before entering Fusion Imaging mode.
Respiration Compensation sets a motion model for the movement regularities of the liver, and
compensates the CT image in real time. The fusion dynamic accuracy is enhanced apparently.
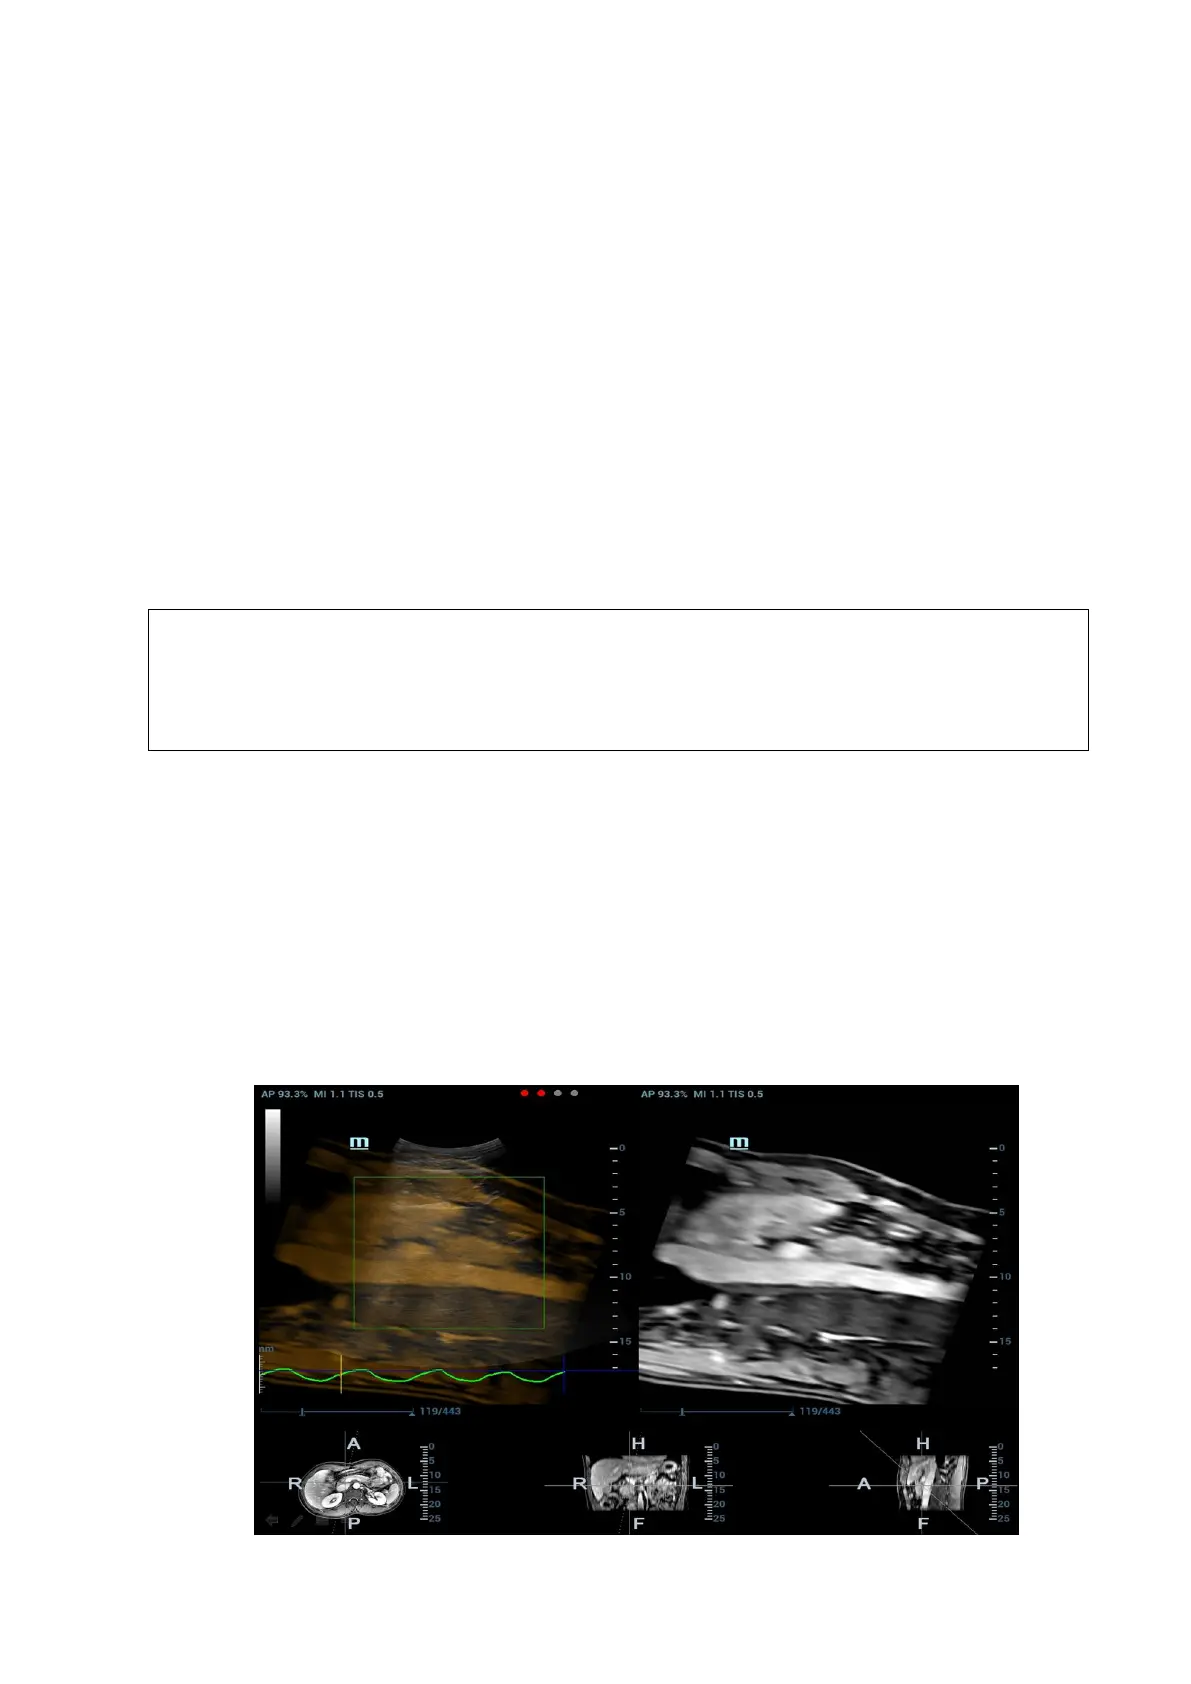
1. Enter Fusion Imaging mode. Tap [Display Resp Curve] to activate it (it becoming highlighted by
default). The respiratory curve appears on the image.
2. Keep the patient breathing regularly. Tap [Capture US&Resp] to capture the cine until the
respiration curve becomes stable. Keep the probe still when capturing the cine. The progress
bar appears on the screen. The ultrasound cine plays automatically after the capturing is
finished.
Note: the Ultrasound System selects one premium phase of respiration curve automatically
after the capturing is finished. It is prepared for the motion modeling. You can set the start
frame and end frame to select one phase of the respiration curve.